

Eversolo Streamers Music Library User Guide

Eversolo Streamers Music Library User Guide
This tutorial applies to A6 and A8, here we use A6 as an example.
1. Introduction
Eversolo Music Library provides a complete local music library management function. In addition to its powerful local music playback feature, it can also add music files from local hard drives or network storage devices across platforms. It supports personalized categorization display of music genres, sampling rates, albums, artists, and more. It also supports creating favorite playlists, quick song search by album, artist, or song initials, and other features.
2. Music Library Access and Adding Music Files
Enter “Music”from the HOME PAGE of the streamer.
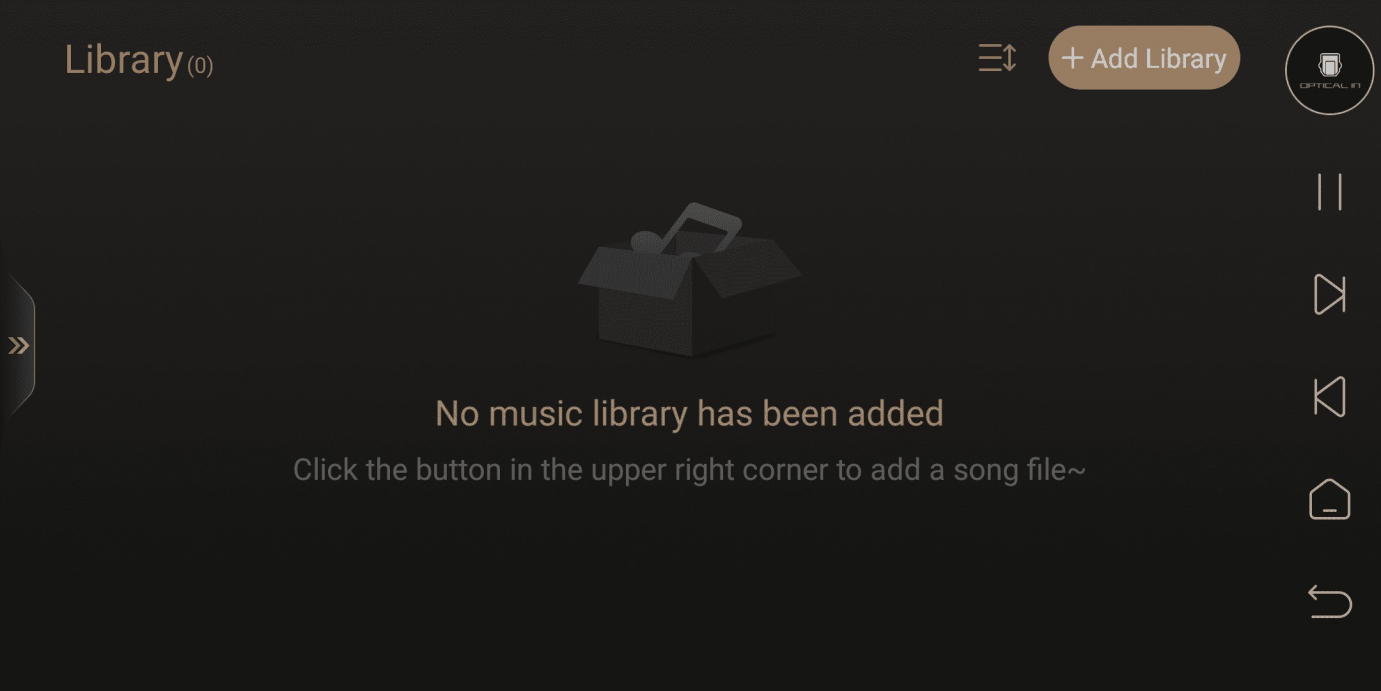
Friendly Reminder: There is no music in the music library. You need to add local or network storage music files by yourself.

[See image below] In the music library interface, click the upper right corner "+ Add Library."
“Add Folder” supports for music path including internal and external storage as well as network storage, allowing multiple paths to be added.
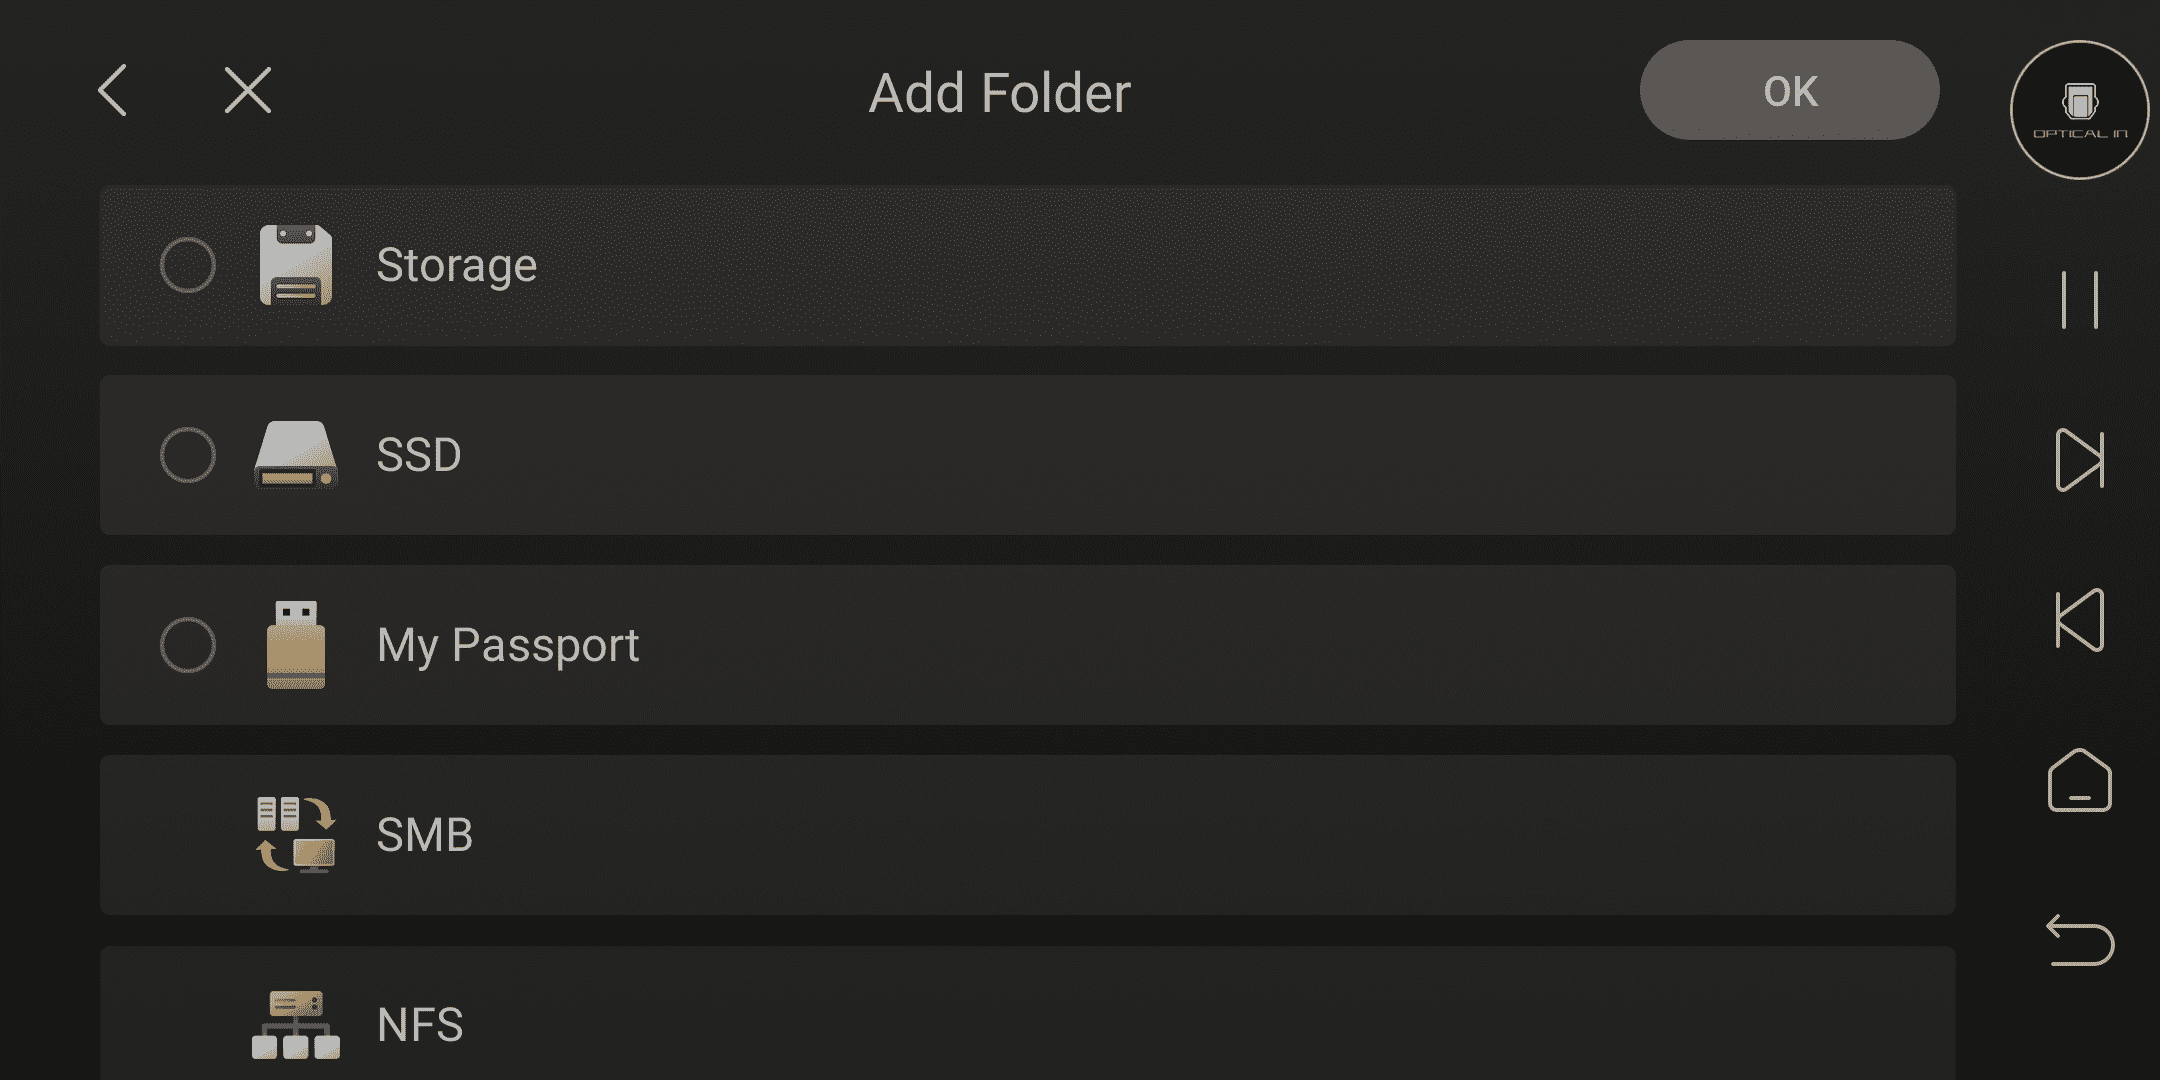
The tutorial adds an external hard drive music storage path and uses the NFS protocol to add a NAS music path. After adding, wait for the music library to be scanned automatically.
Note: Music album names should be standardized for higher success rate in music library recognition. Refer to the table below for more details.
| ①The naming format for music album folders | ②The naming format for music files |
|
Choose any one of the following naming formats: ● Artist Album Name Year ● Artist.Album Name.Year ● Artist - Album Name Year
Example: RADWIMPS - Your Name 2016
Note: You can customize the order of artist, album name, and year. It doesn't have to be the same as the example.
|
Choose one of the following naming formats: ● Serial number Song title Music format suffix ● Serial number. Song title. Music format suffix
Example: 01.Cruel summer.dsf 02.Love story.dsf Friendly reminder: The music format suffix should match the format of your music file.
Note: Please use "." or a space as separators. |
|
③The naming format for music album posters Put the prepared album poster file into the same directory as the music files. Music poster naming format: cover, folder, front.Image file format suffix (supports uppercase and lowercase letters). Example: cover.jpg Image formats: jpg/png Recommended size: 500x500 | 800x800 Friendly reminder: When there is only one cover picture in the album folder, the naming rules can be ignored and it will be automatically recognized and used. |
|
 |
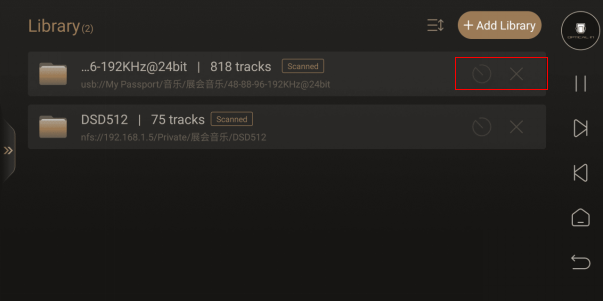
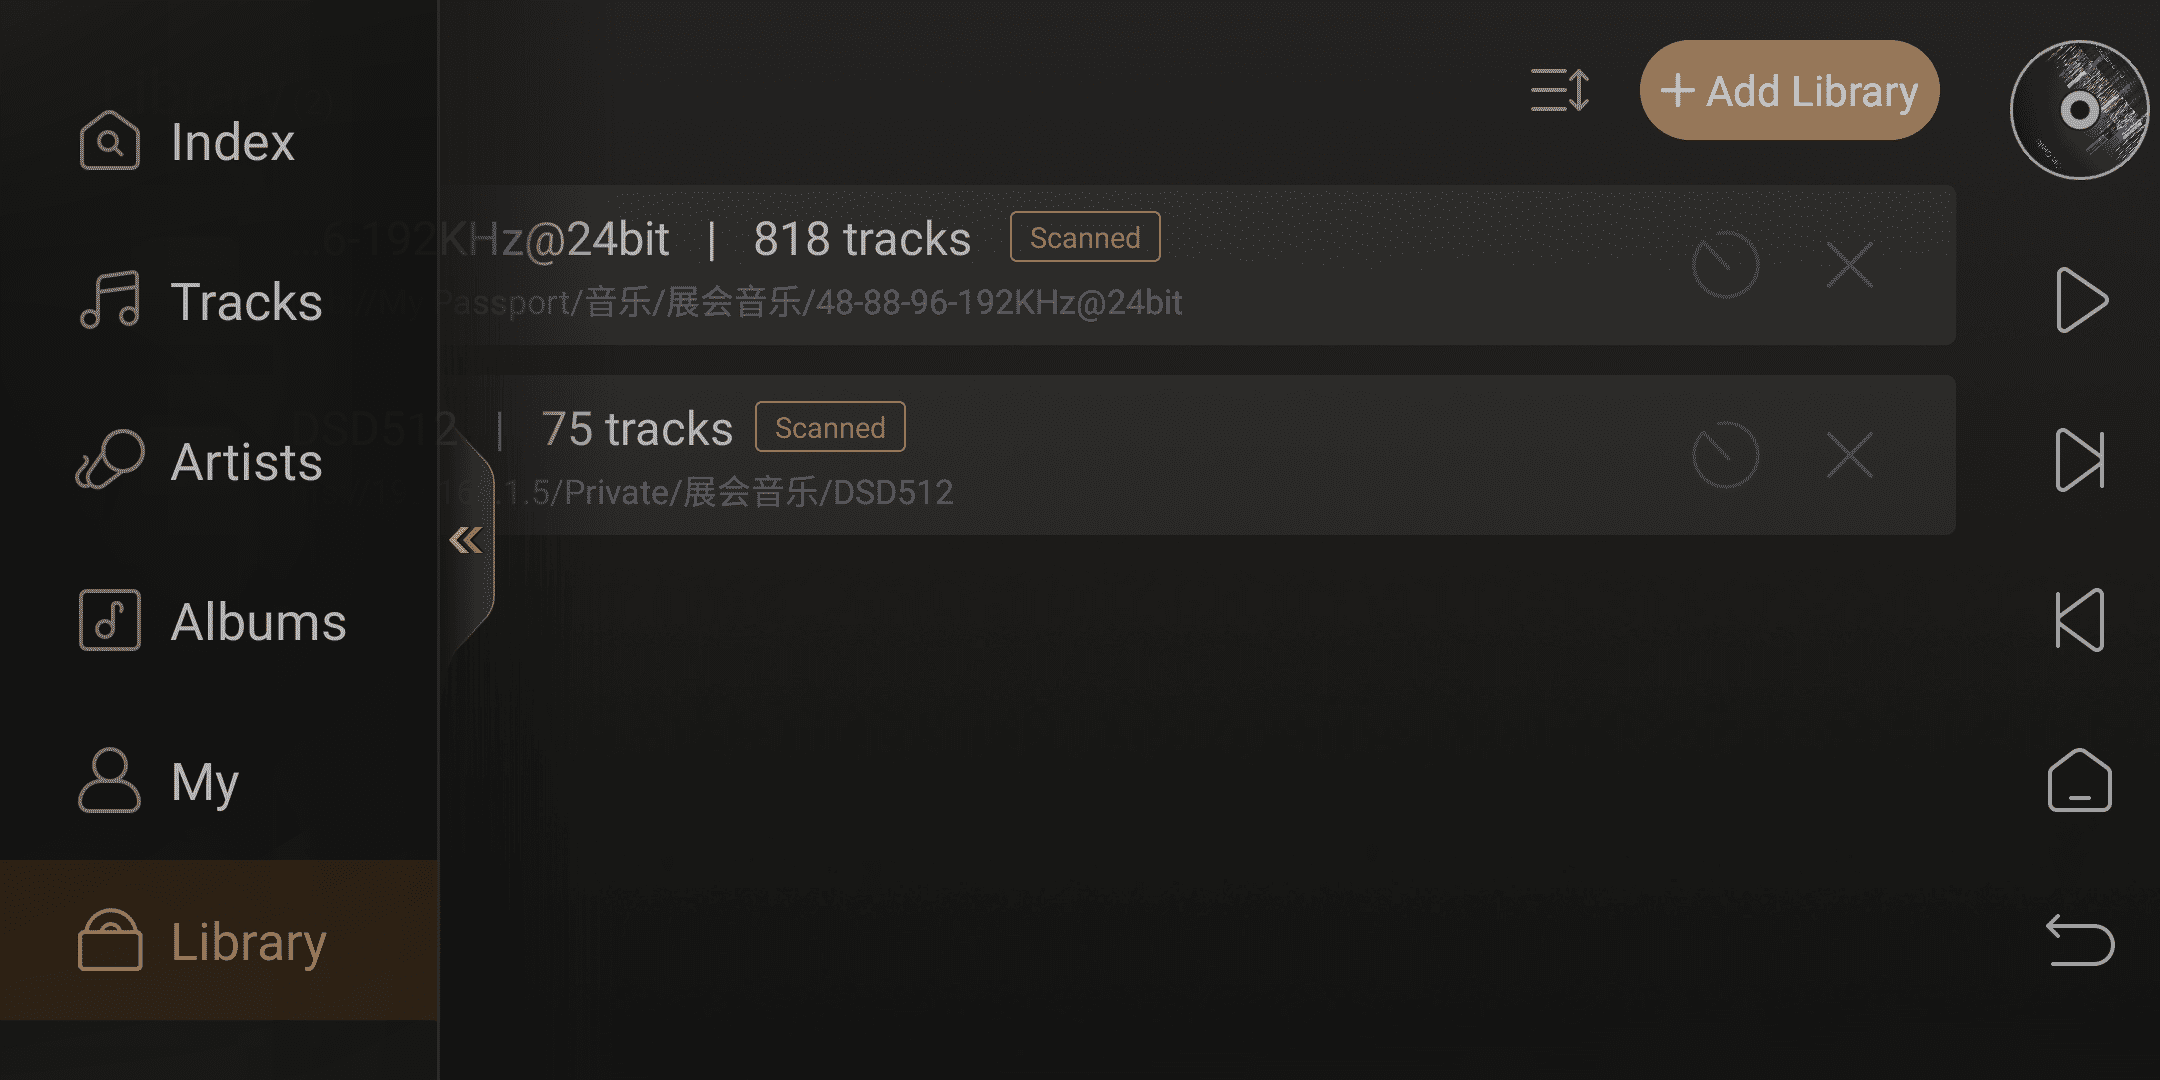
In the Library menu, click on the scan icon on the right side of the added path to update the music for that path. Clicking on the X icon will delete this path.
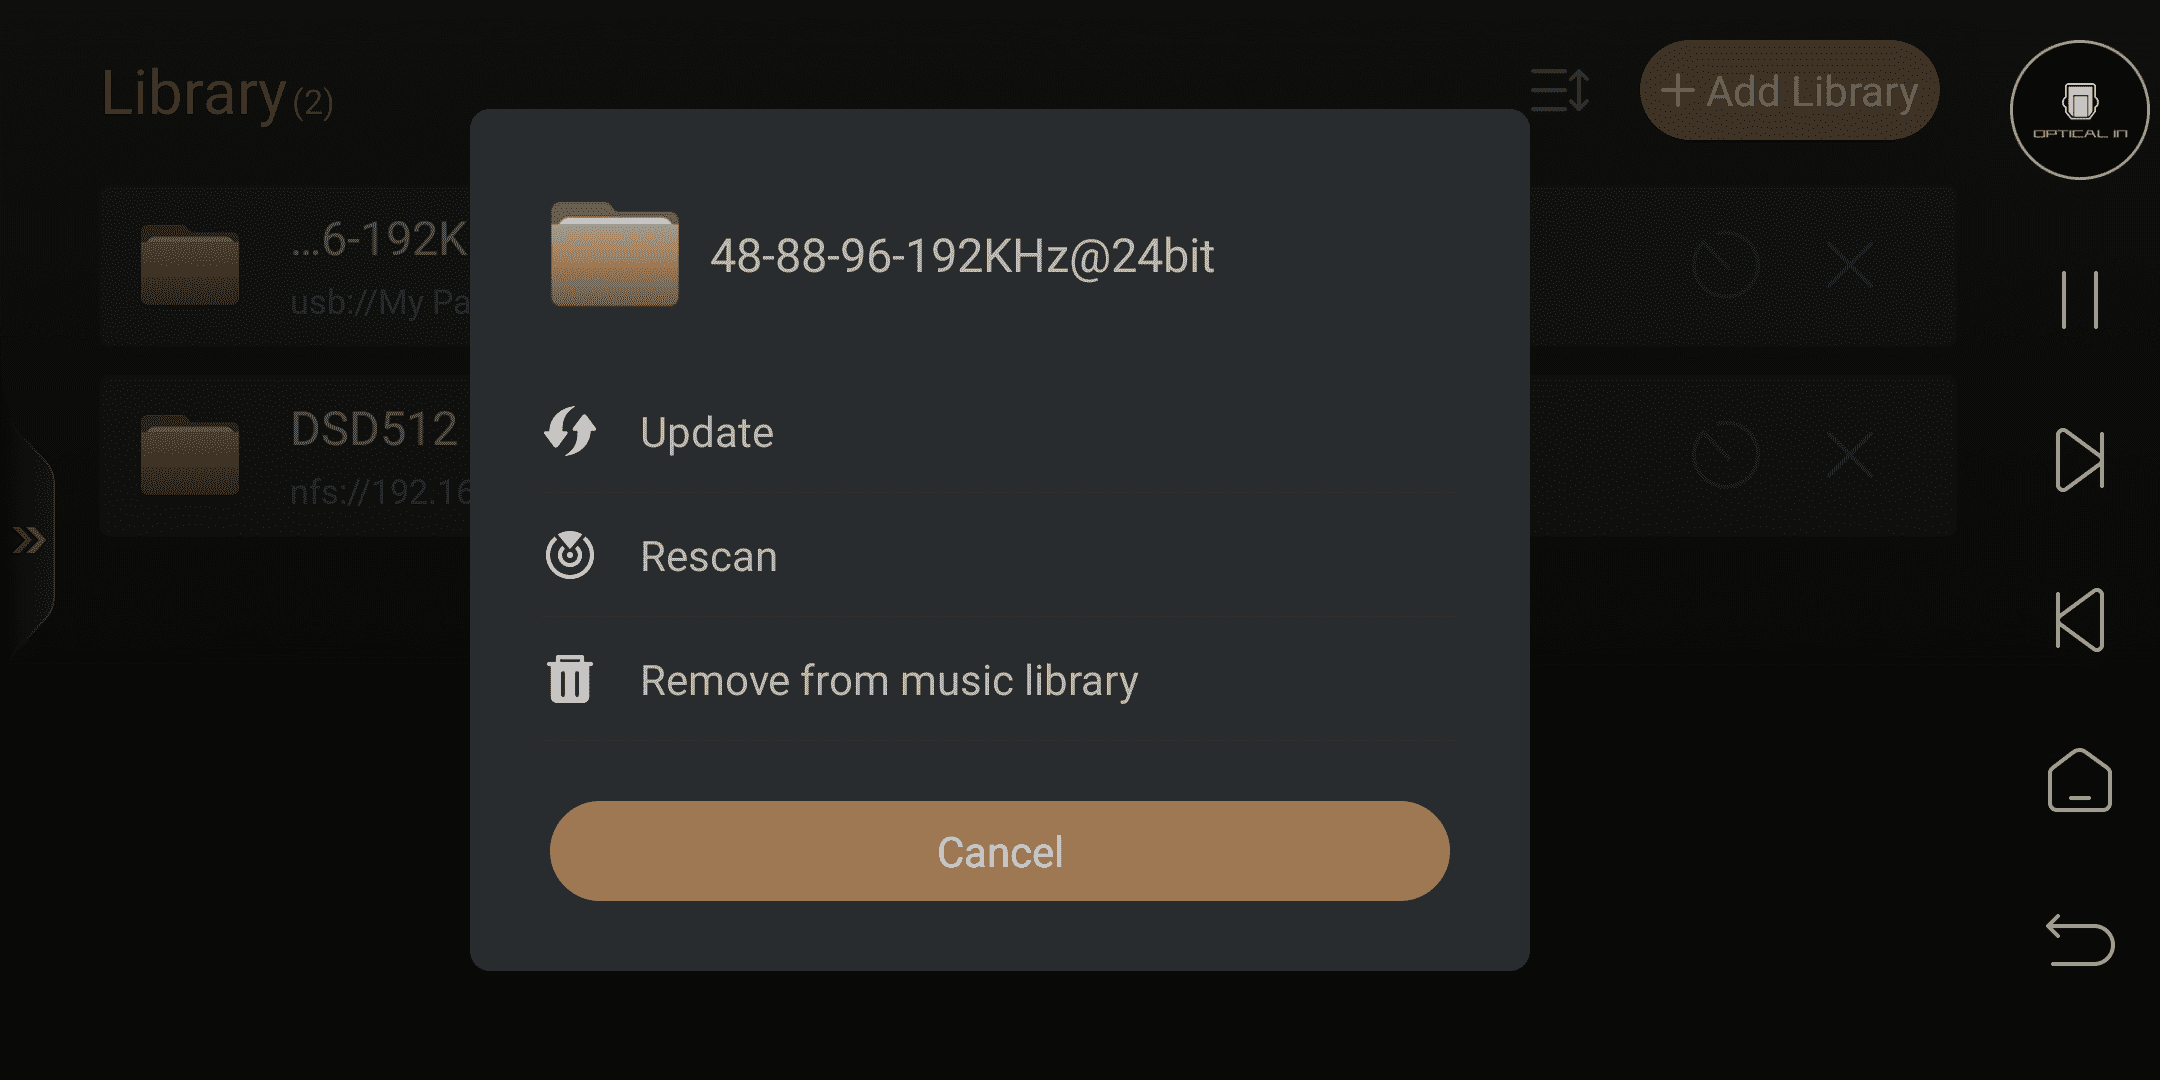
Long-pressing on the added path will also bring up a menu for updating, re-scanning, and removing operations.
After the scanning is complete, return to the music library homepage, and you will be able to see the recently added tracks.

3. Introduction to Music Library Features
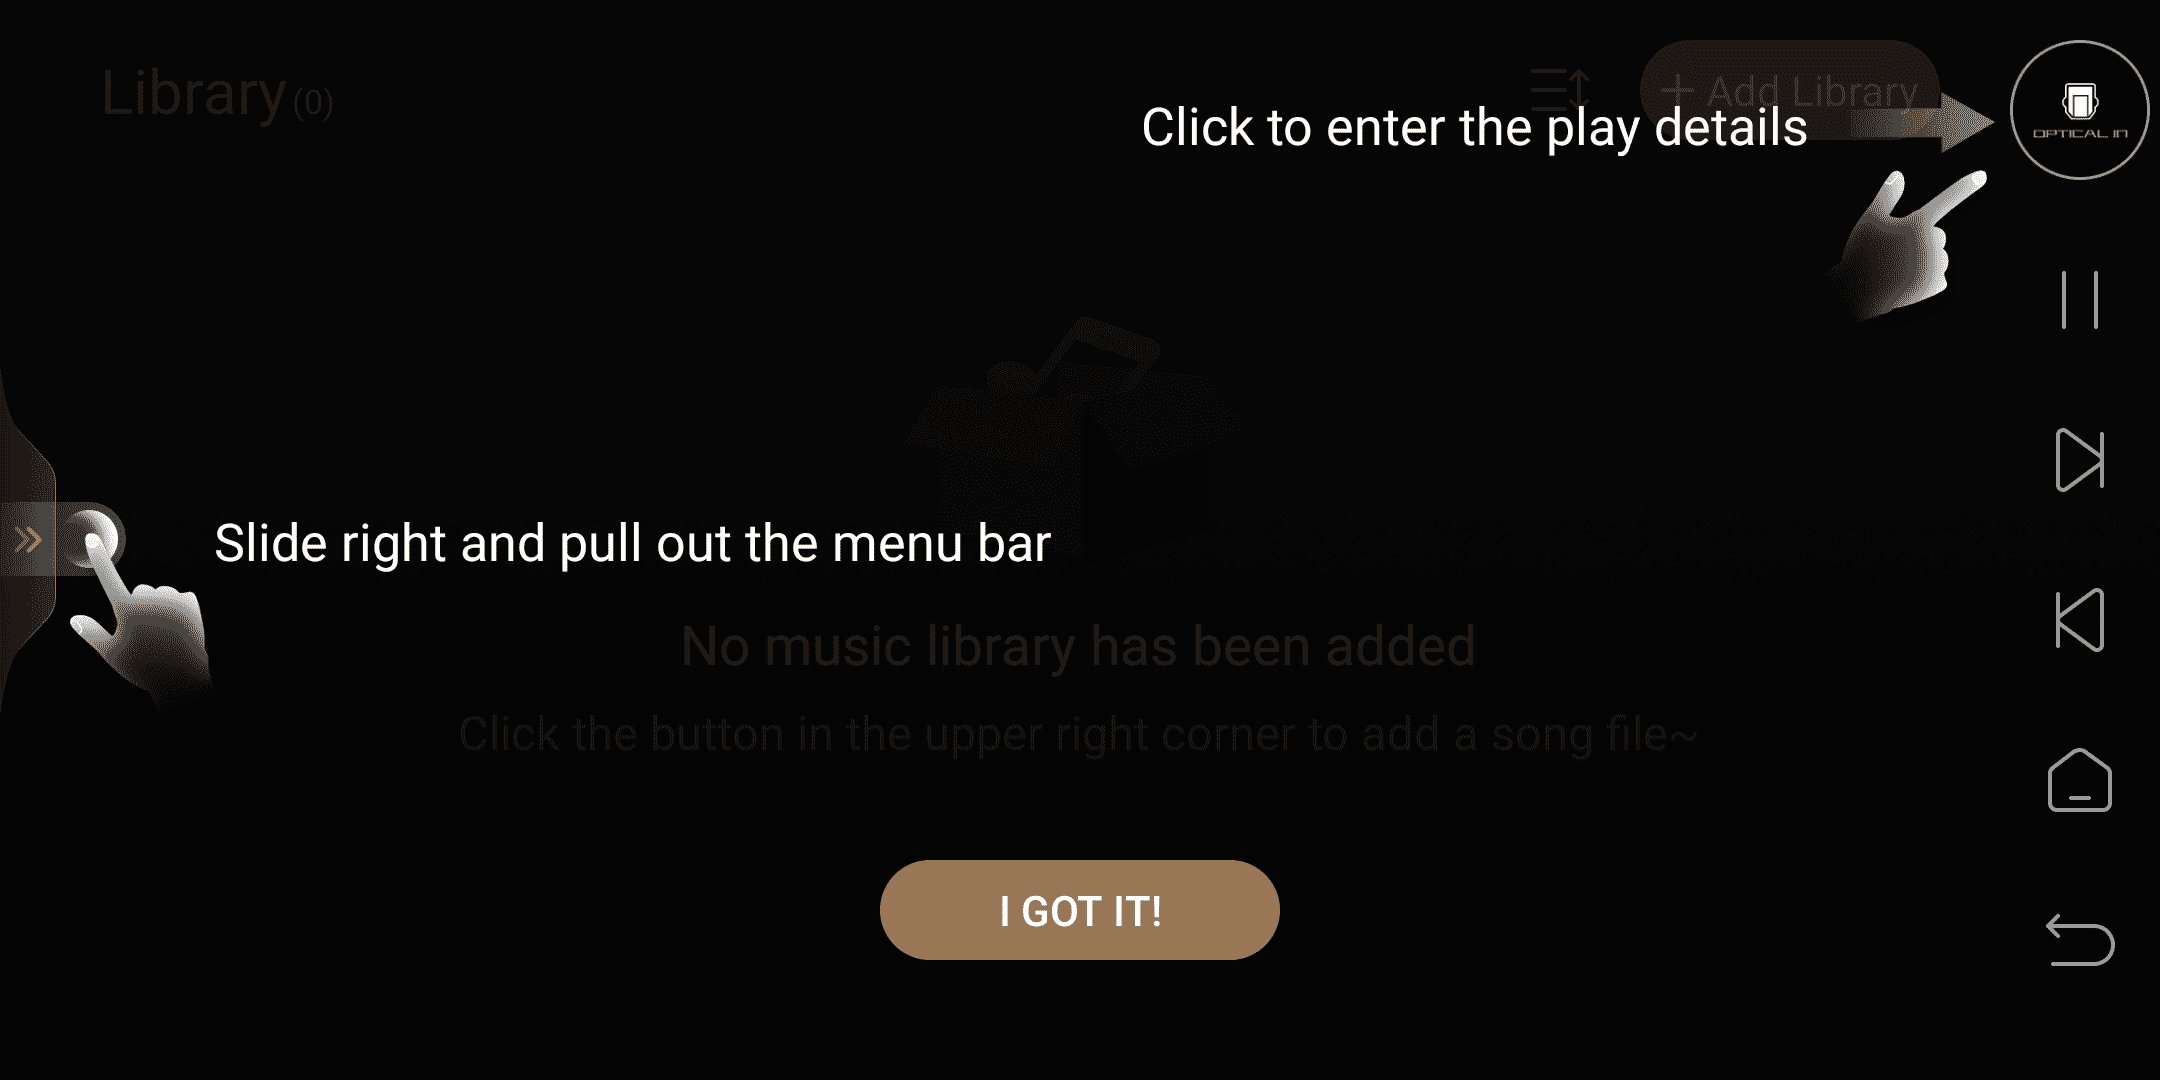
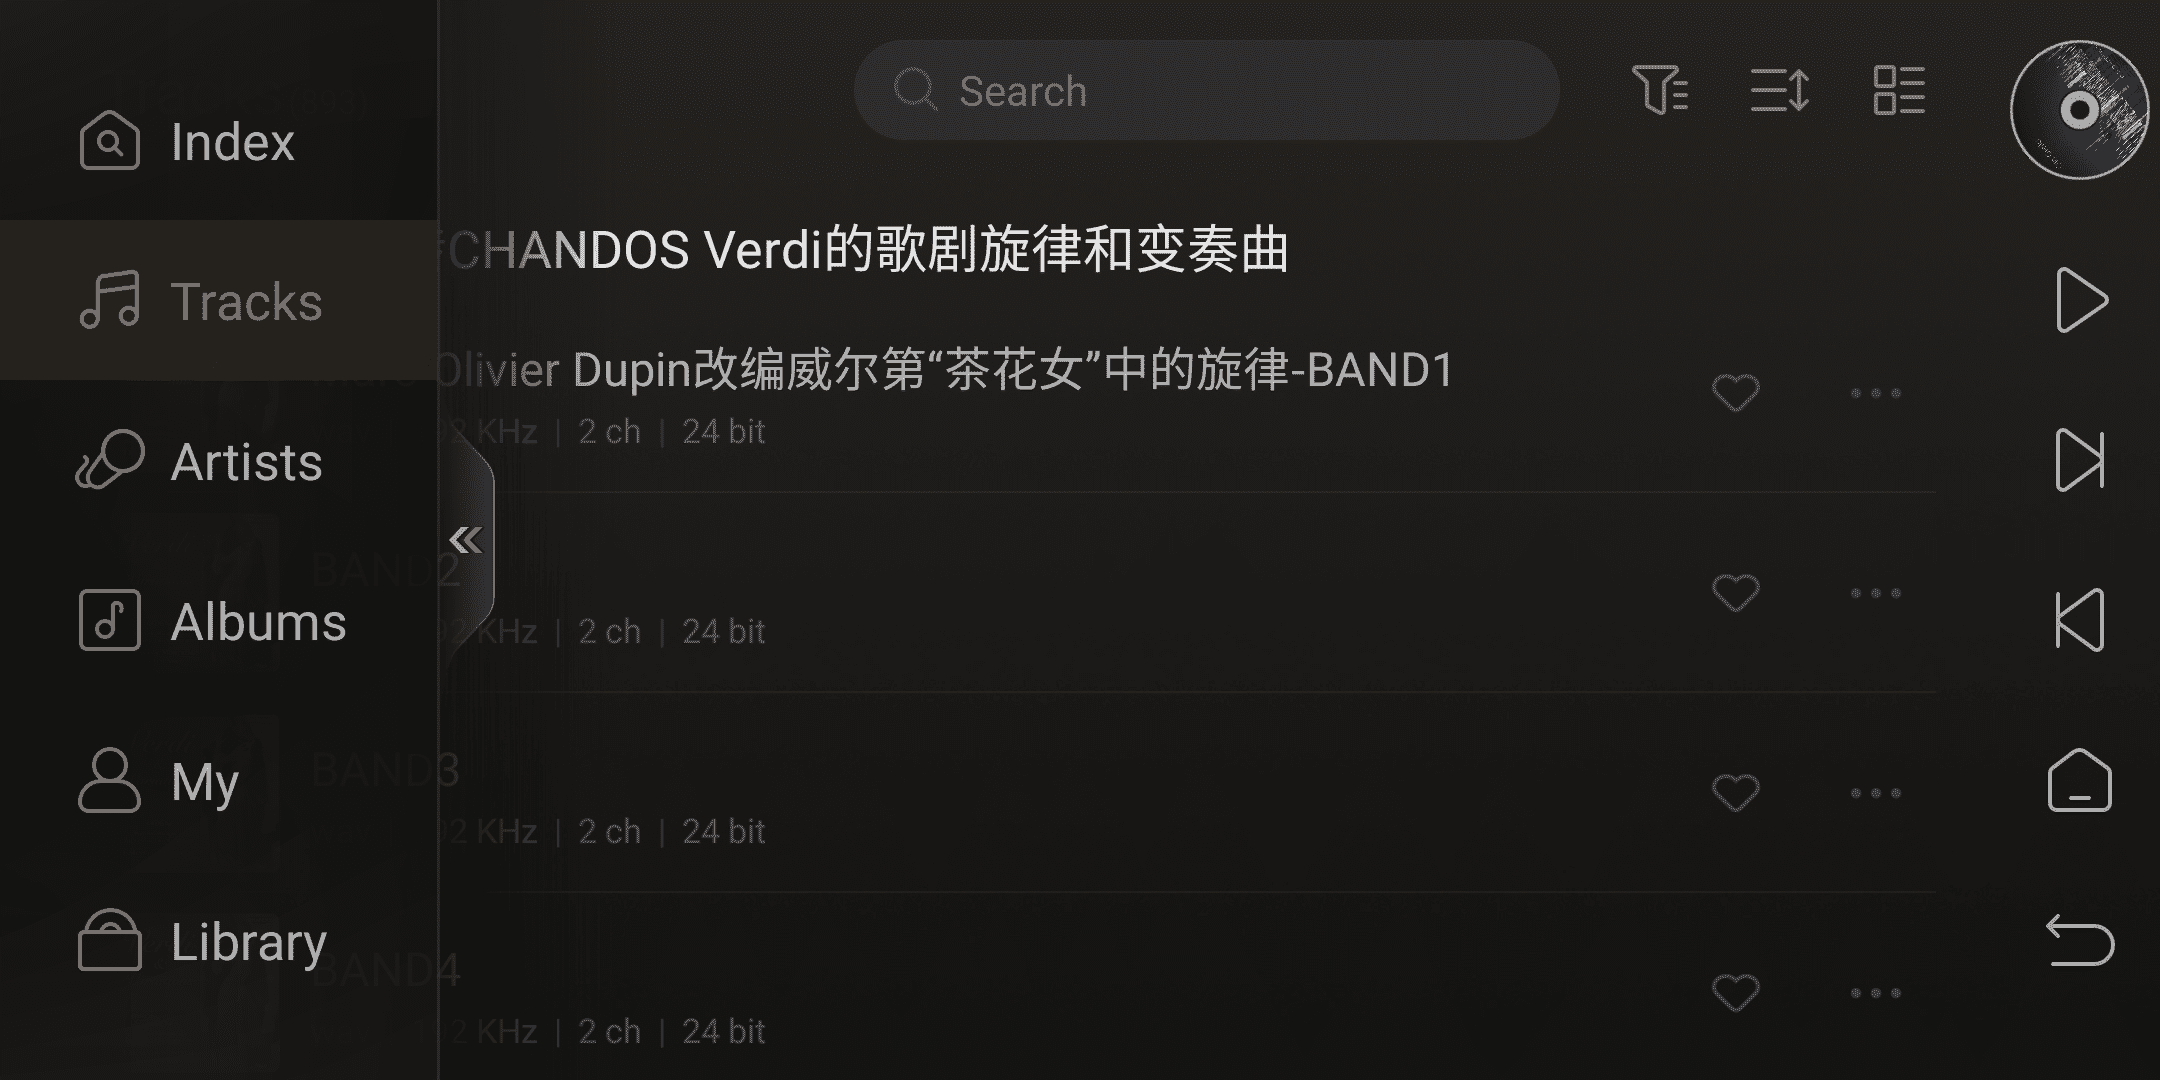
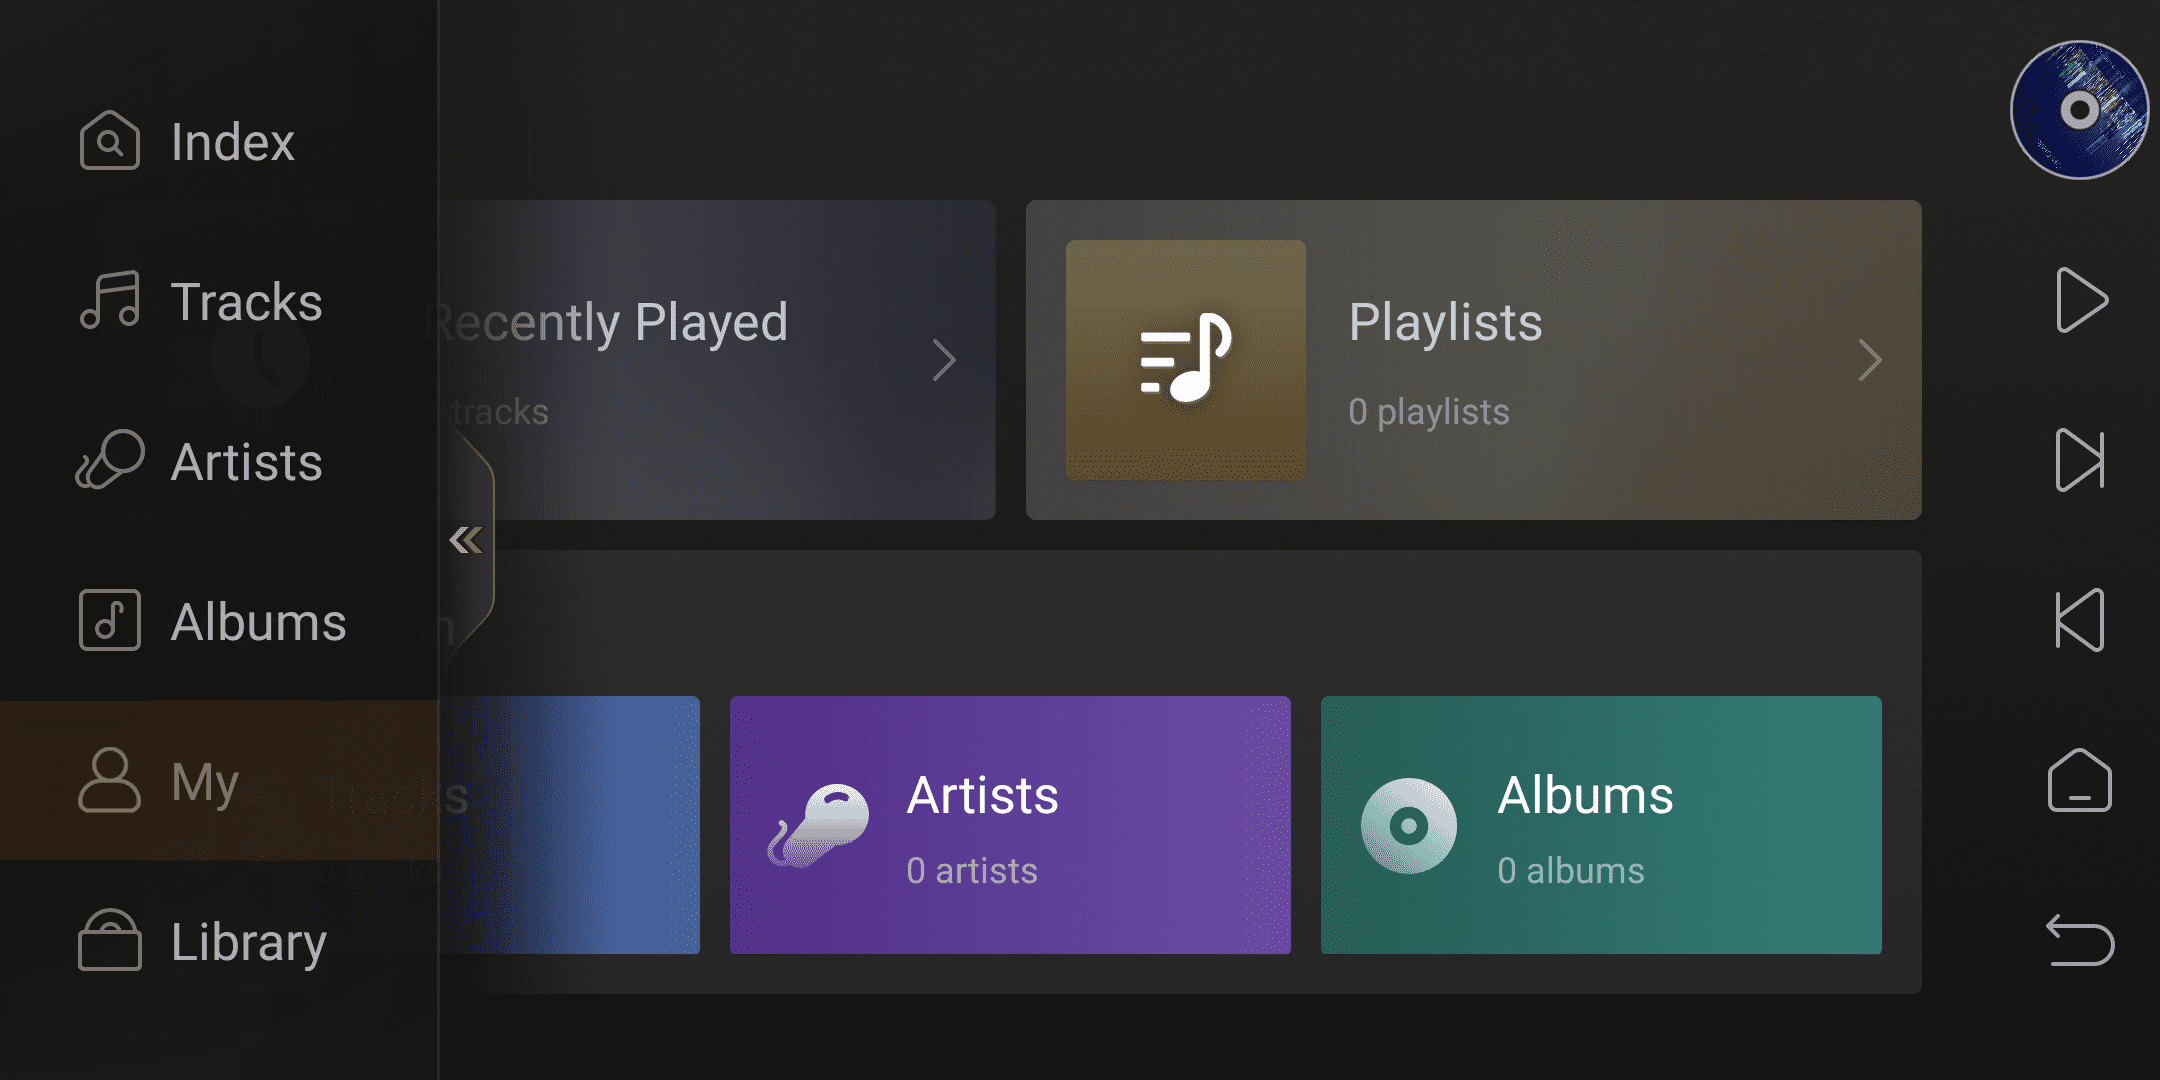
On the home page of the music library, click the icon and slides it from the left to the right, and a pop-up menu will appear with options to go to the Index, Tracks, Artists, Albums, My, and Library Categories sections. 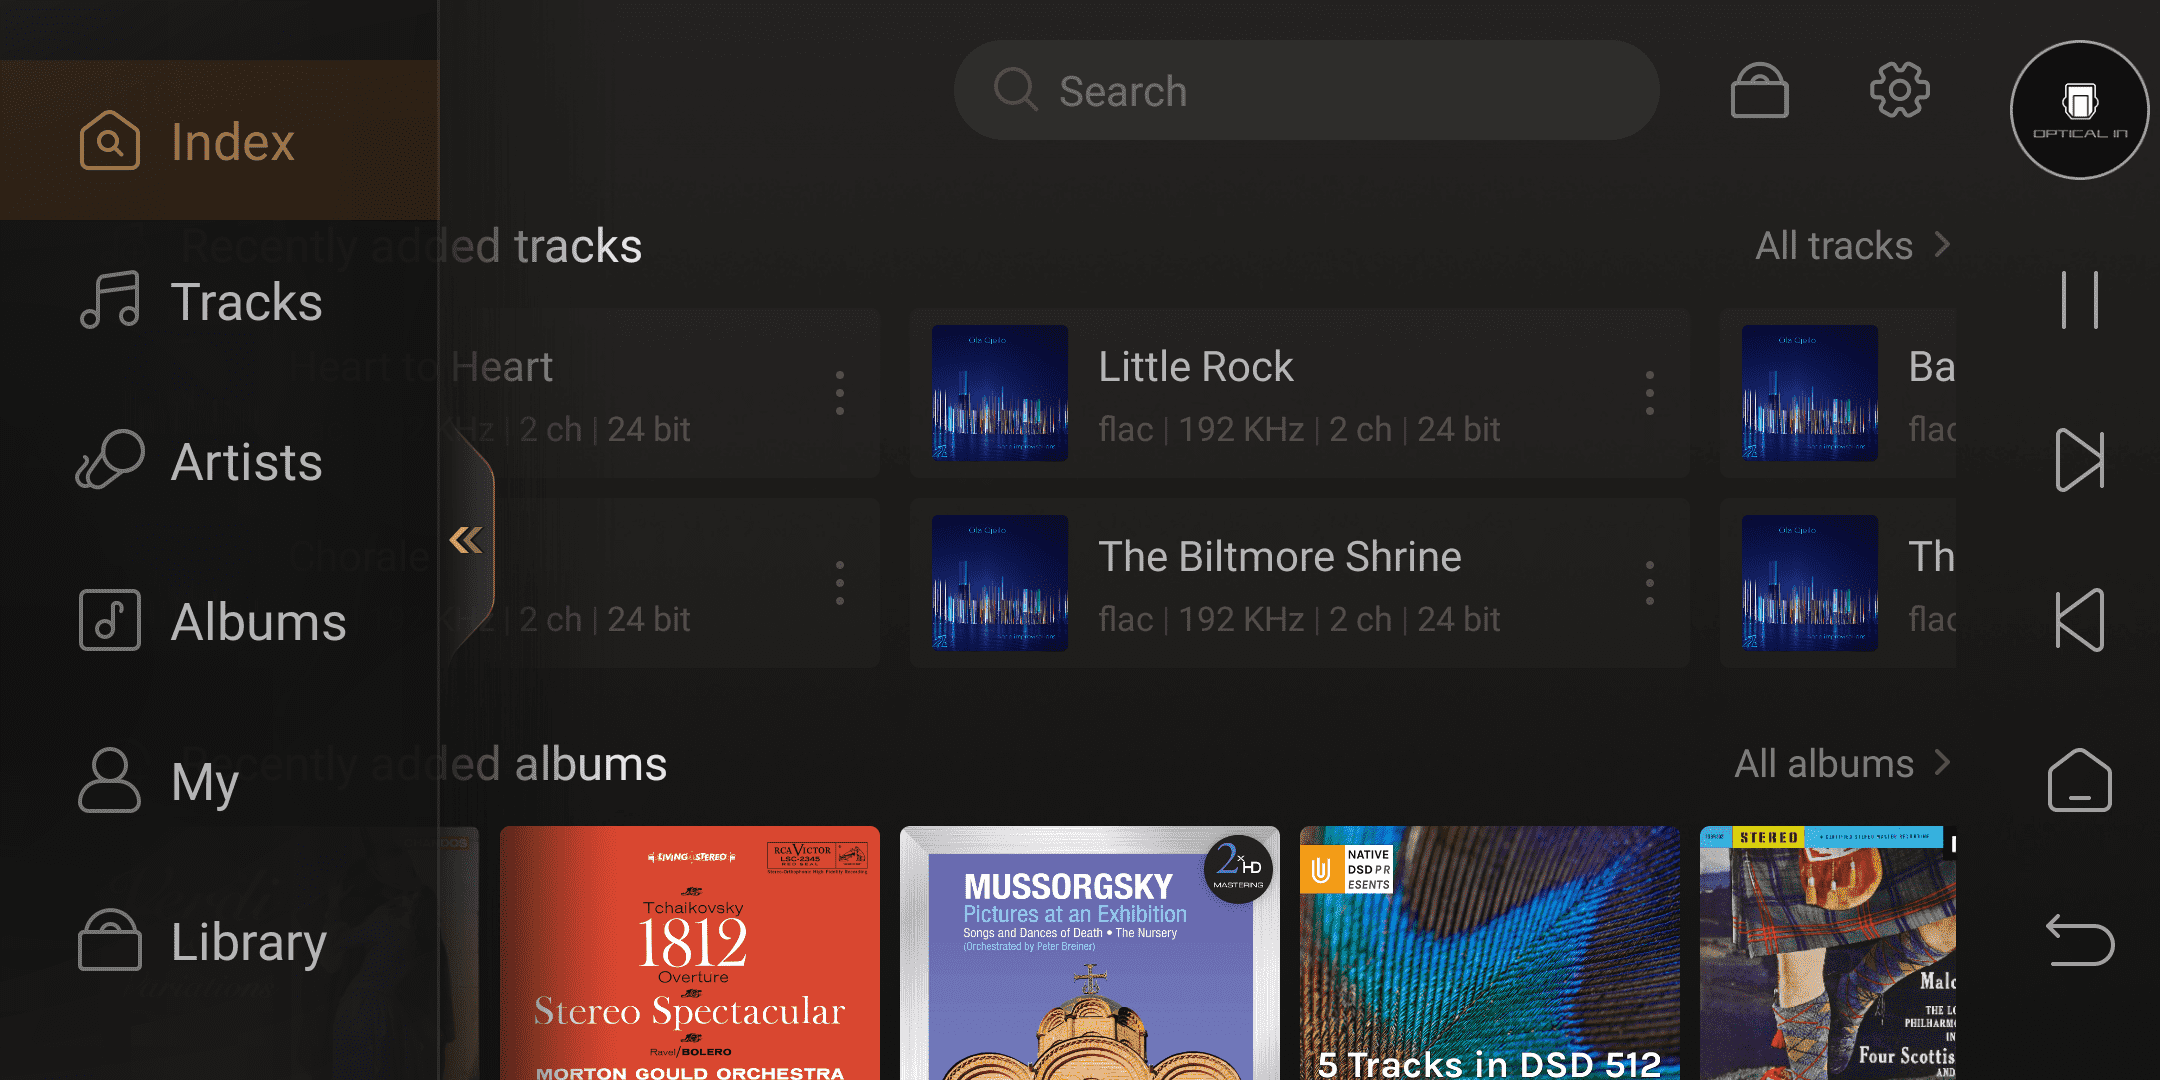
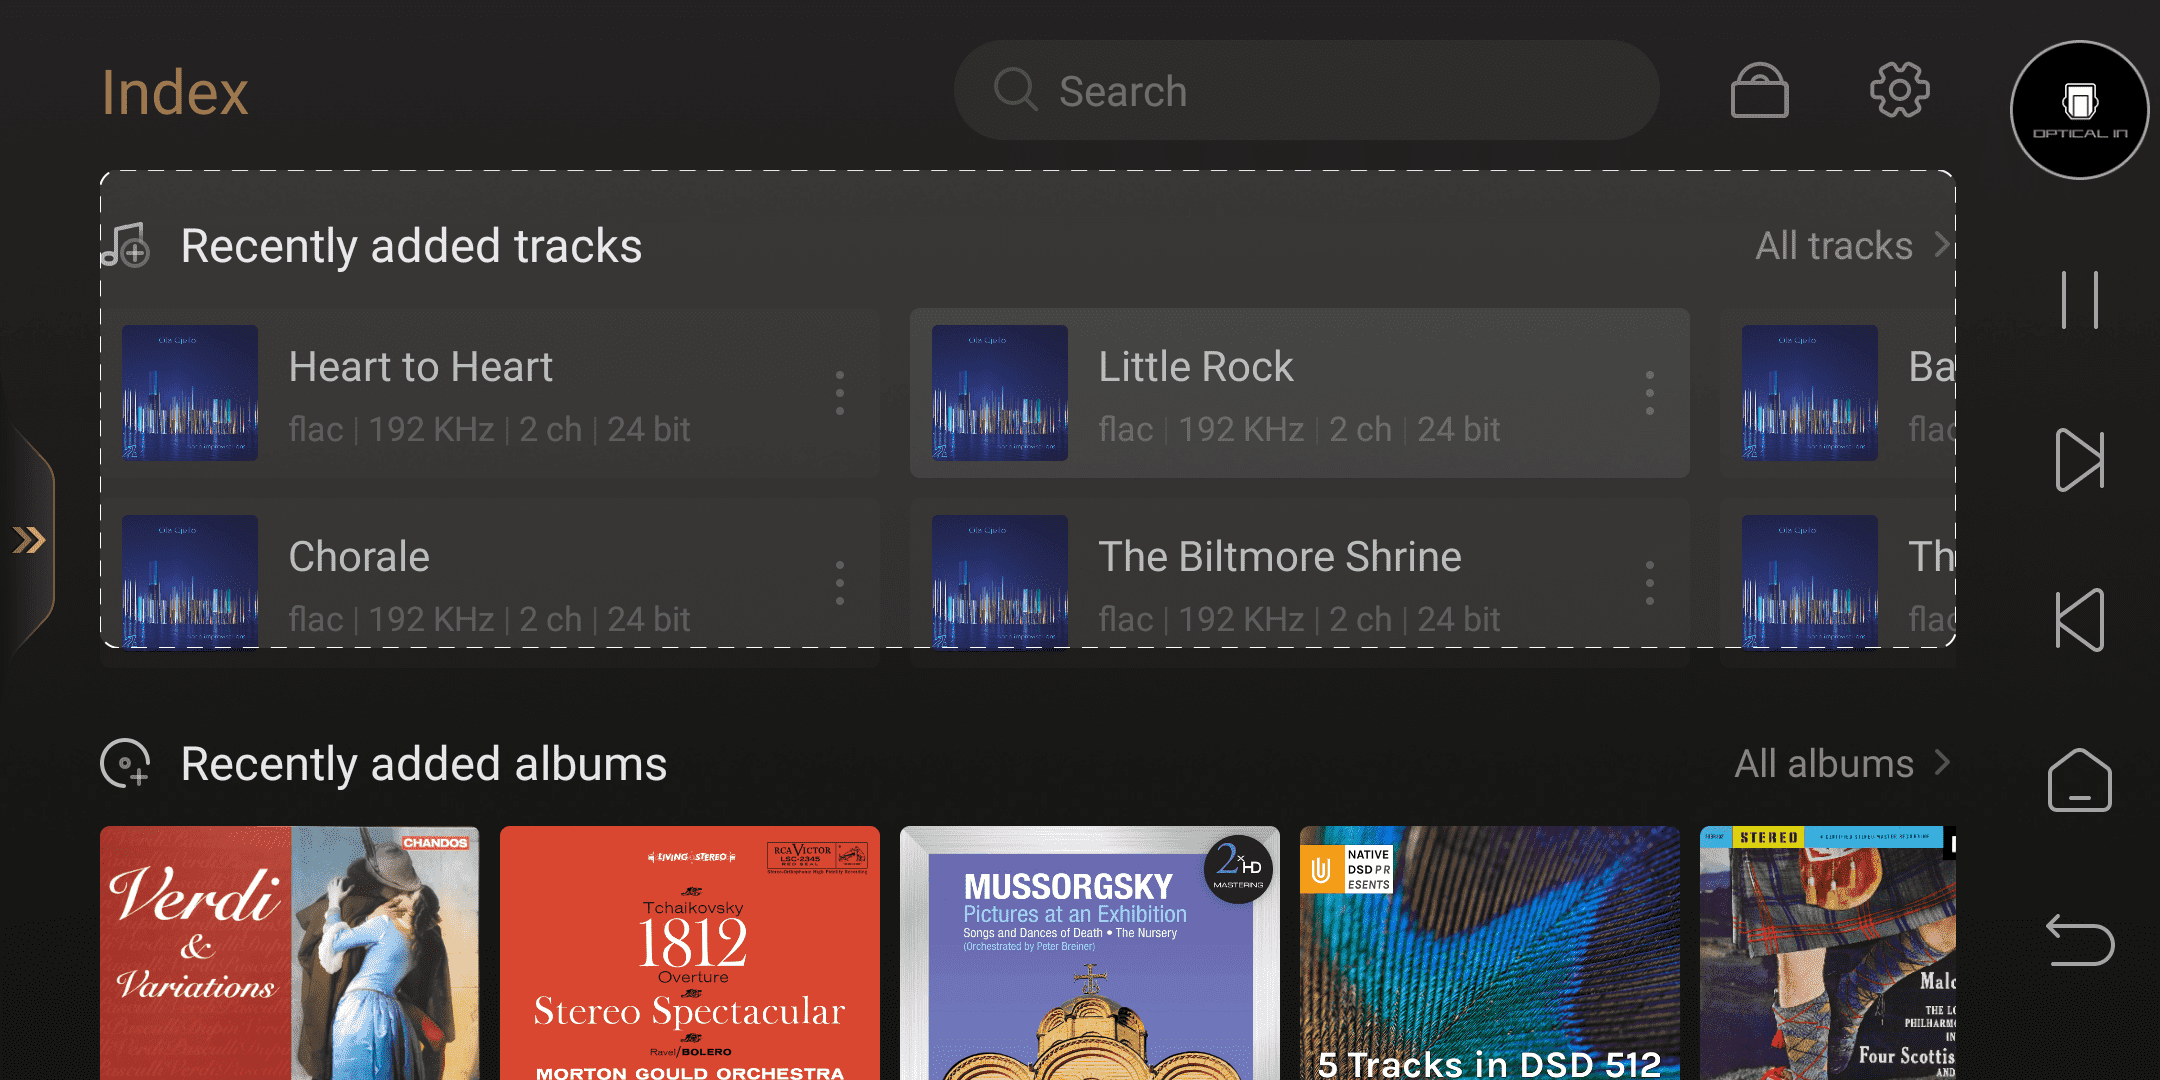
Index
The homepage displays recently added tracks, recently added albums, and genres from top to bottom in order.
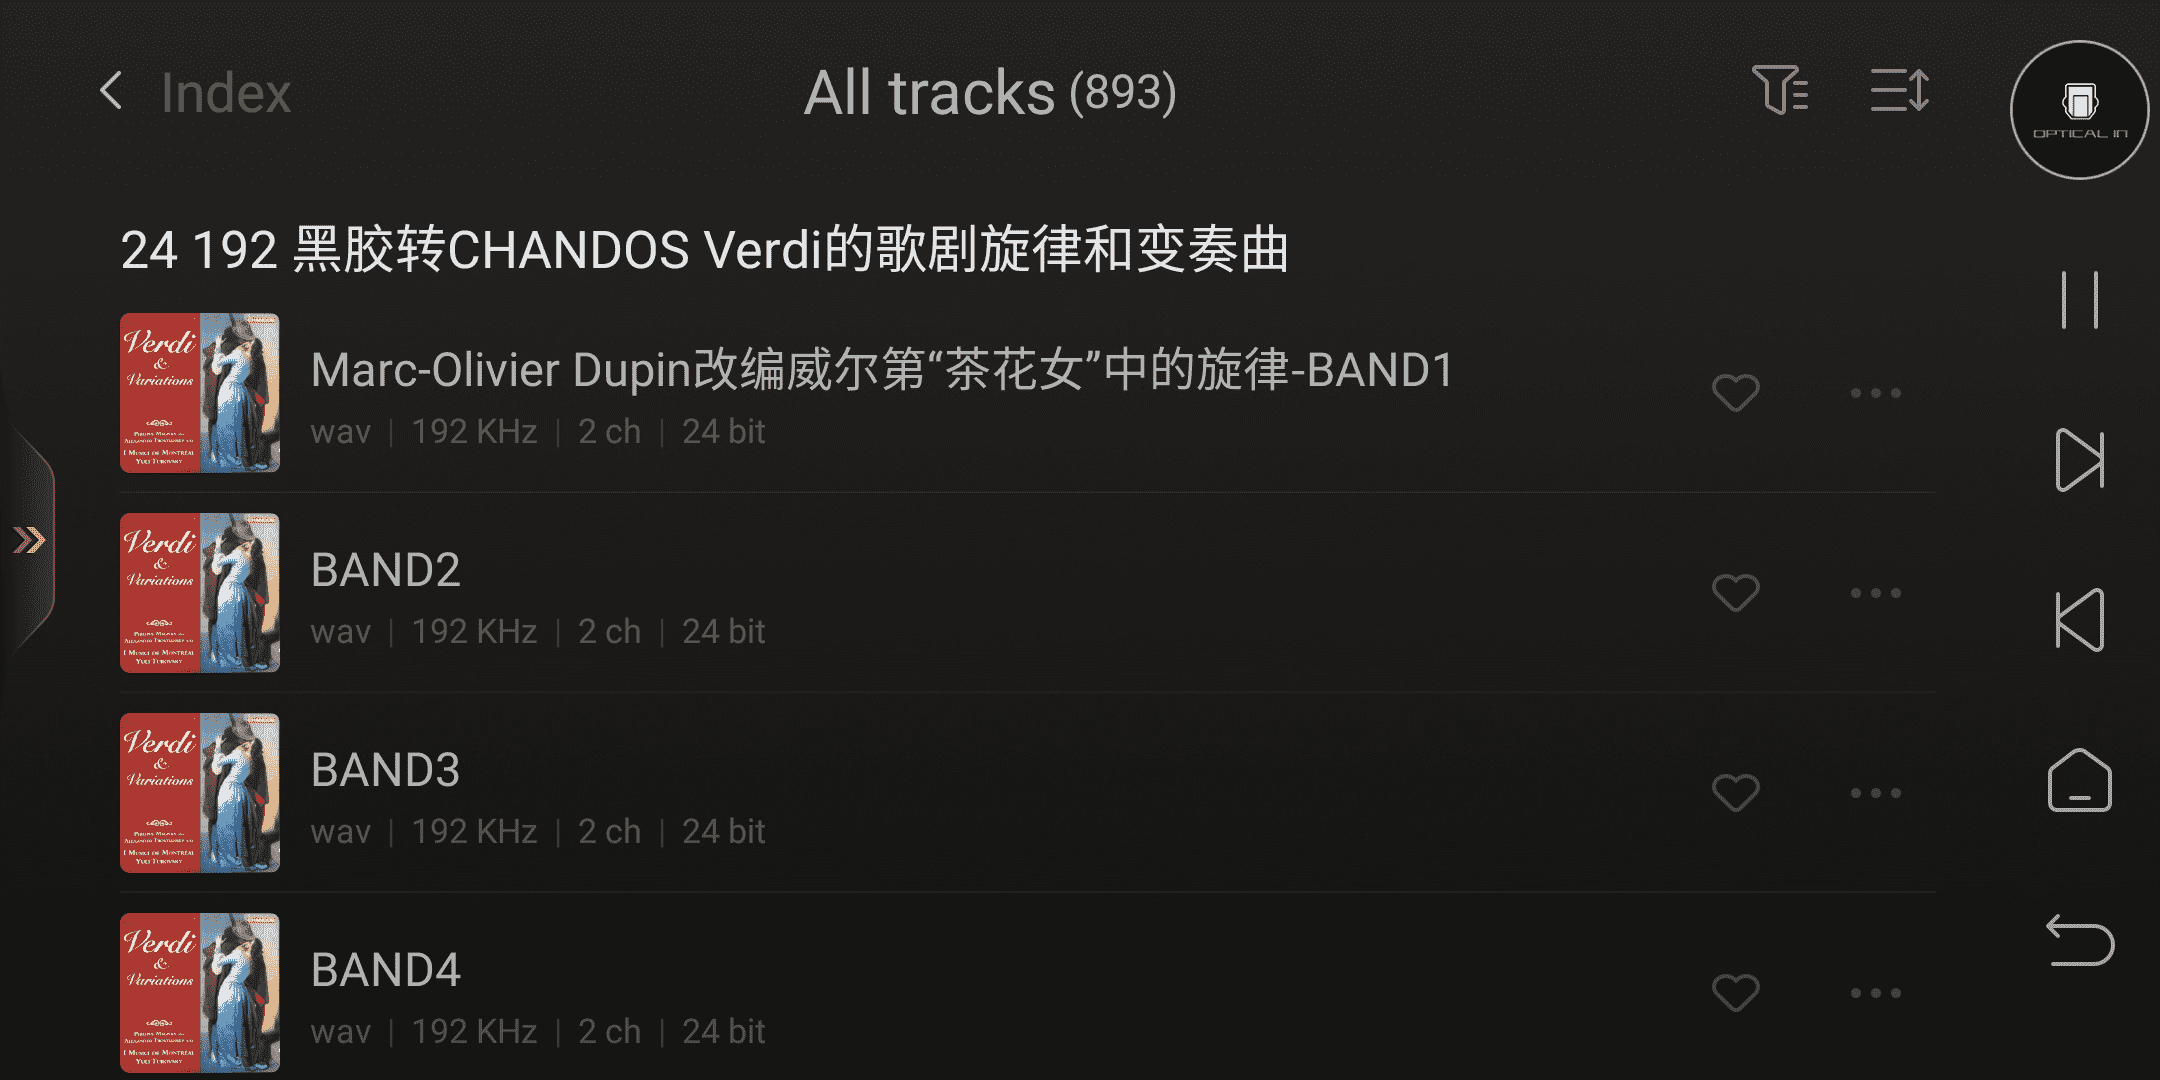
Recently added tracks:Display the 10 most recently added tracks. Click on "All tracks" on the right side to sort and display all the individual music tracks added to the music library by album.
Recently added albums:It can display the 10 most recently added albums. By clicking on "All Albums" on the right side, it can display all the albums added to the music library.

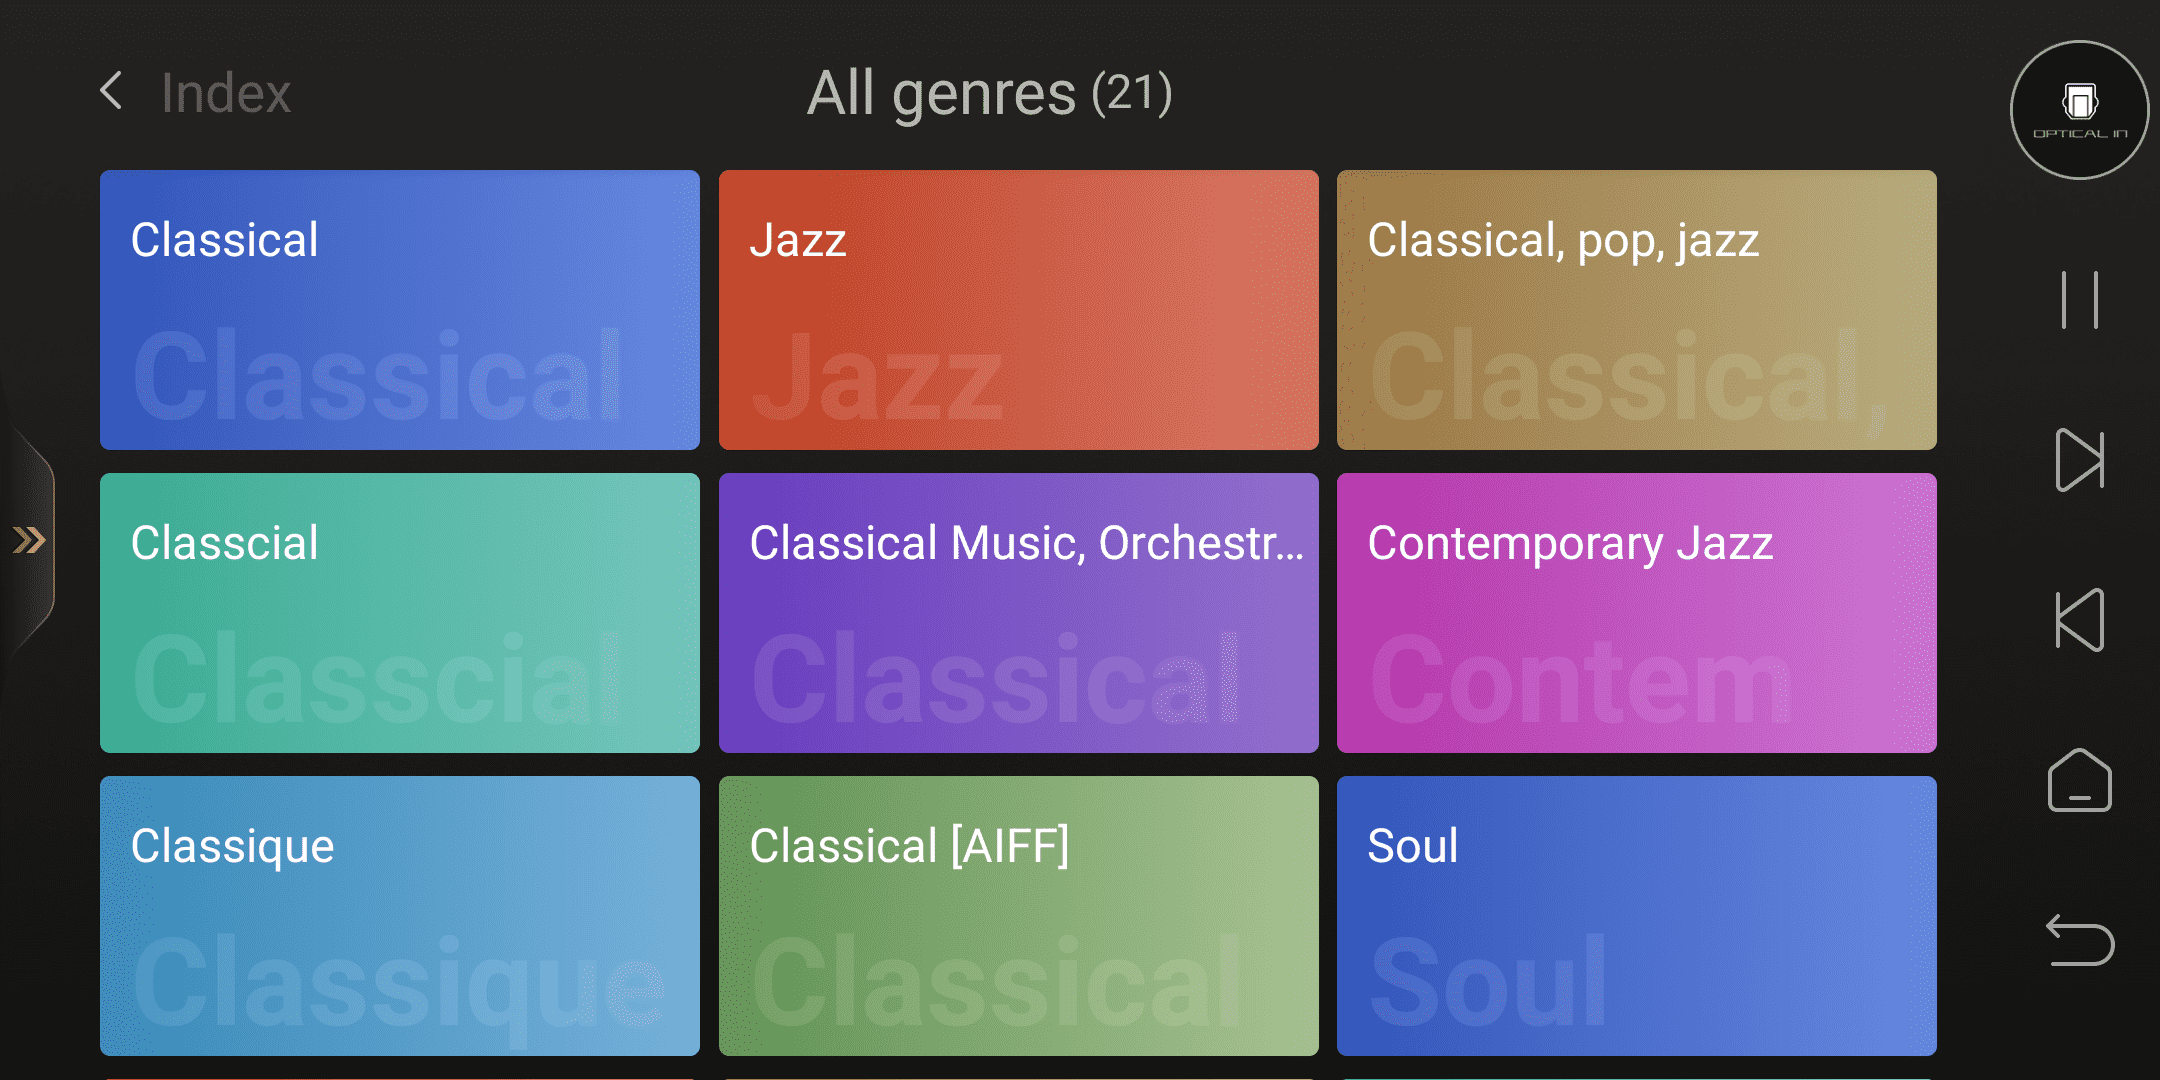
All genres: Display the 10 most recently added genres of music. Click on "All Genres" on the right side to view all the music genres added to the music library.
Long-pressing on sub-options on the homepage can bring up a menu, and dragging them up and down allows for custom sorting.

Tracks
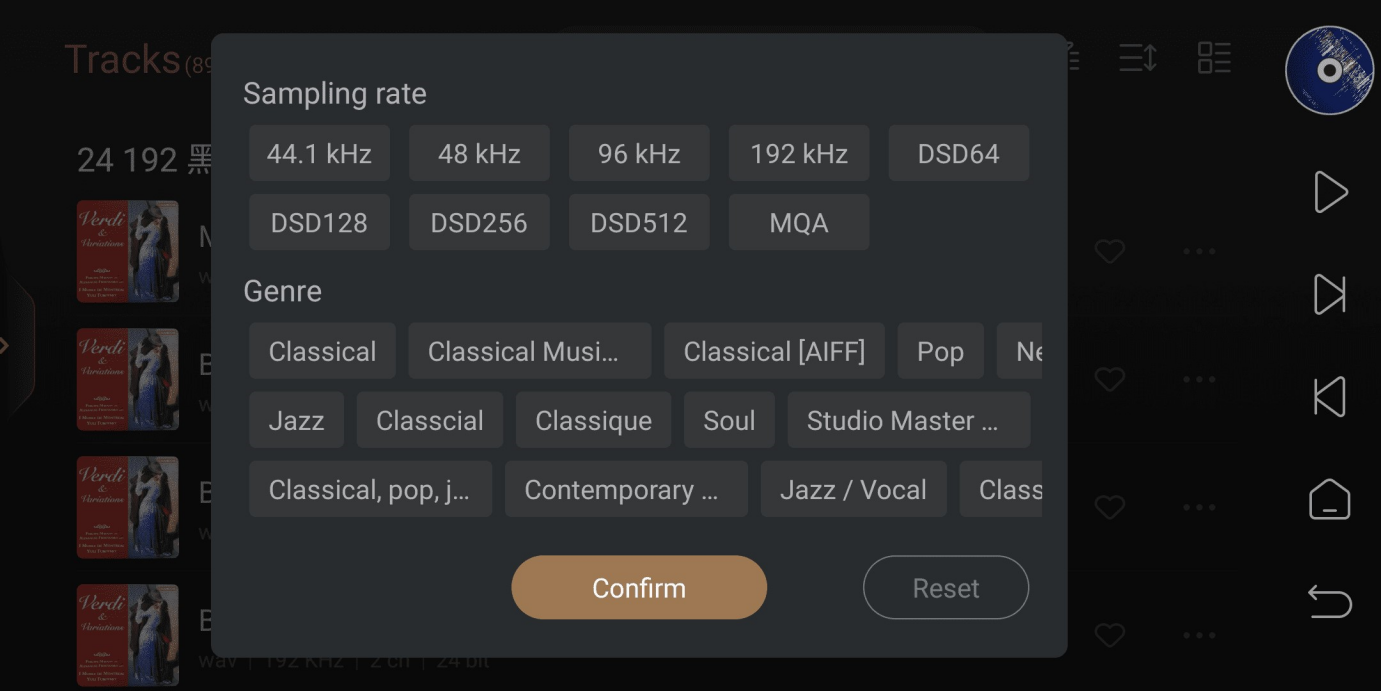
All individual tracks are classified as album categories by default, displayed in file details format. The three icons in the upper right corner are options for music filtering, sorting, and display mode, respectively.

Music filtering: Sampling rate and Genre selection
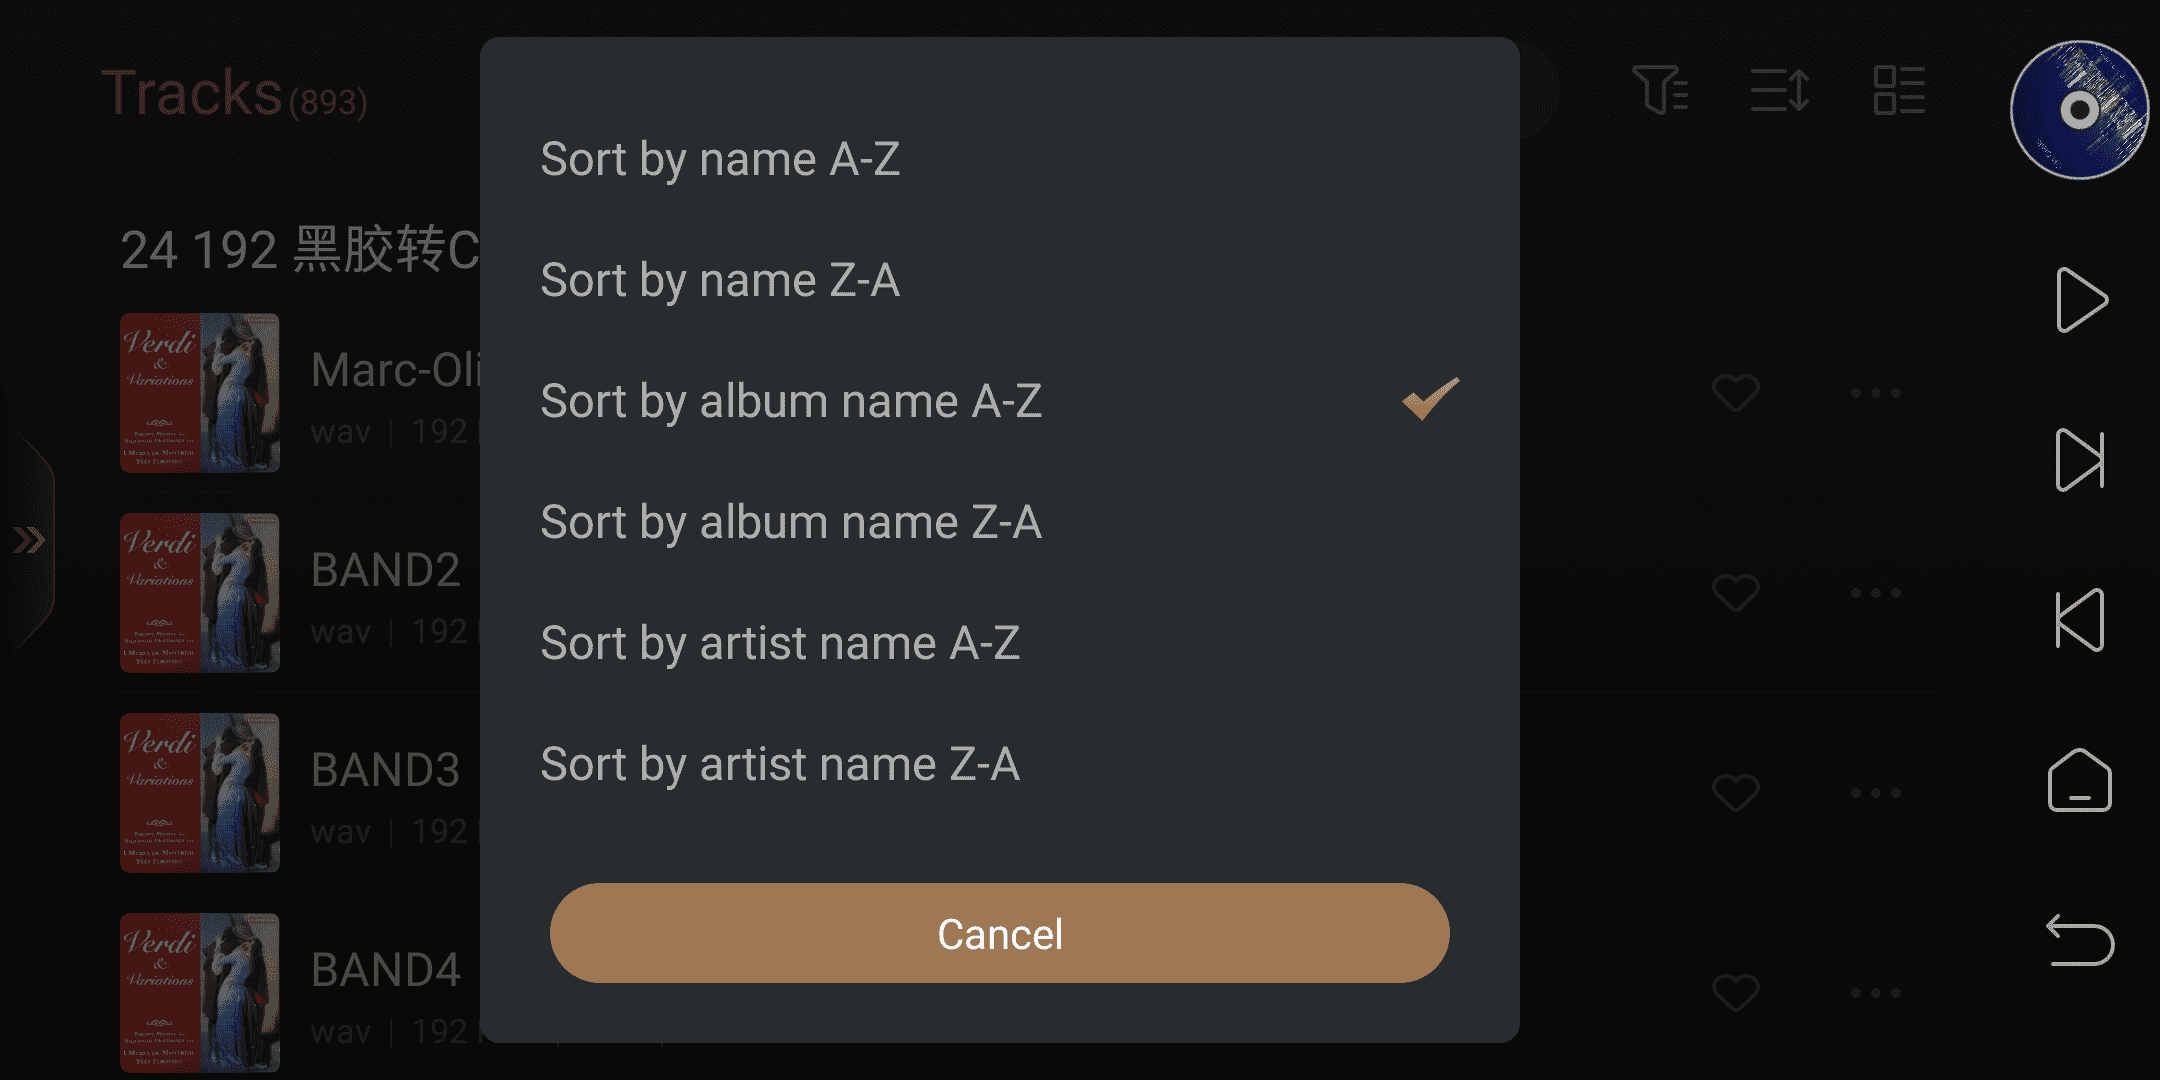
Music sorting:The six sorting methods are supported as shown in the following picture.
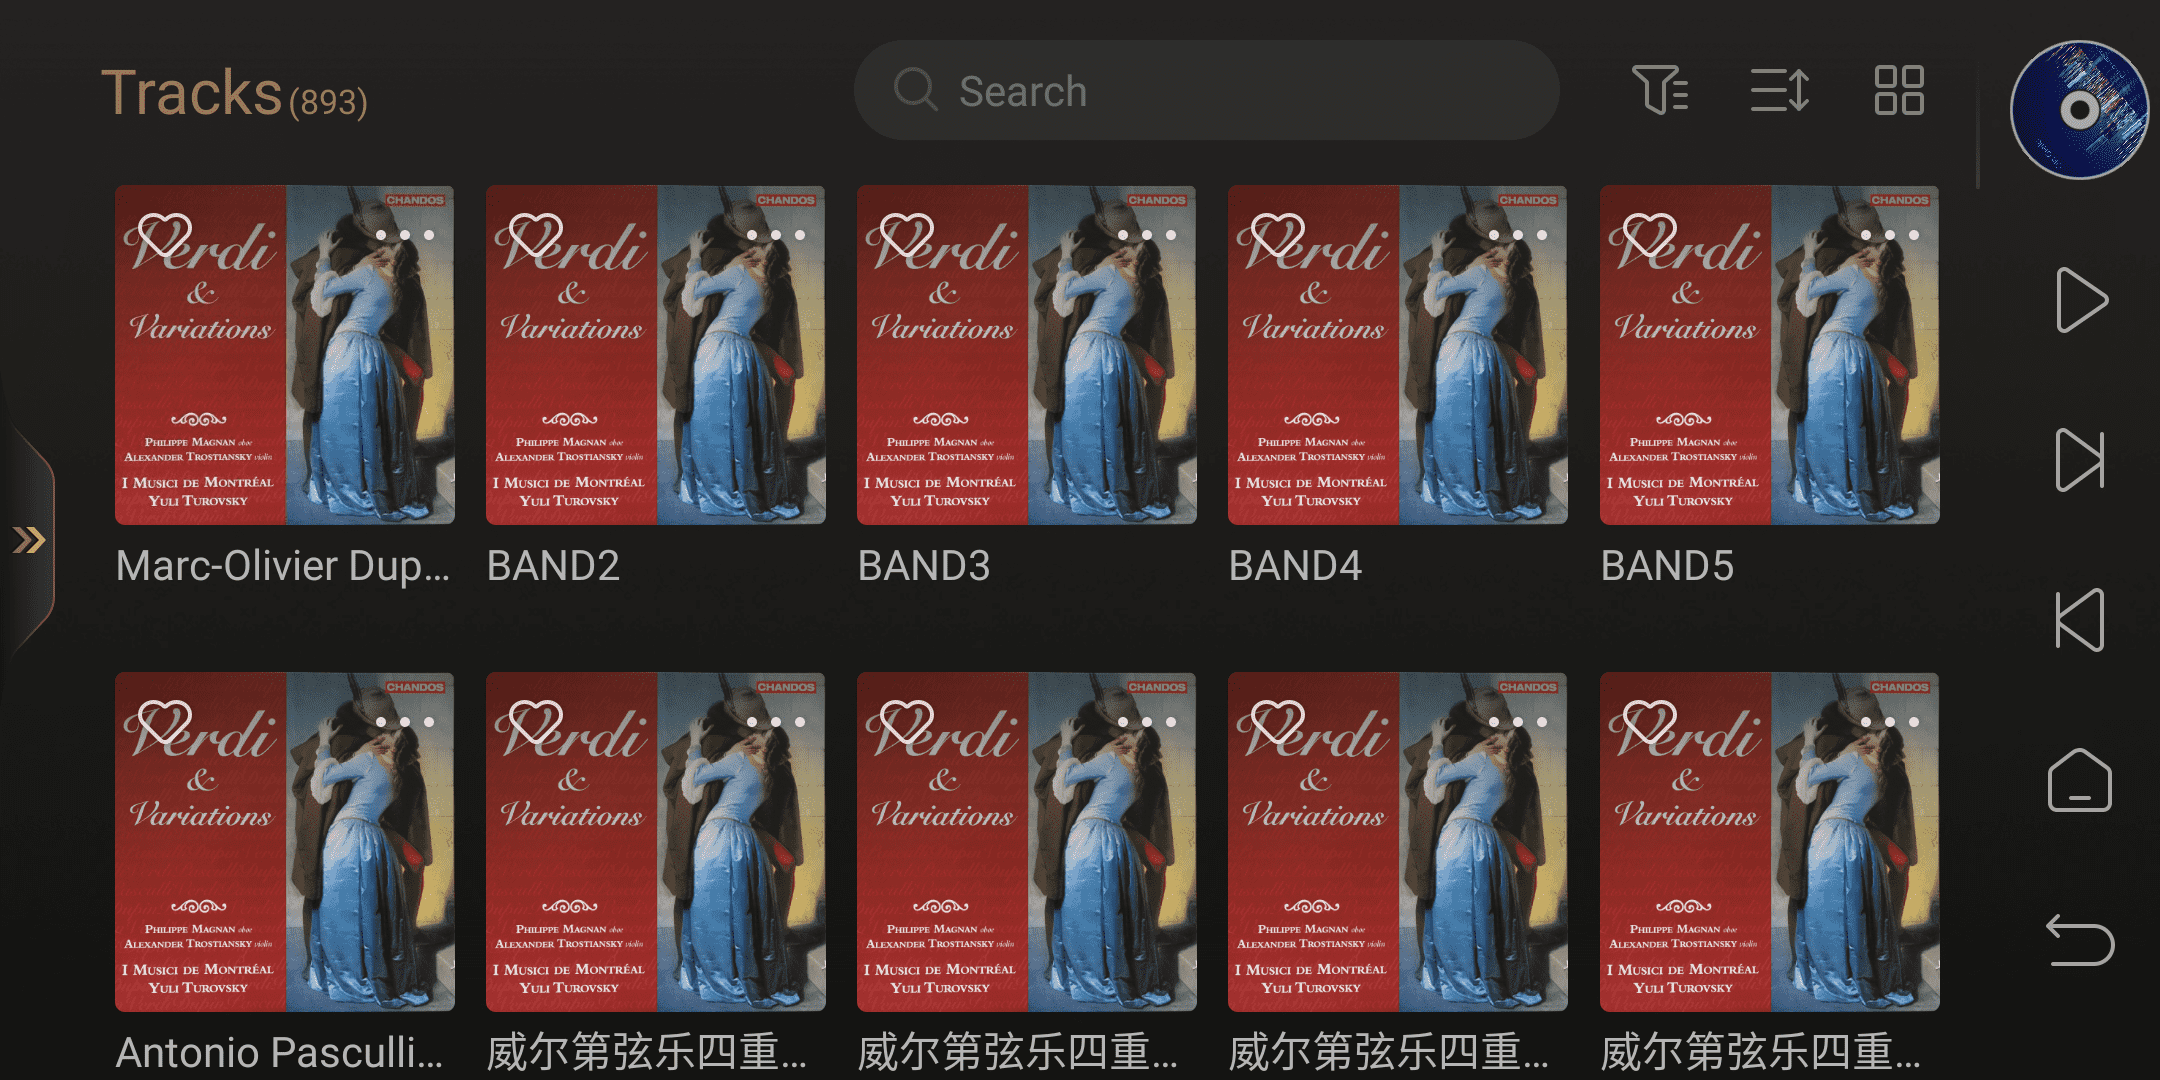
Display mode:Display music file details or large image
Music file details display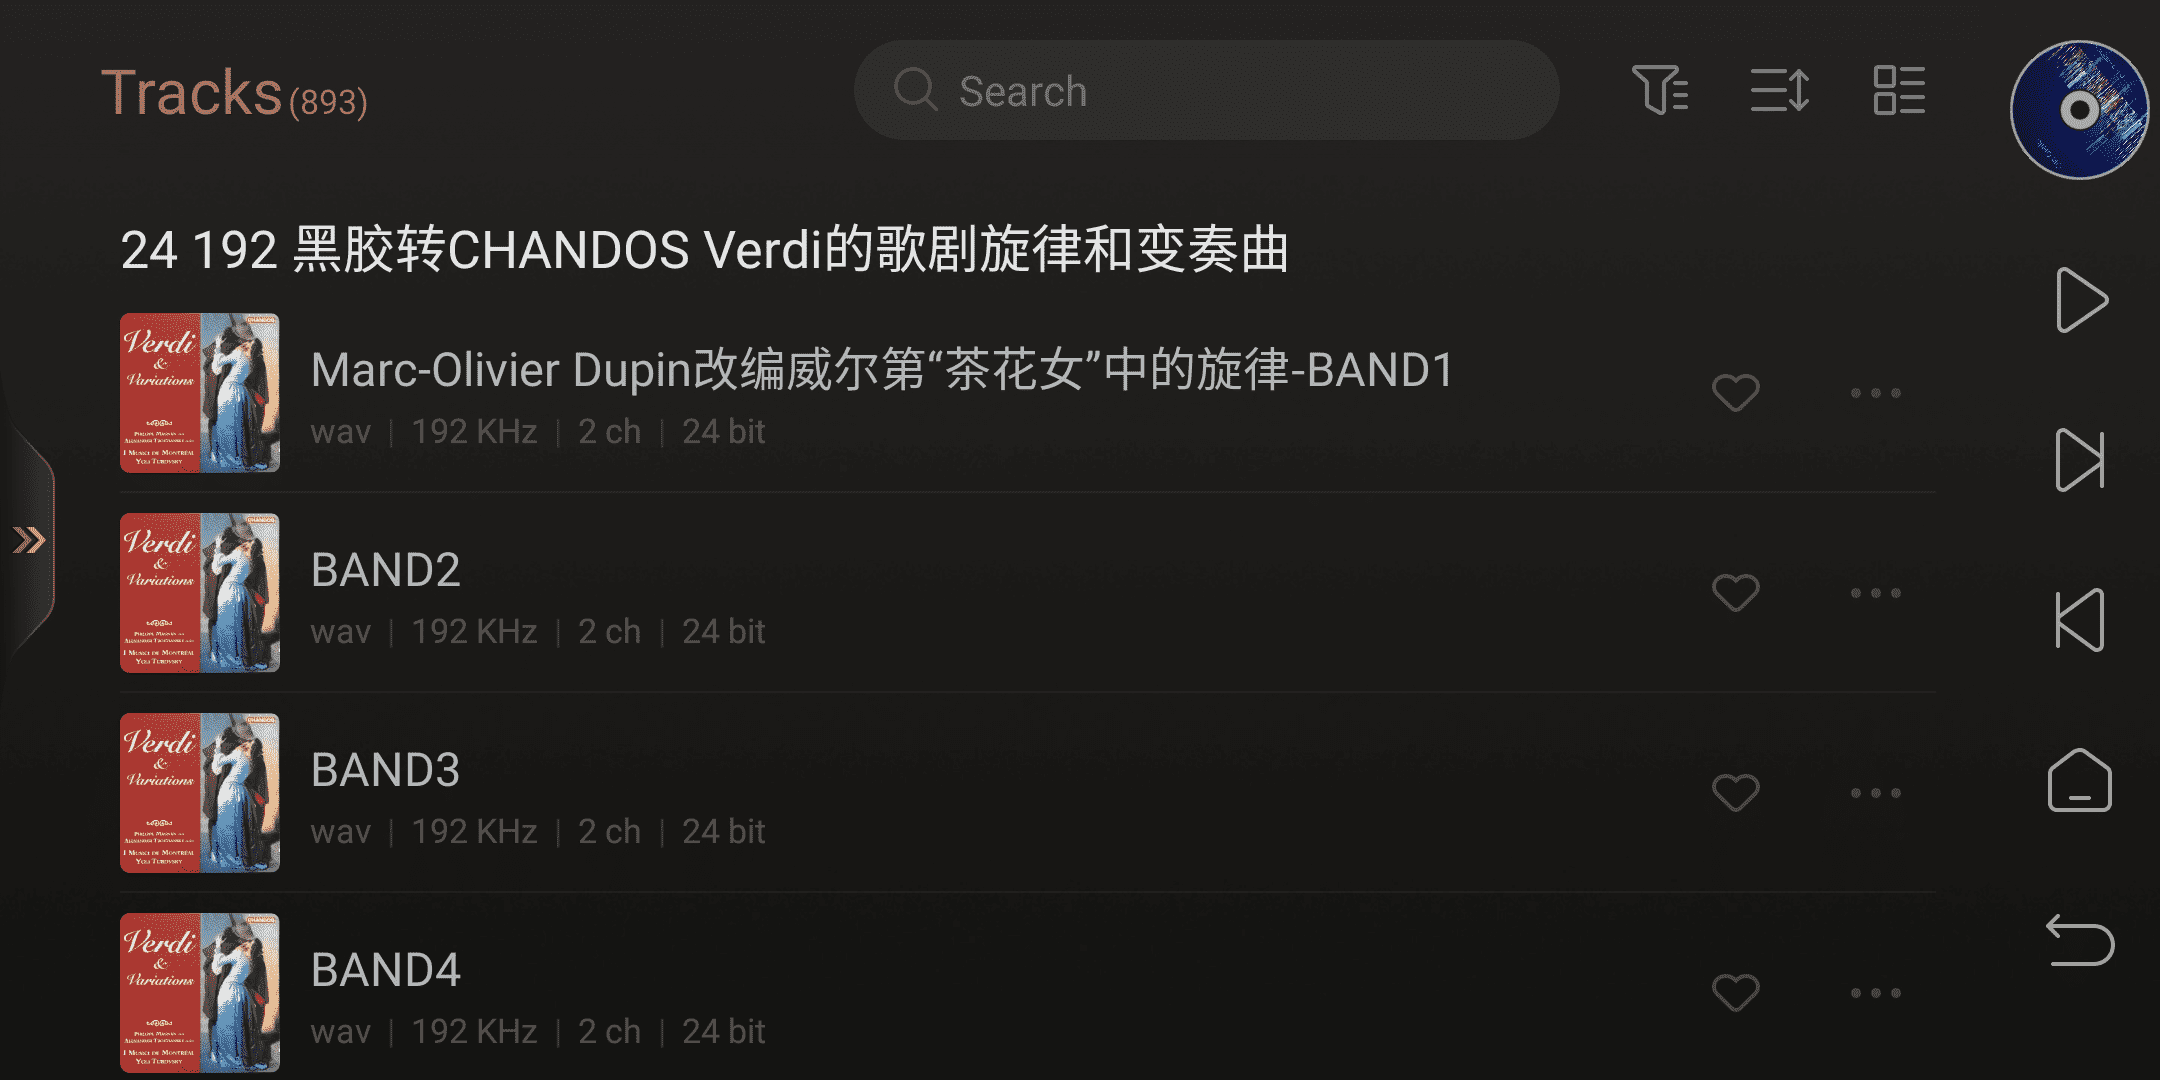
Large image display
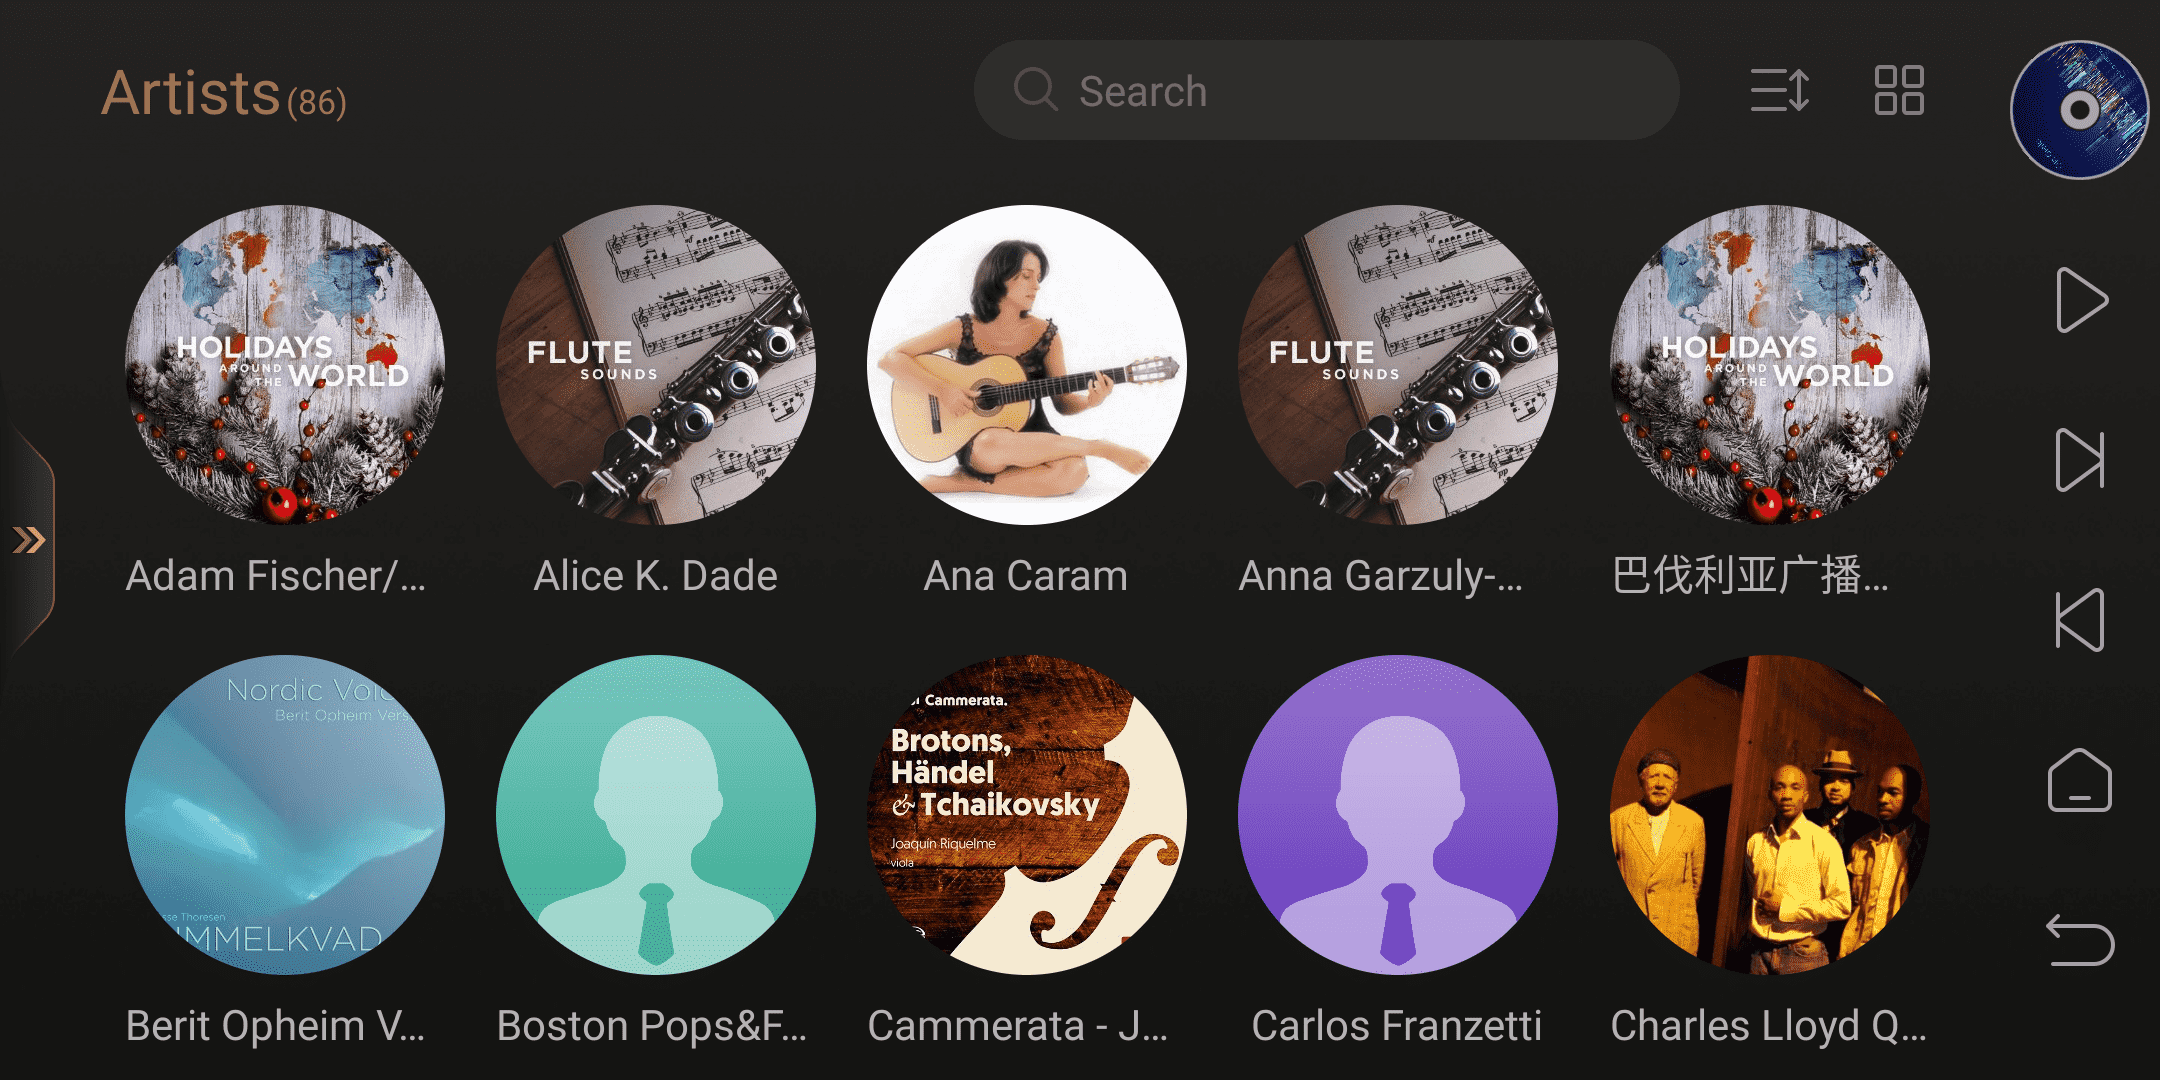
Artists
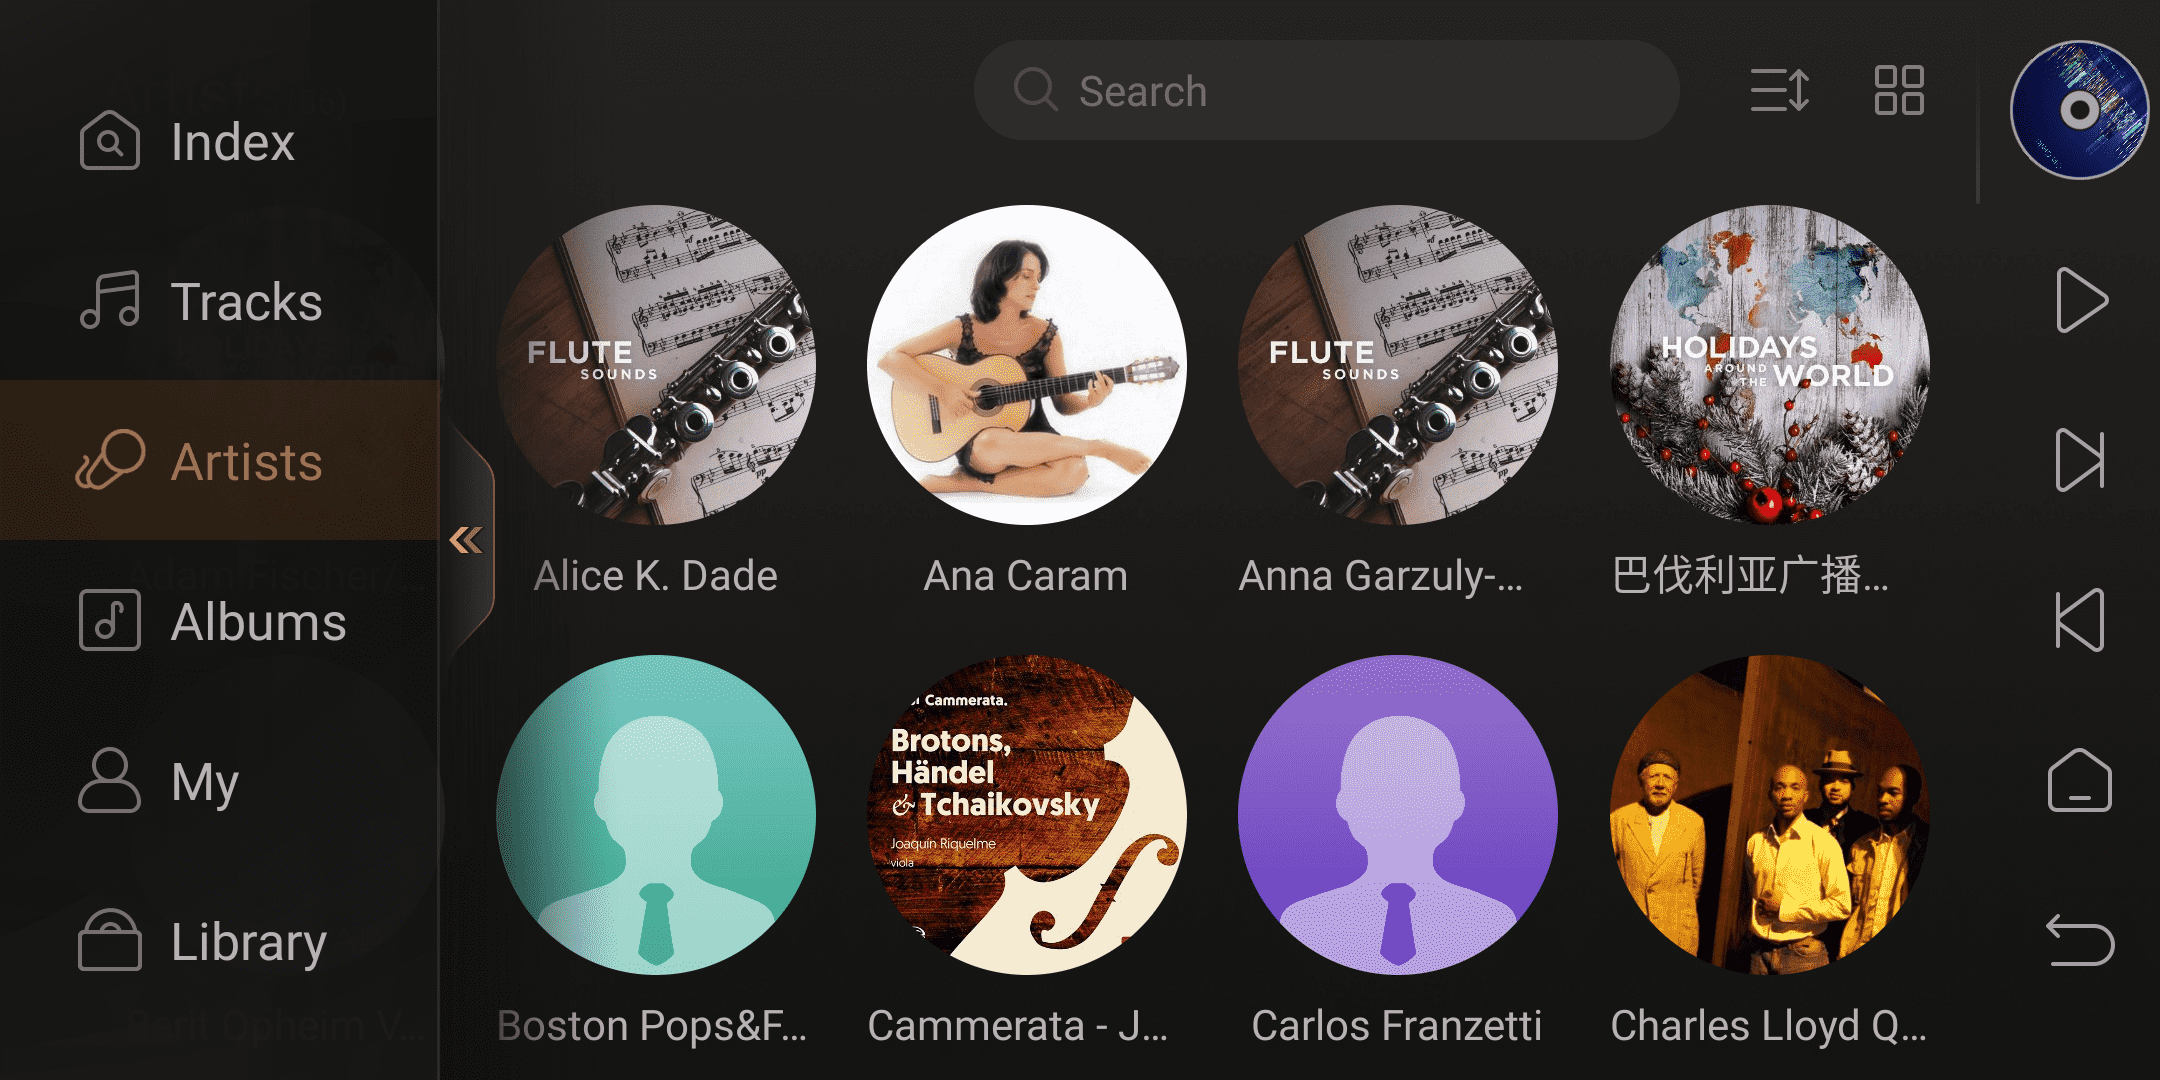
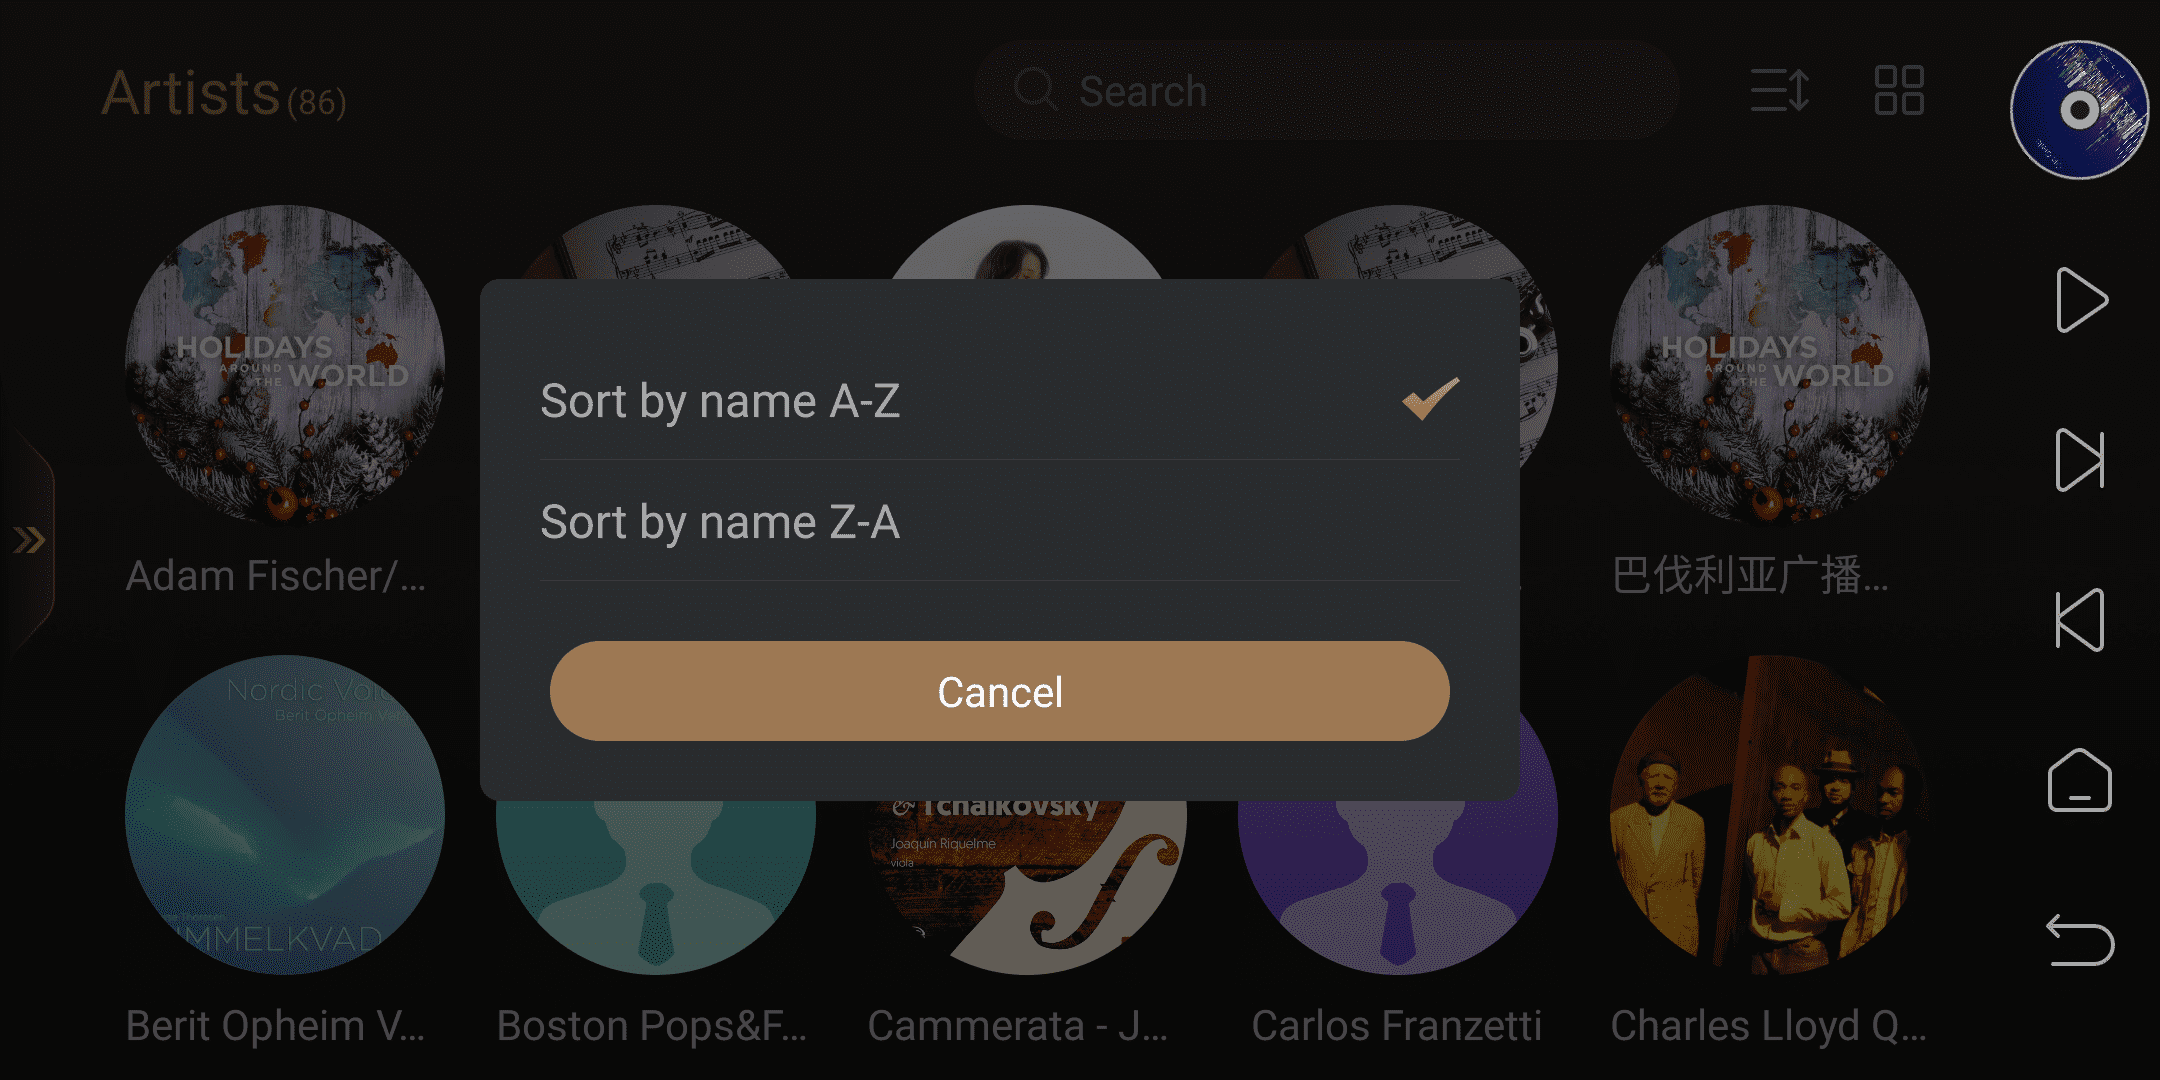
In the "Artist”option, you can view all the music artists in the music library. The icons in the top right corner are for sorting and display mode switching. Sorting: It supports sorting artists in ascending and descending order based on the first letter of their names.
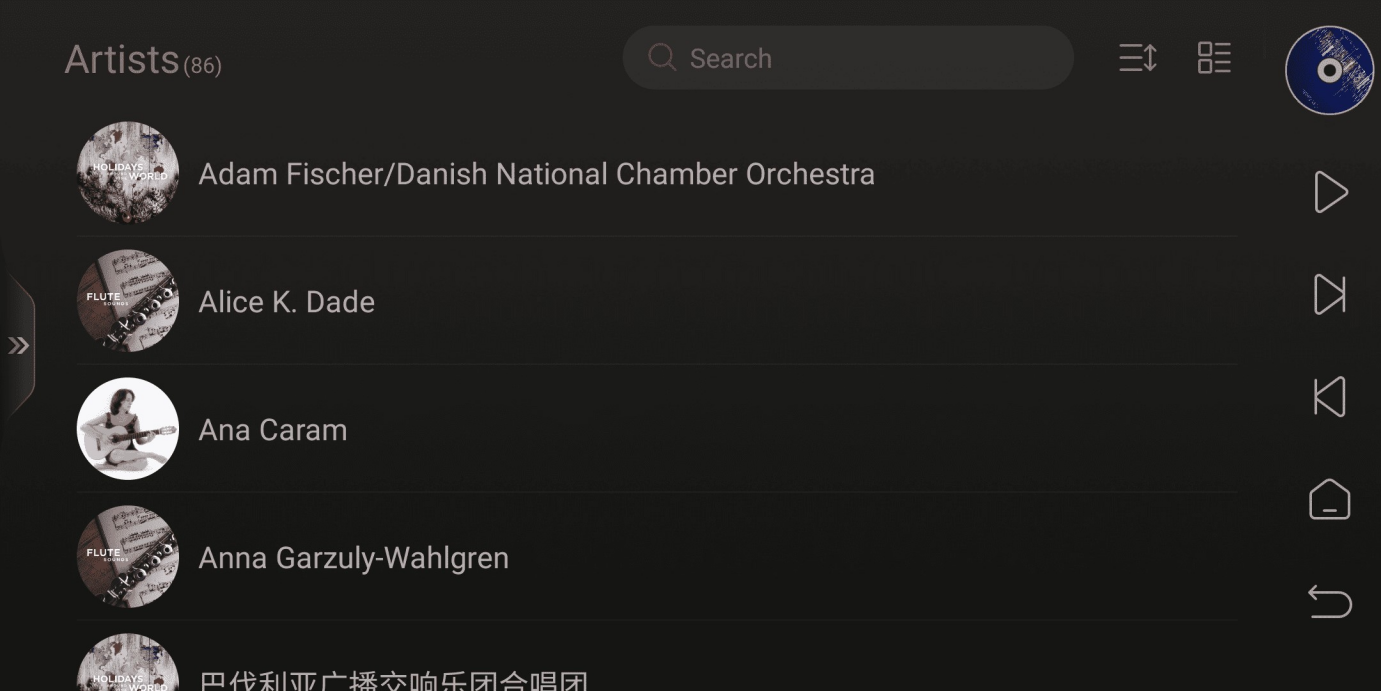
Display mode:Supporting large image and list display
Large image display of Artists
List display of Artists
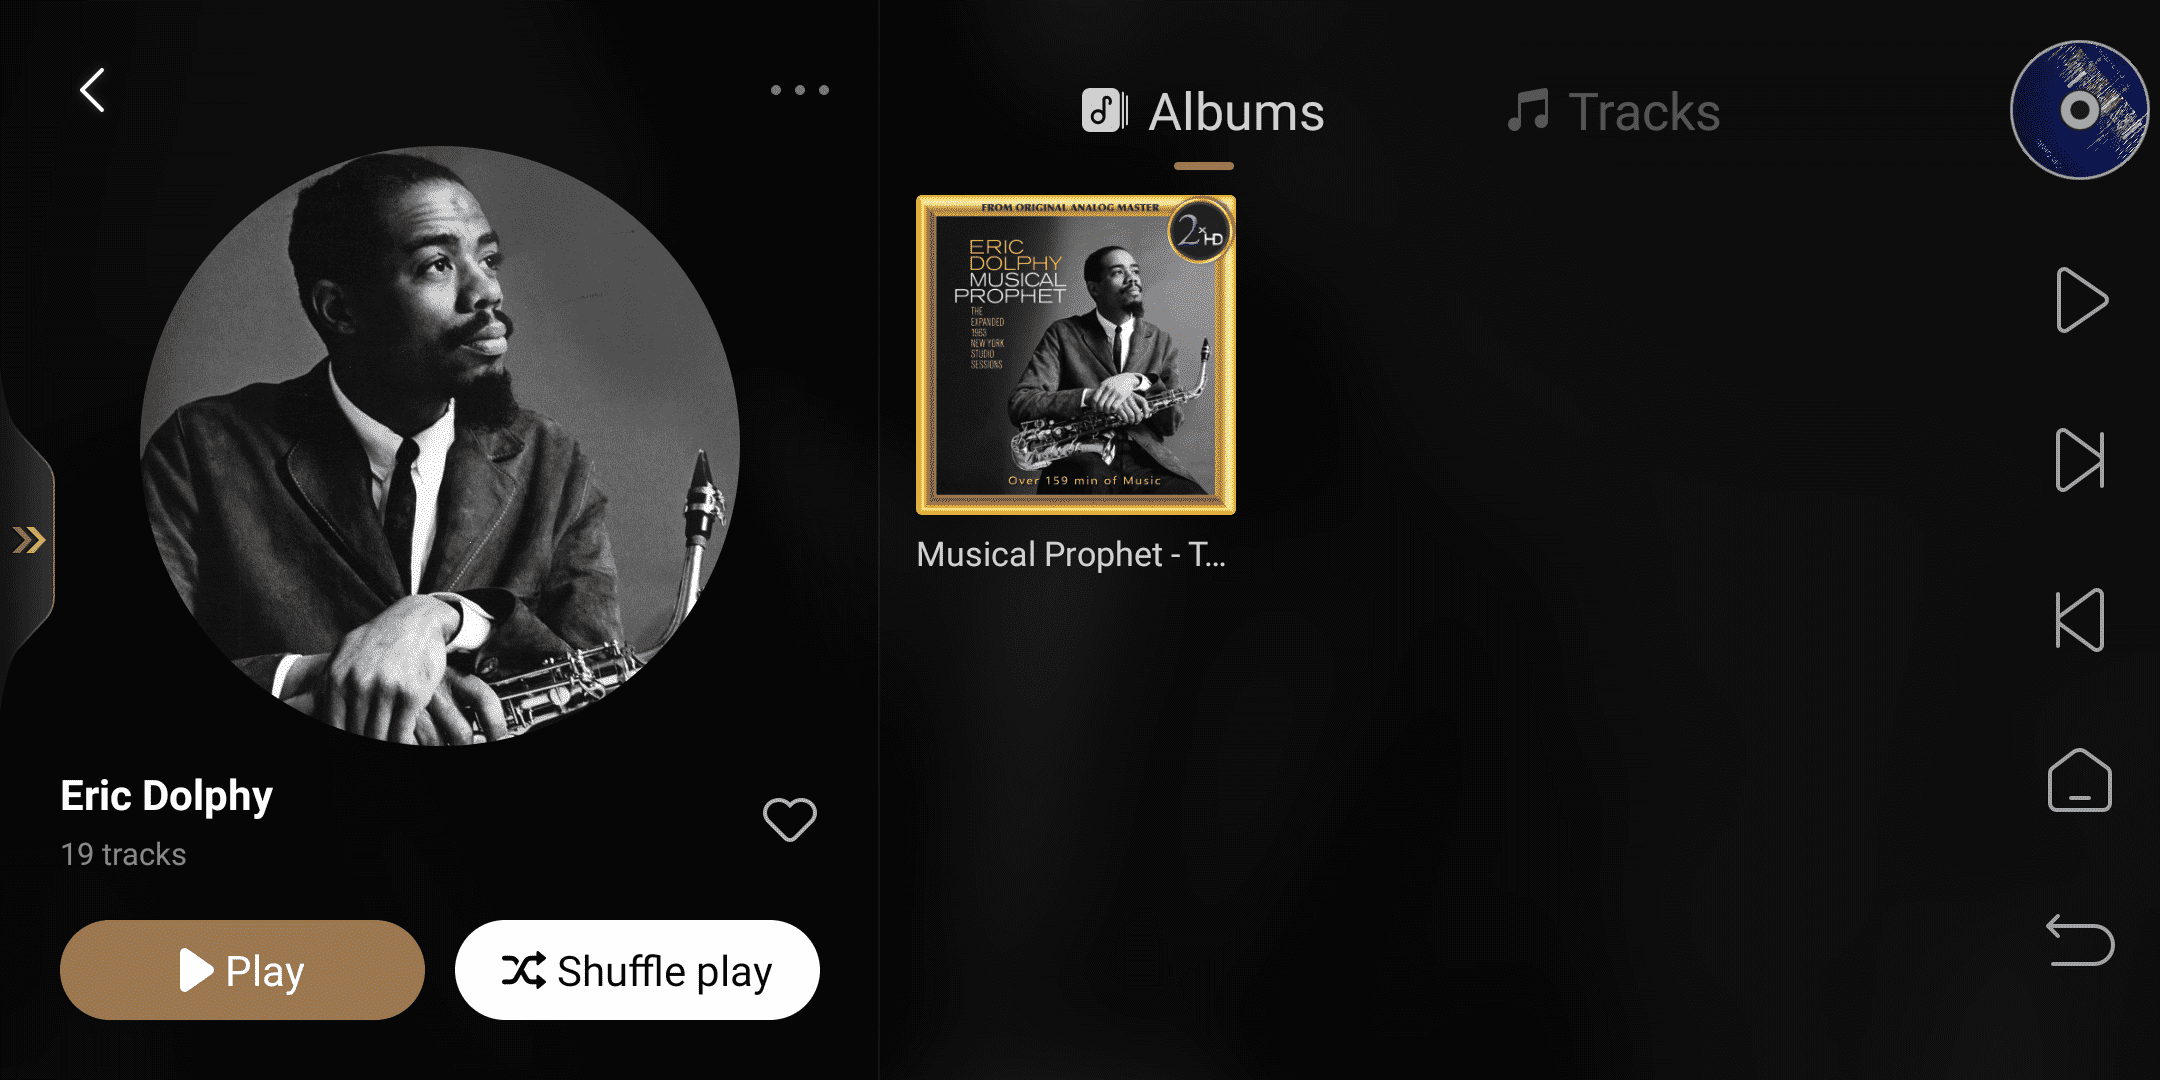
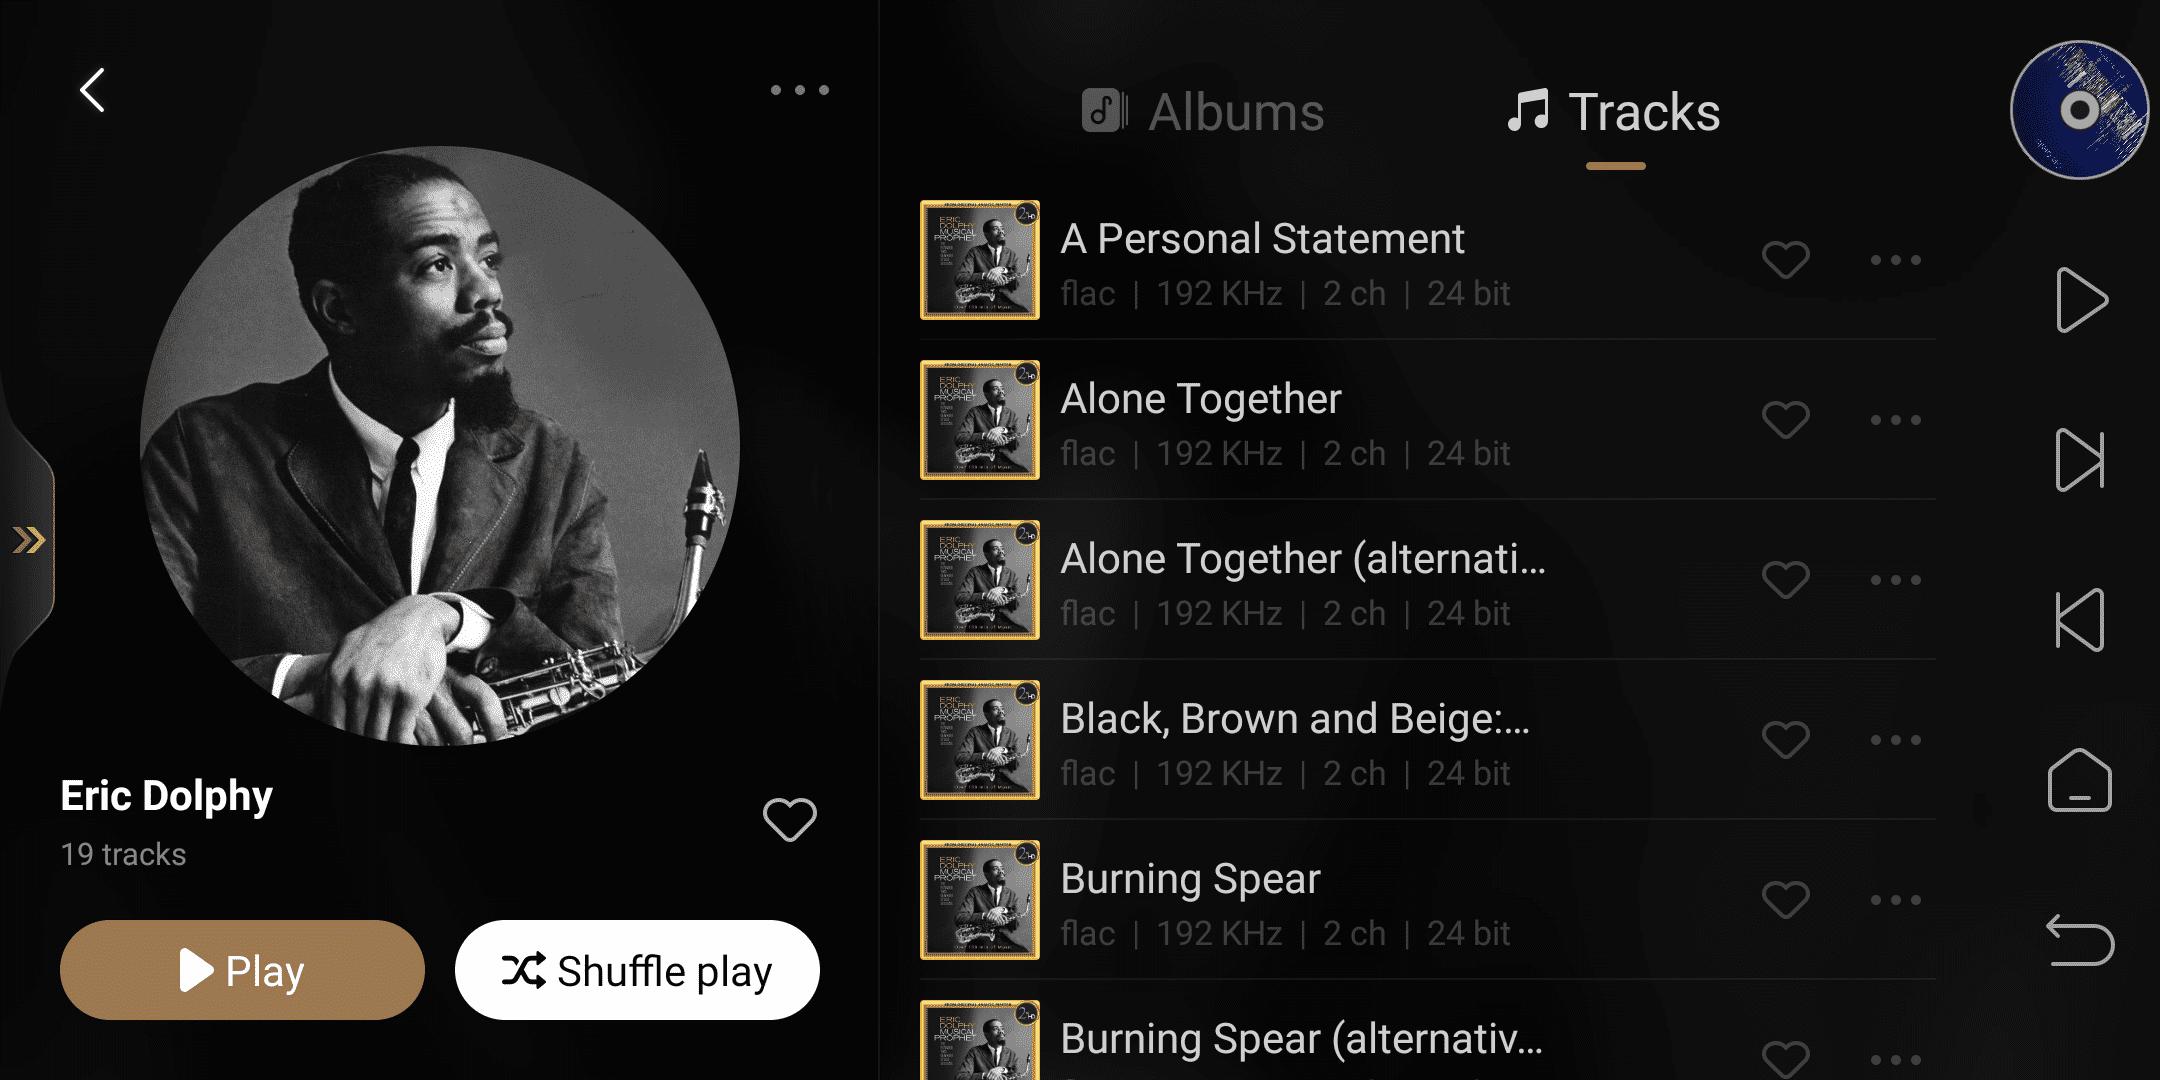
Clicking on the artist allows you to view all of the artist's tracks and albums, and you can play them all or play them randomly.
Albums
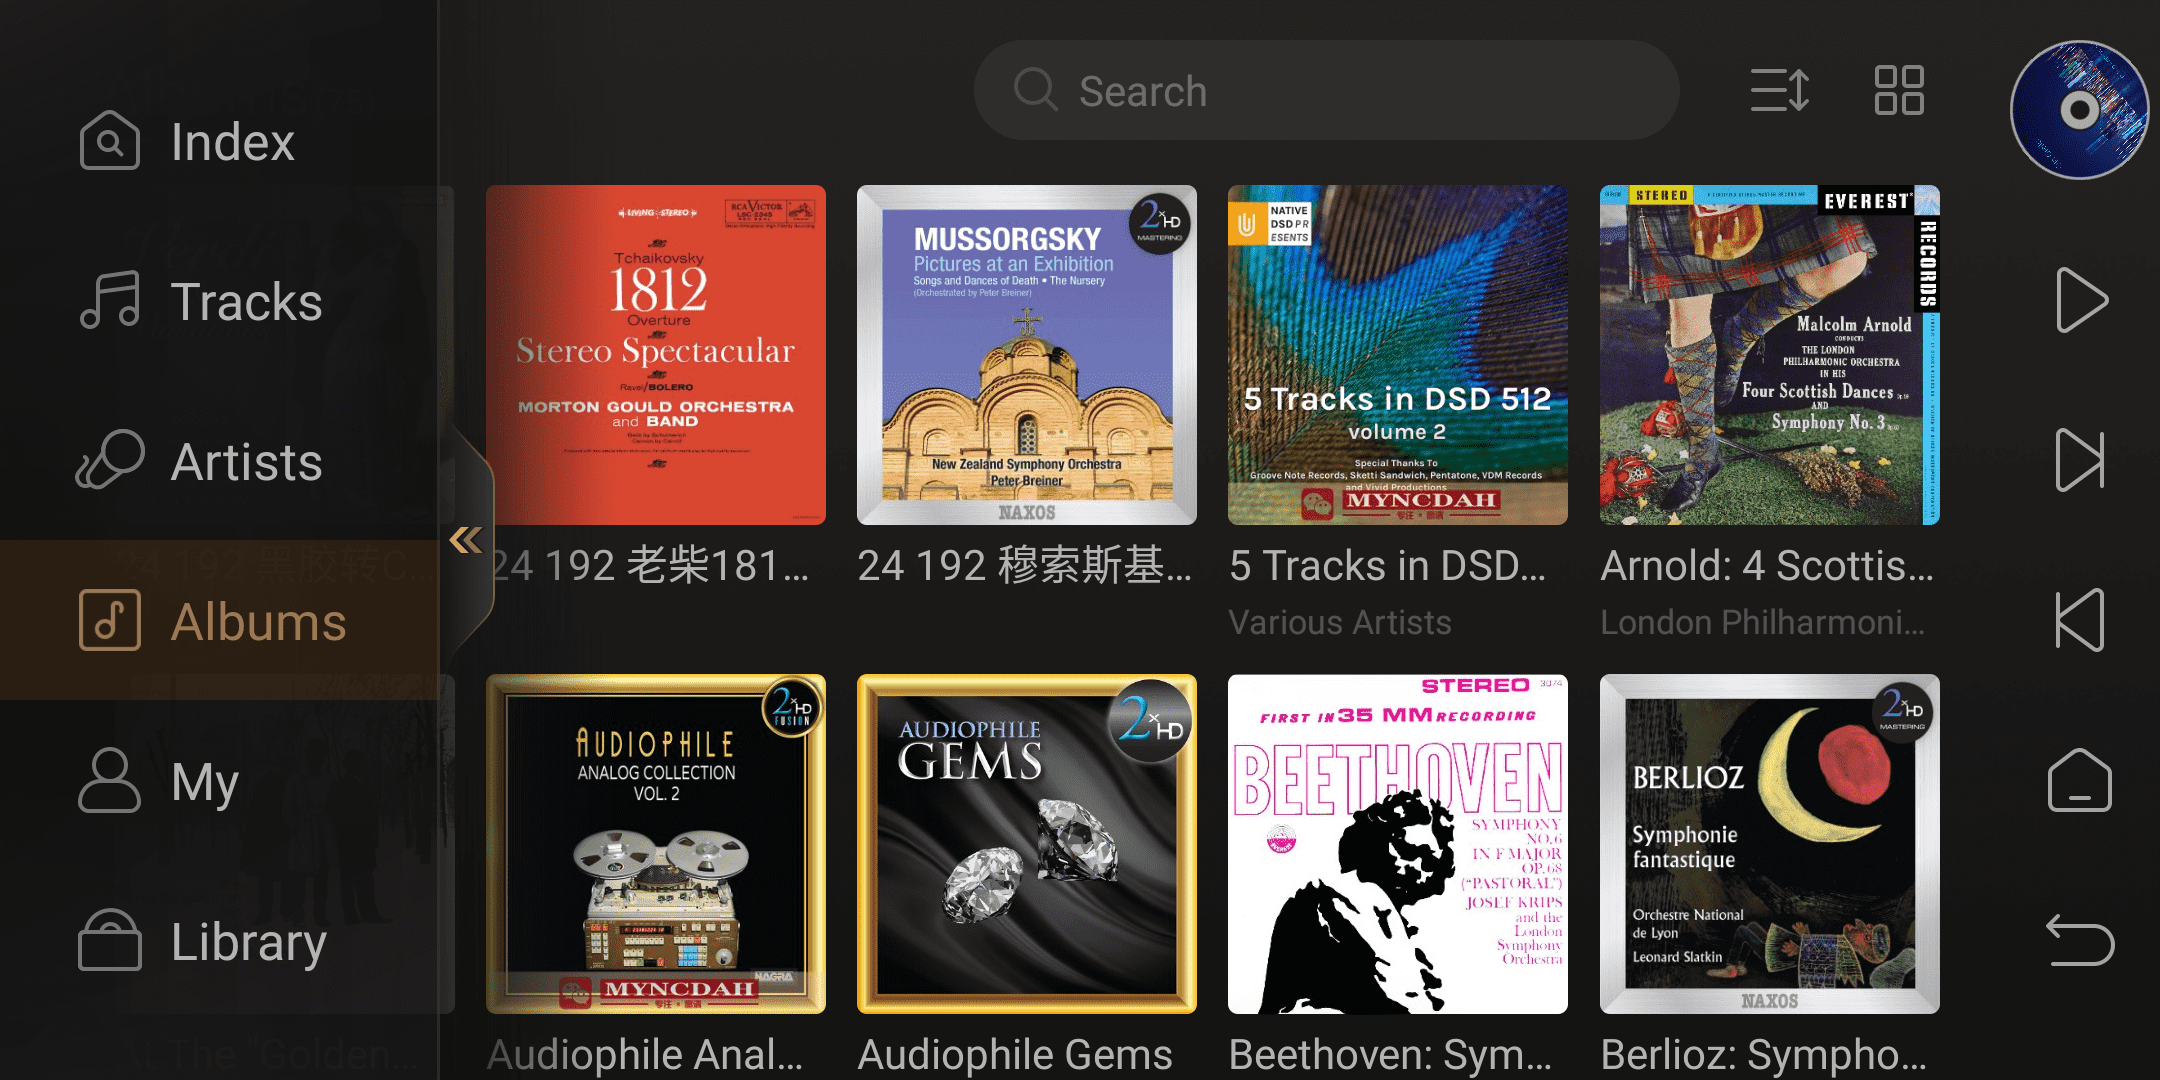
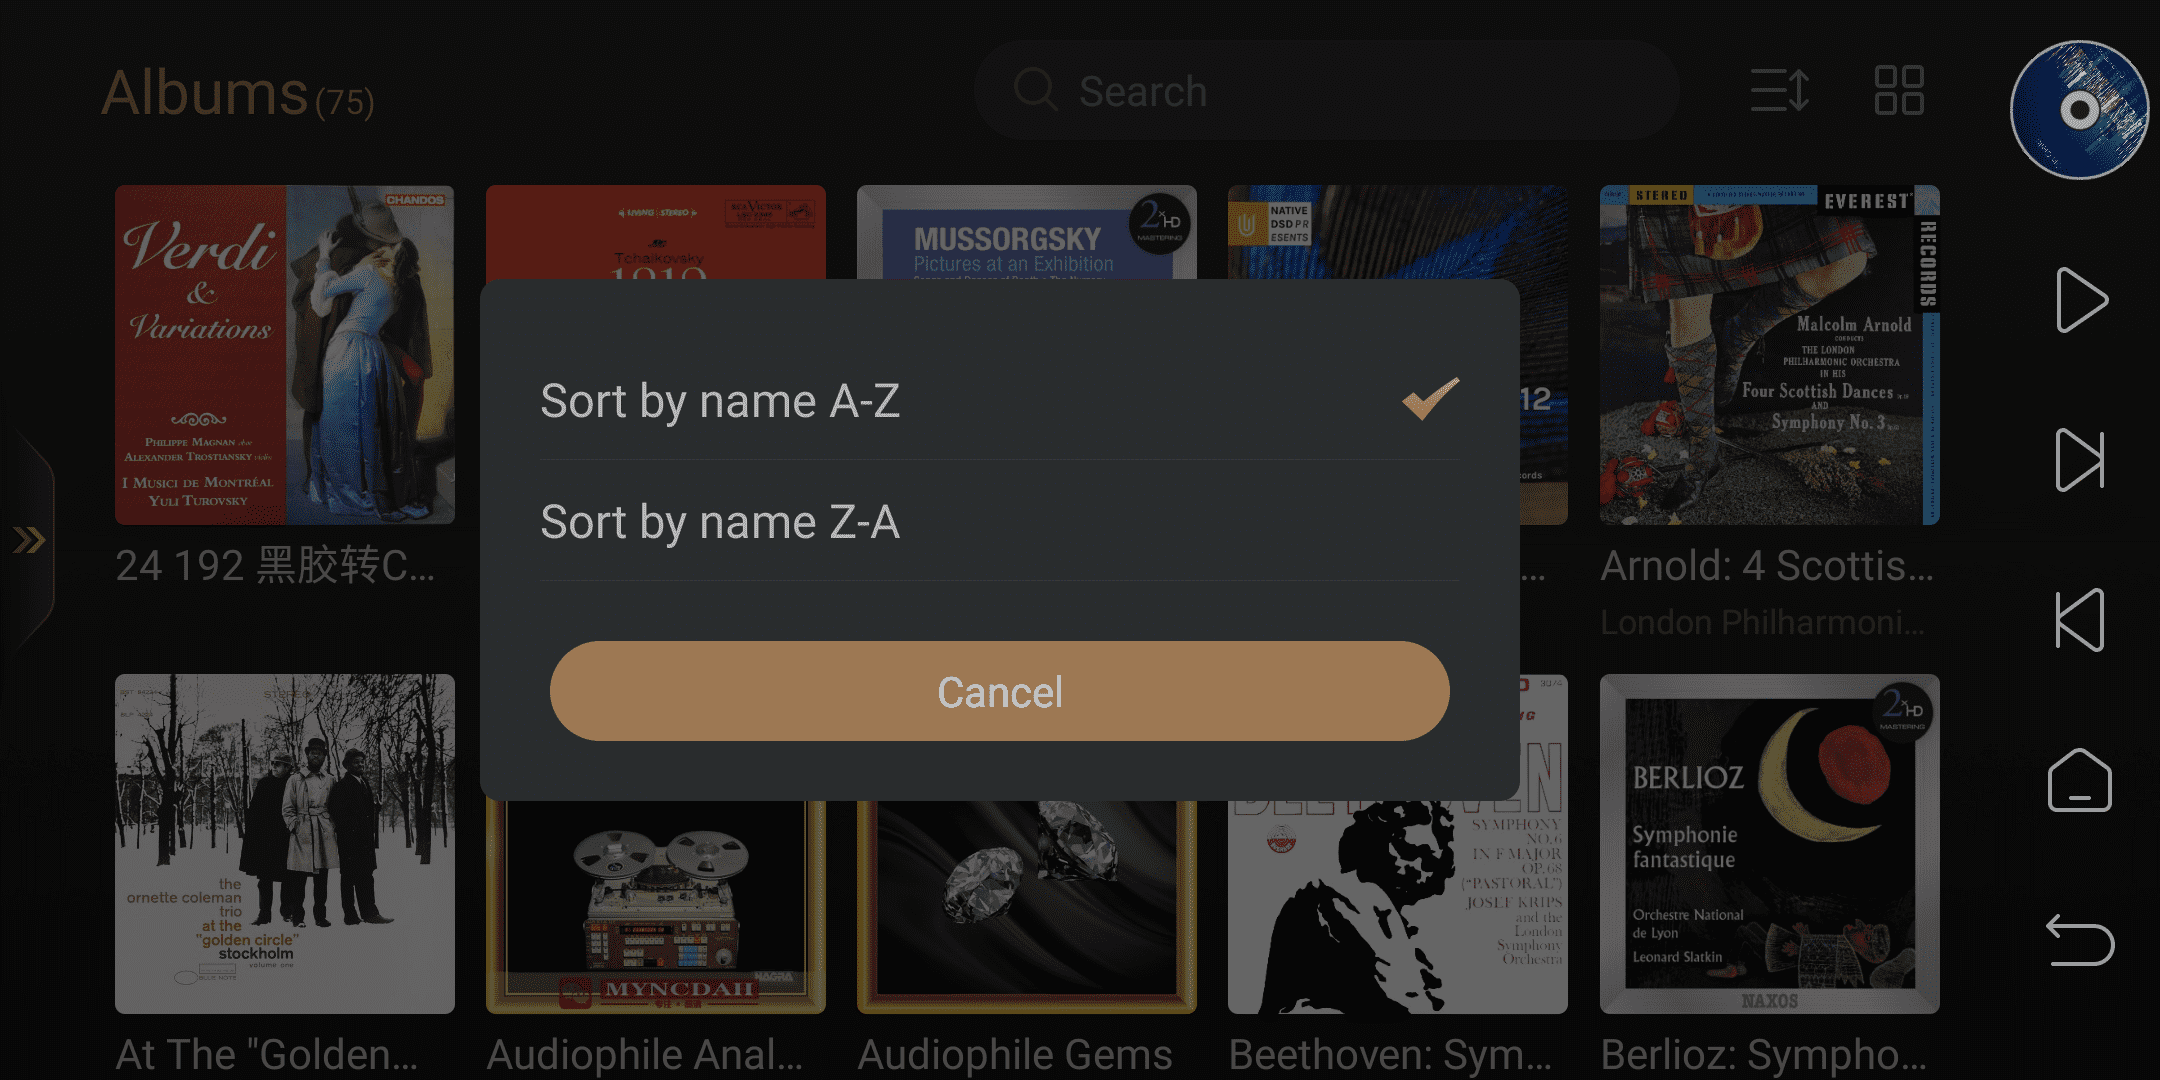
Album options allow you to view all albums in the music library. The icons in the top right corner are for sorting and display mode switching.
Sorting: Supports sorting albums in ascending or descending order based on the first letter of the album.
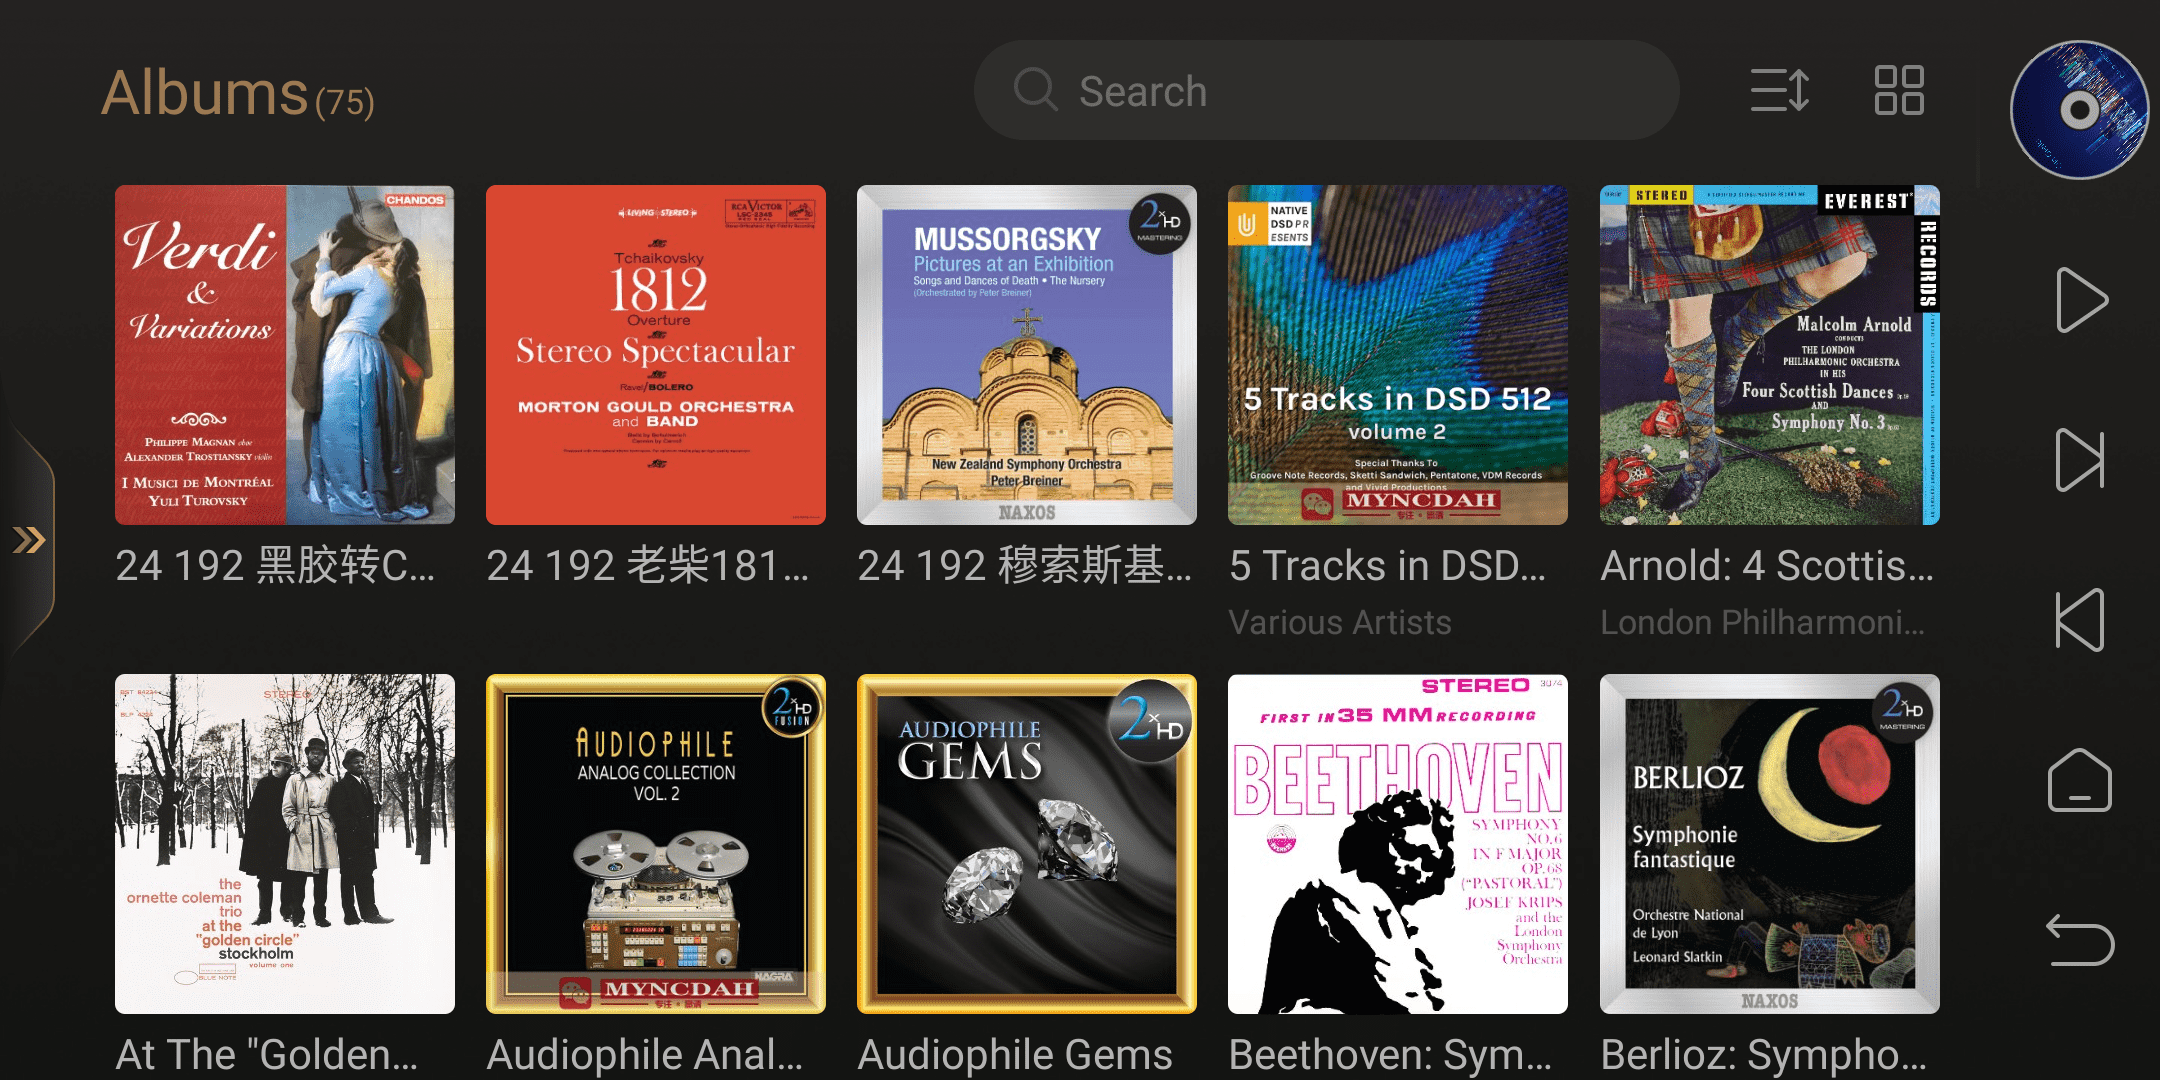
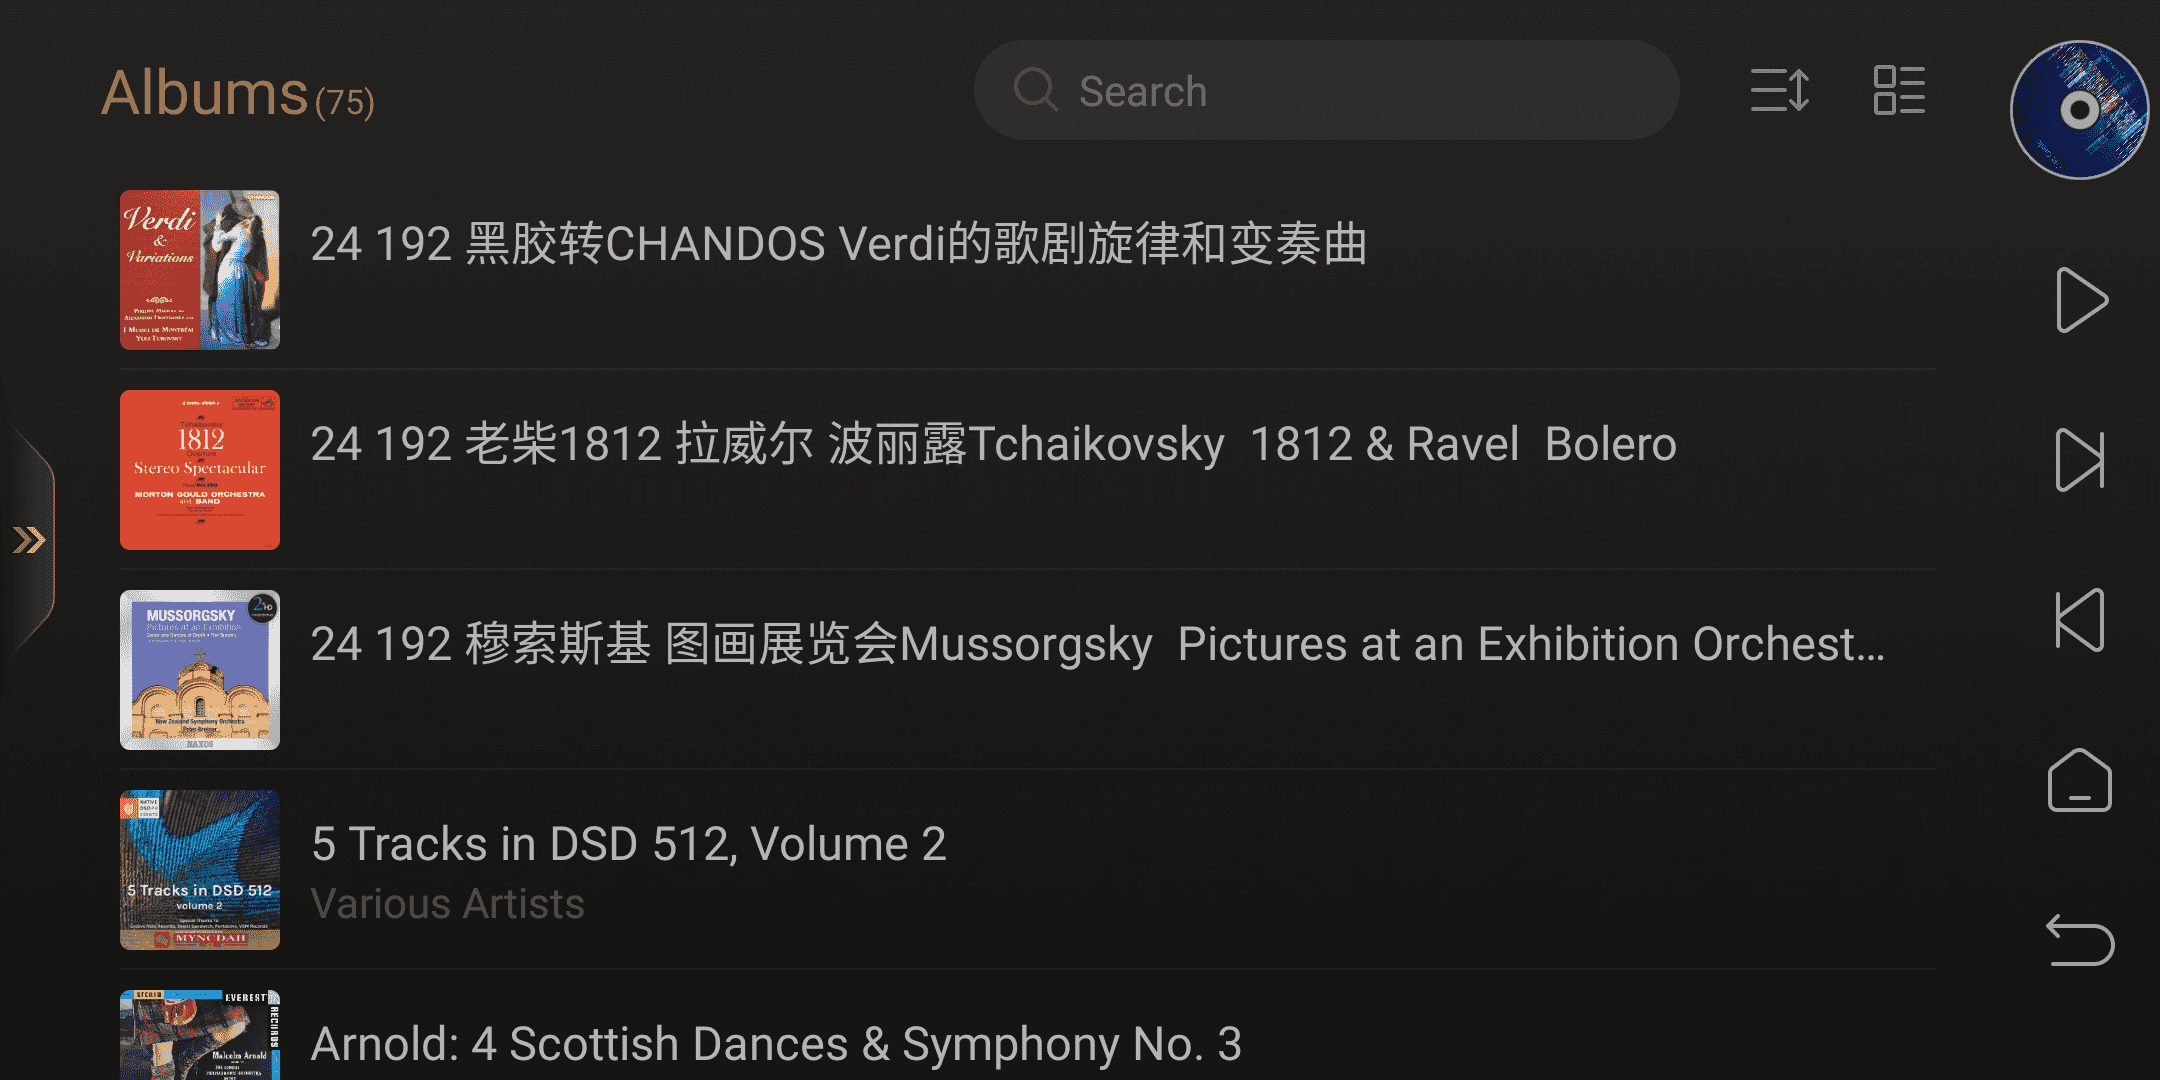
Display mode:Supporting large image and list display
Large image display of Albums
List display of Albums
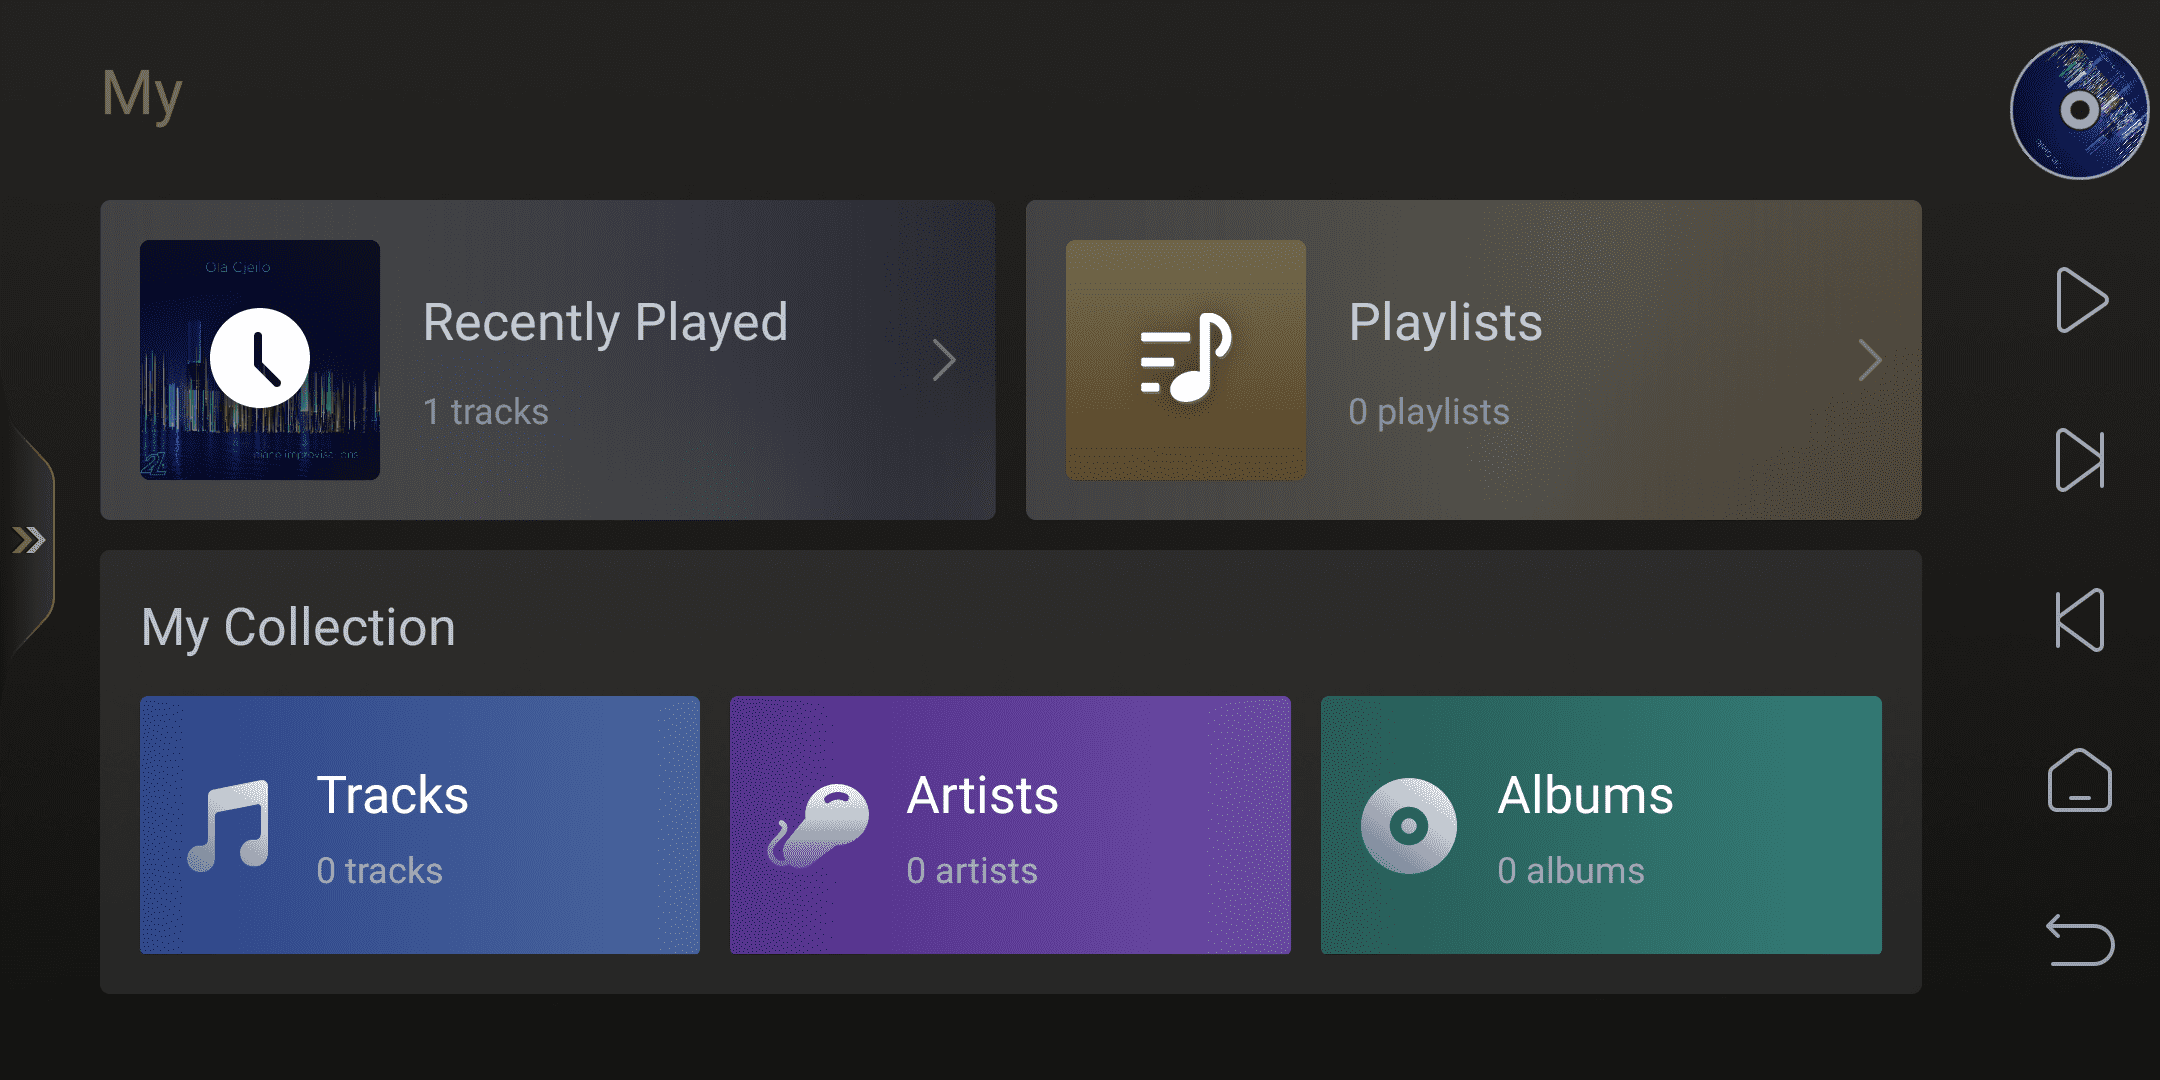
My
In this option, you can view the user's recent played information, customized playlists, as well as tracks, artists, and album collections.
Library
This option provides path management for music, allowing you to add, update, and delete music paths.
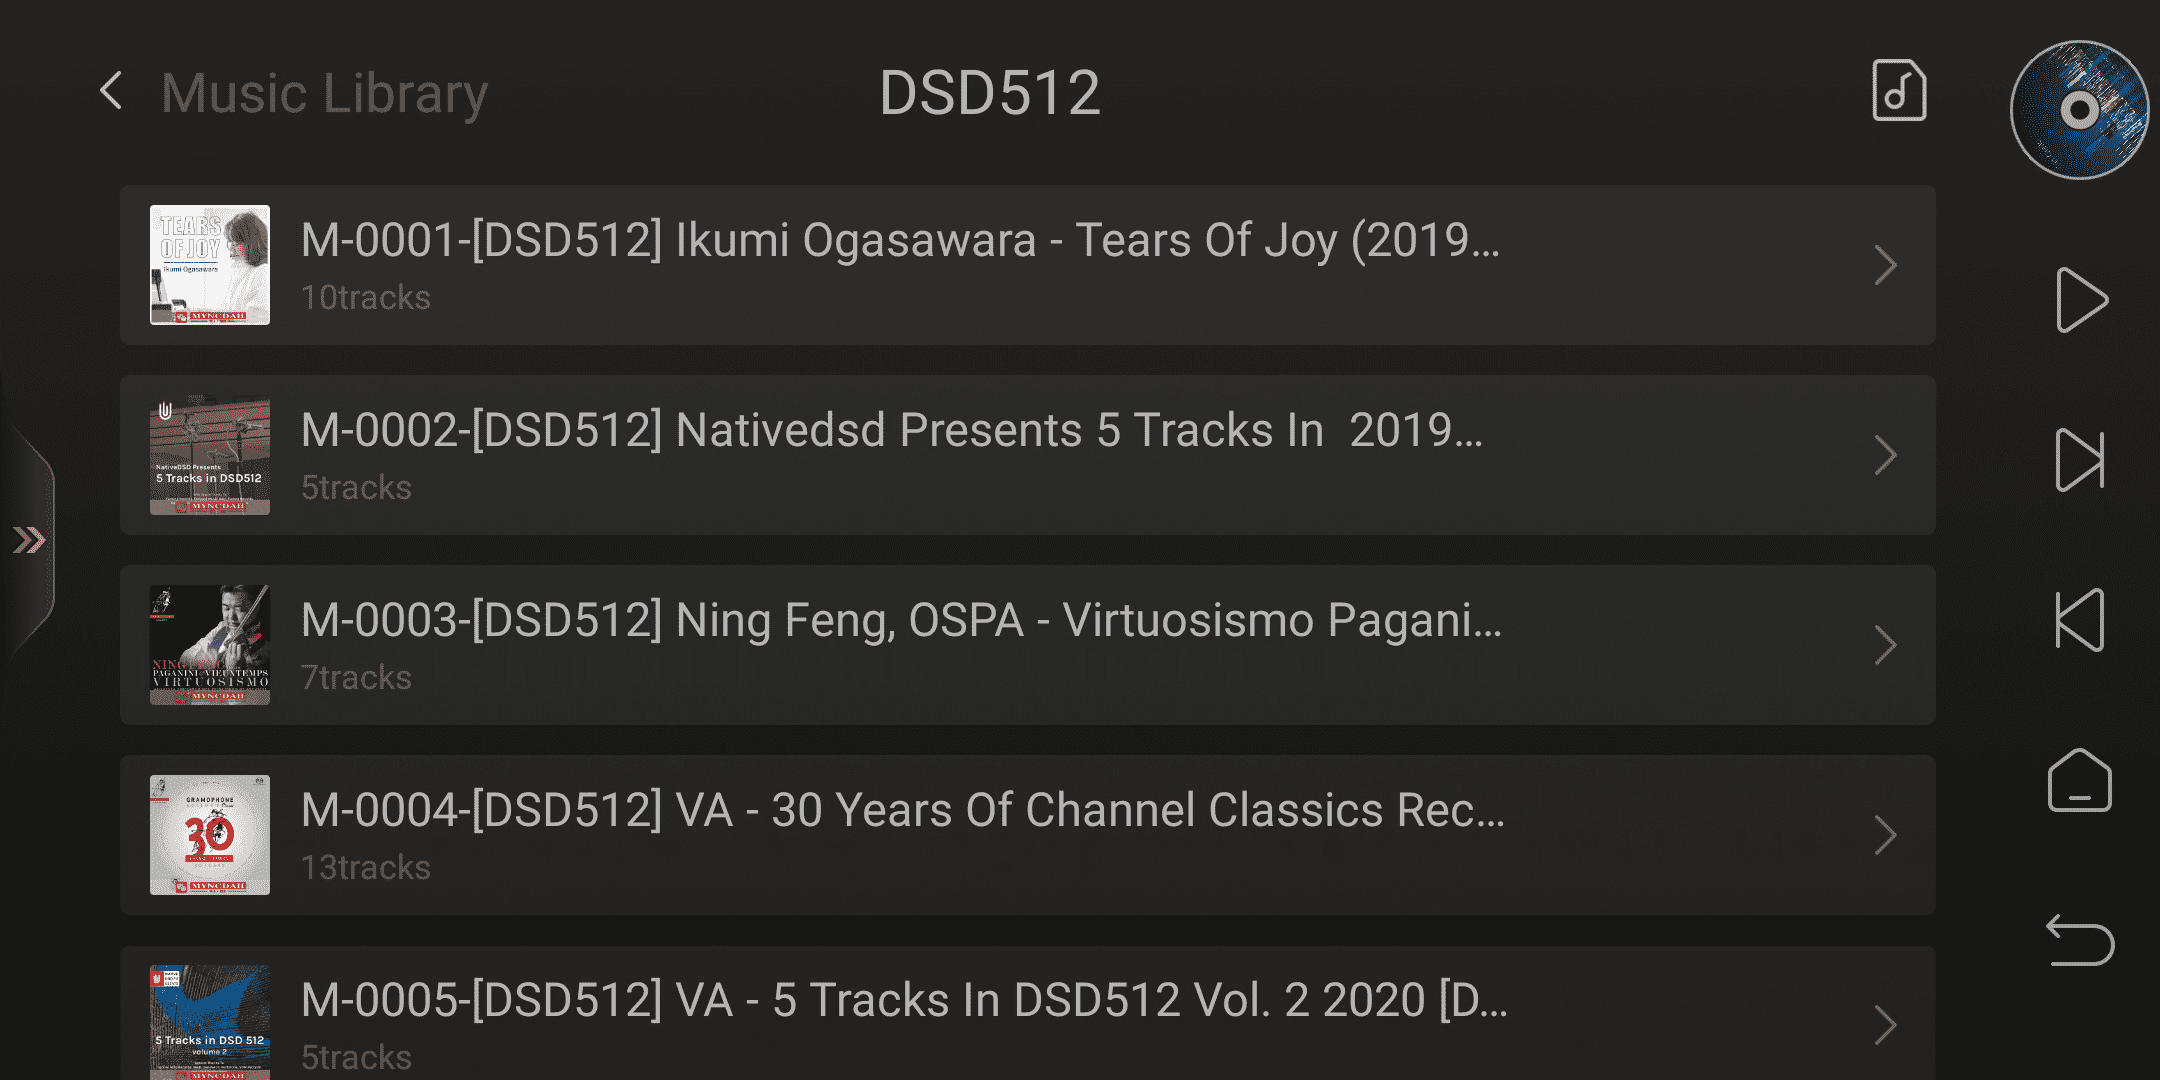
Clicking on the added paths in the library supports browsing folders and playing music files.
Settings of music library
On the homepage of the music library, click on the gear icon in the upper right corner to enter.
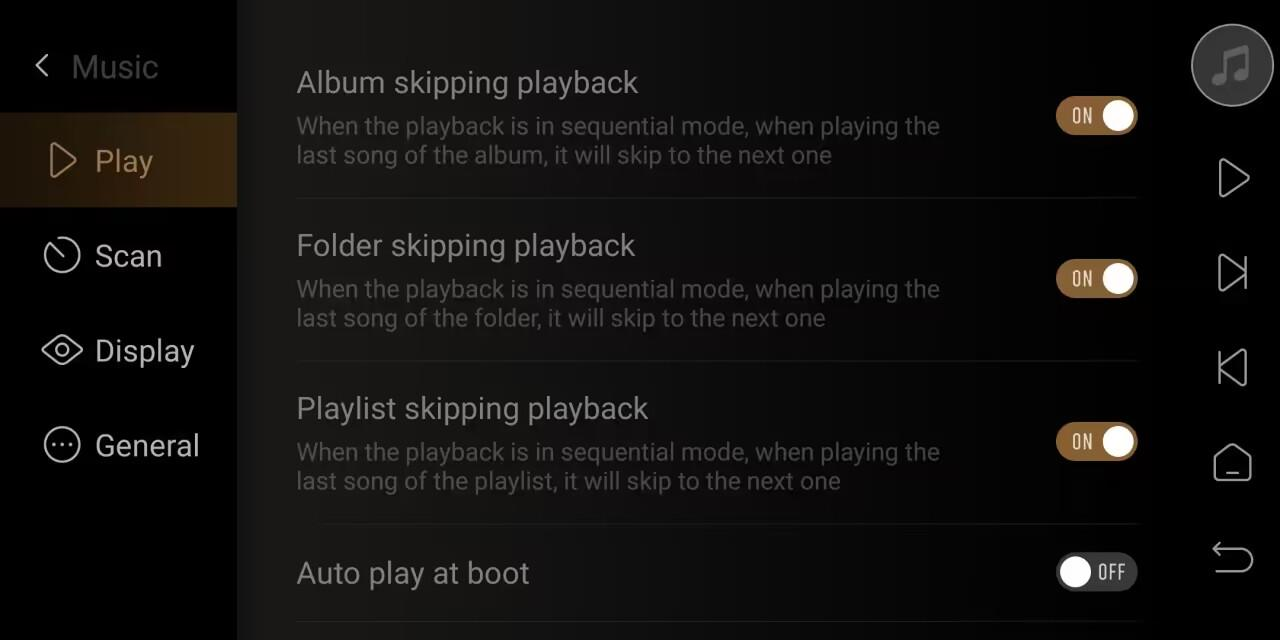
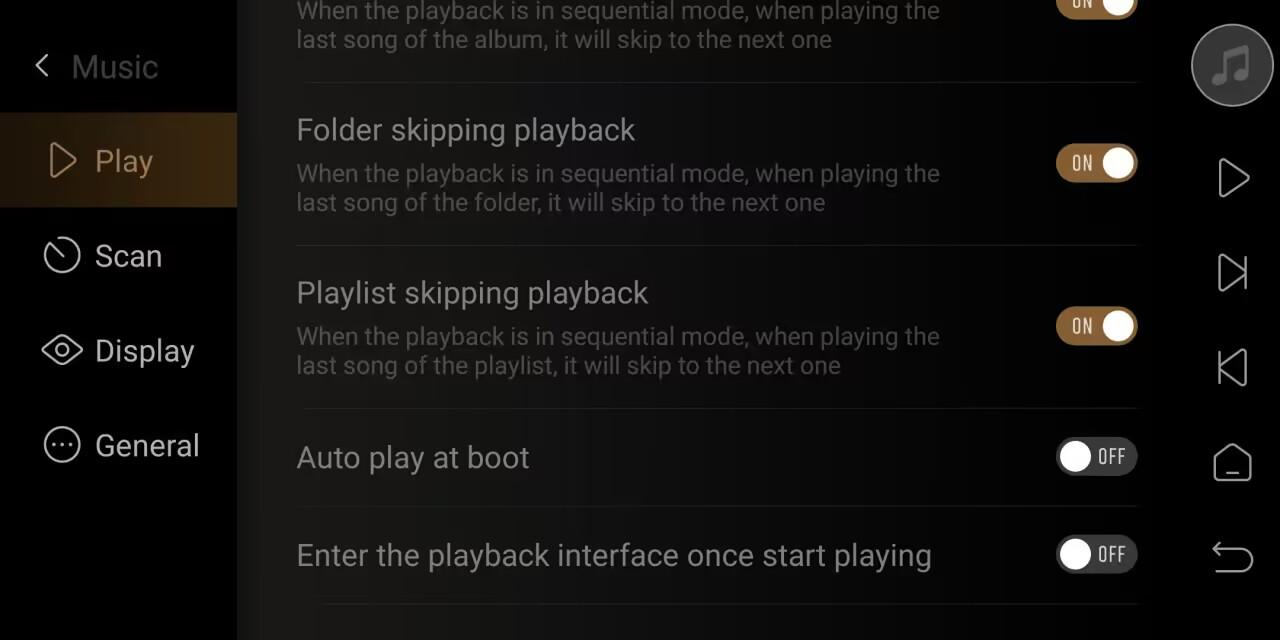
Play
Album skipping, folder skipping, playlist skipping playback, automatic music playback at boot, and enter the playback interface once start playing, please refer to the annotations for instructions on using each function.
Friendly reminder: The playlist skipping playback function requires firmware V1.1.80 or above!!!
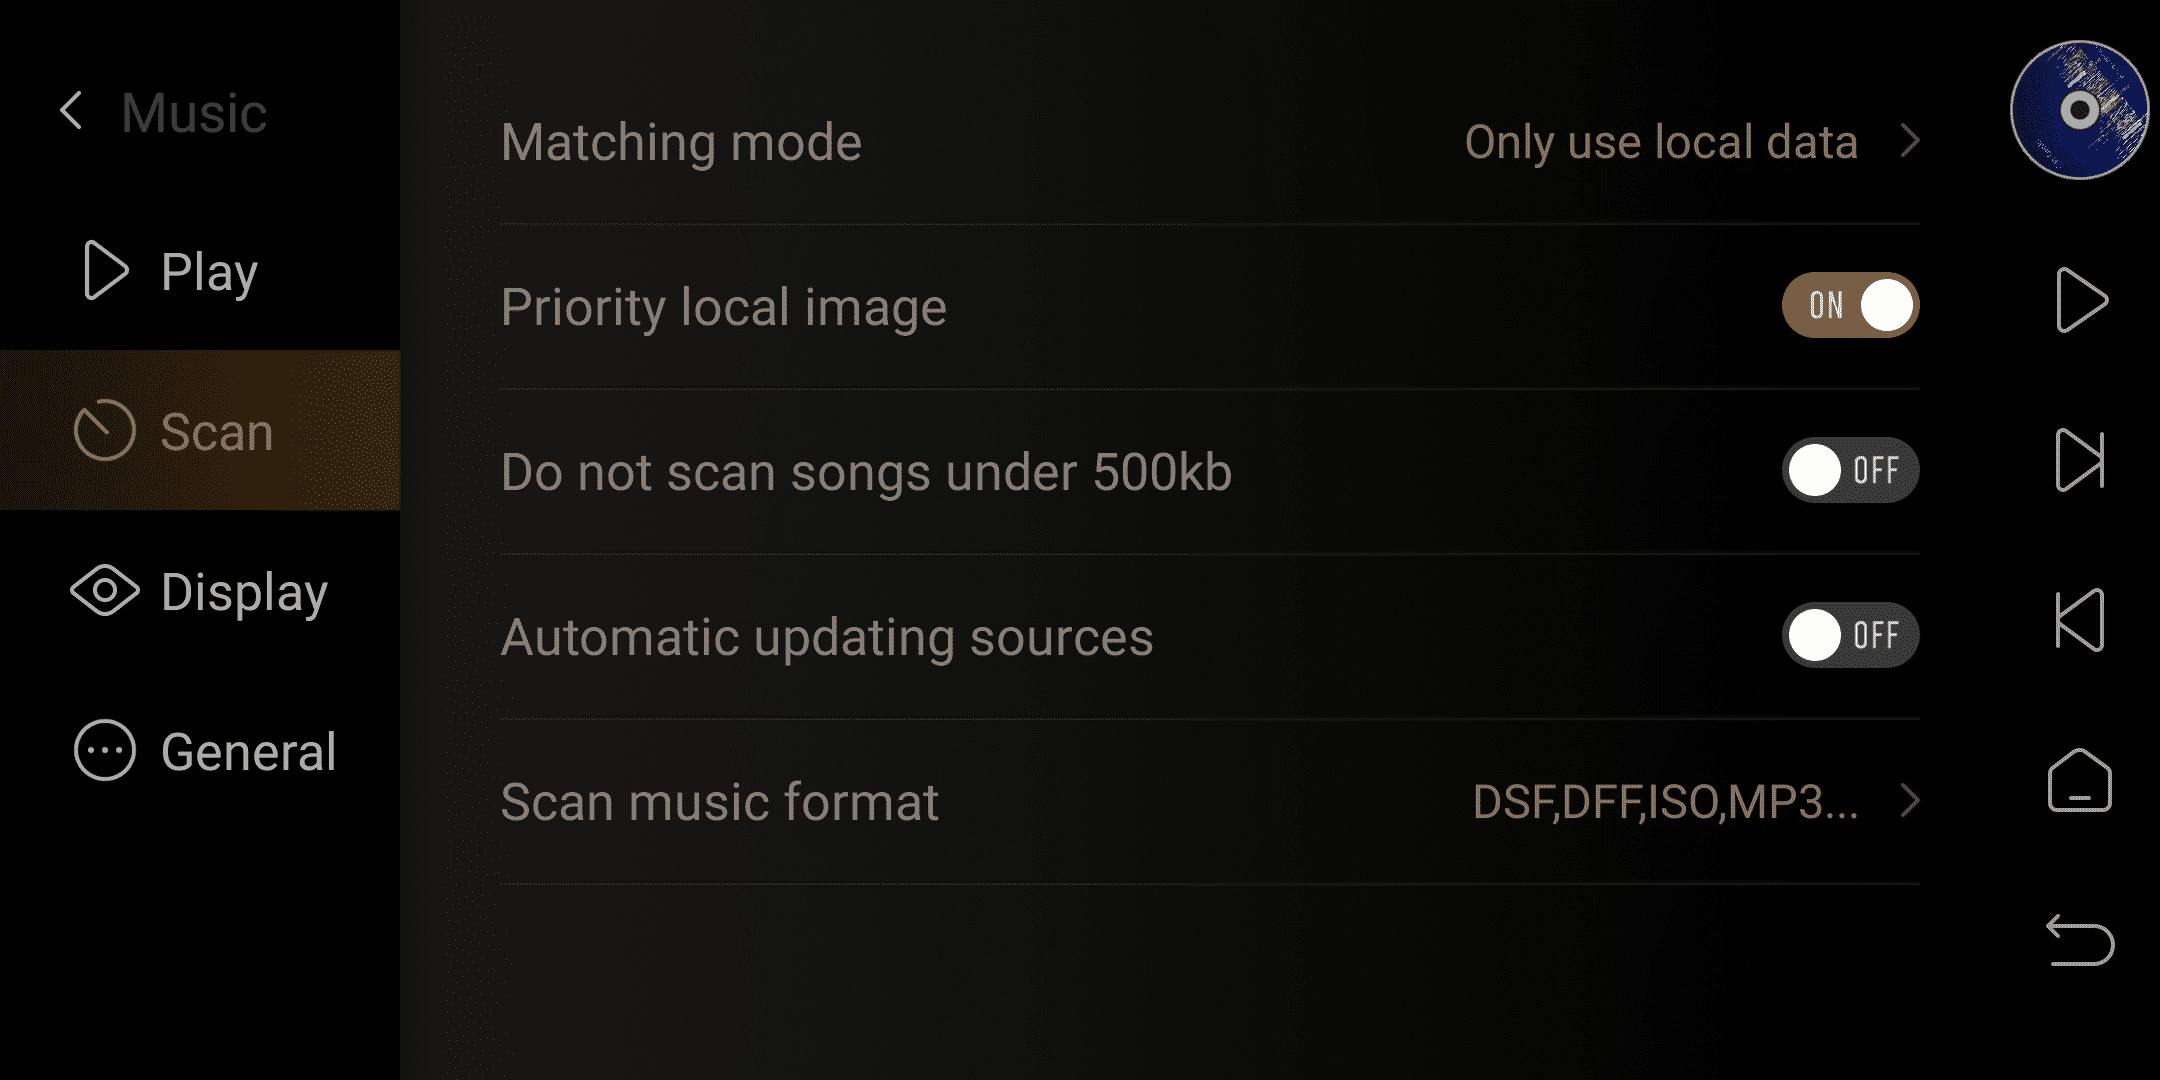
Scan
Matching mode:Use only local data,or network data with local data.
Priority local image:Enable priority use of local music album artwork.
Do not scan songs under 500kb:Default closed. If you want to exclude music files below 500kb, please enable it.
Automatic updating sources:When enabled, it will automatically update when music files are added or deleted from the music path.
Scan music format:By default, the built-in player supports all music formats. Unchecking it allows you to exclude music formats that will not be scanned.
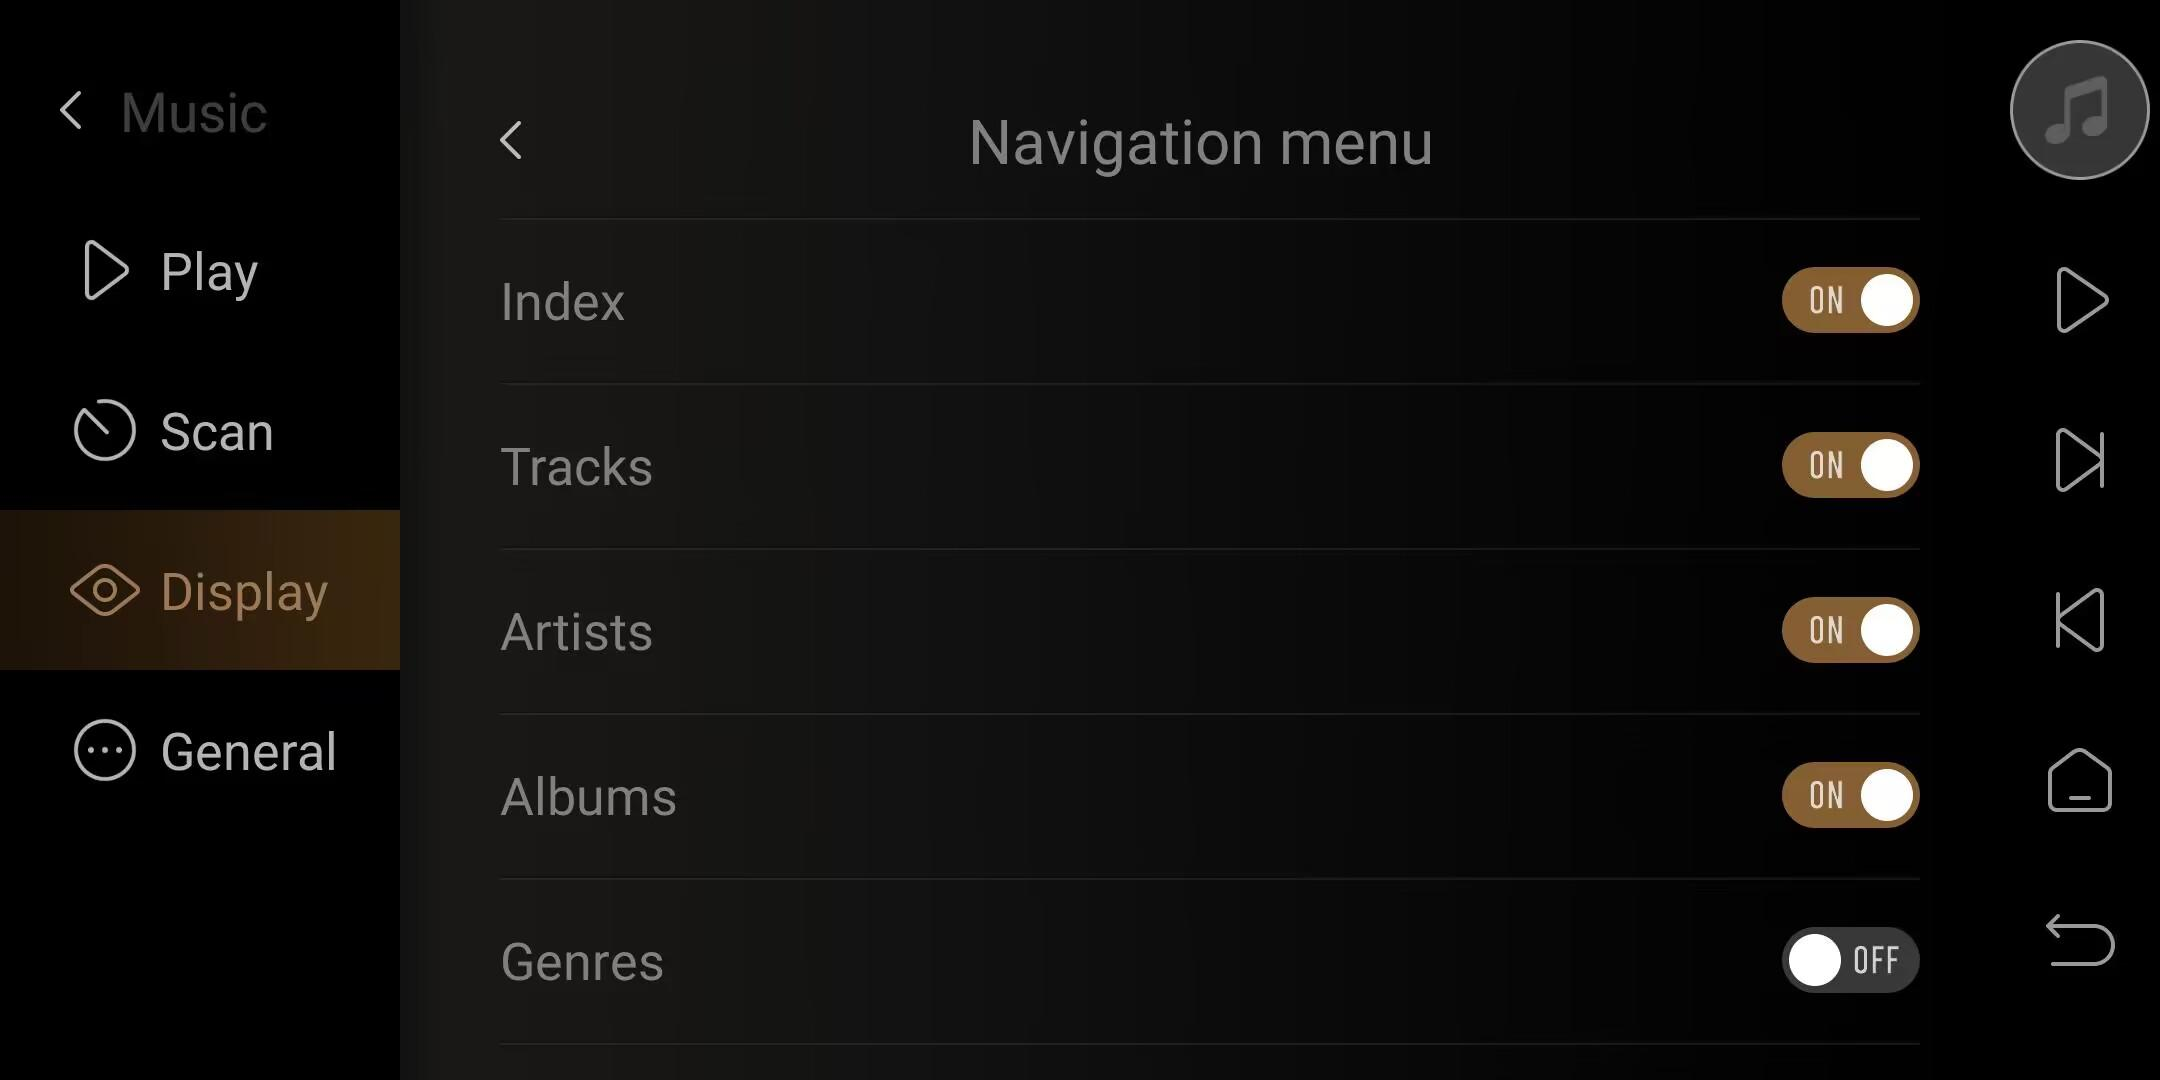
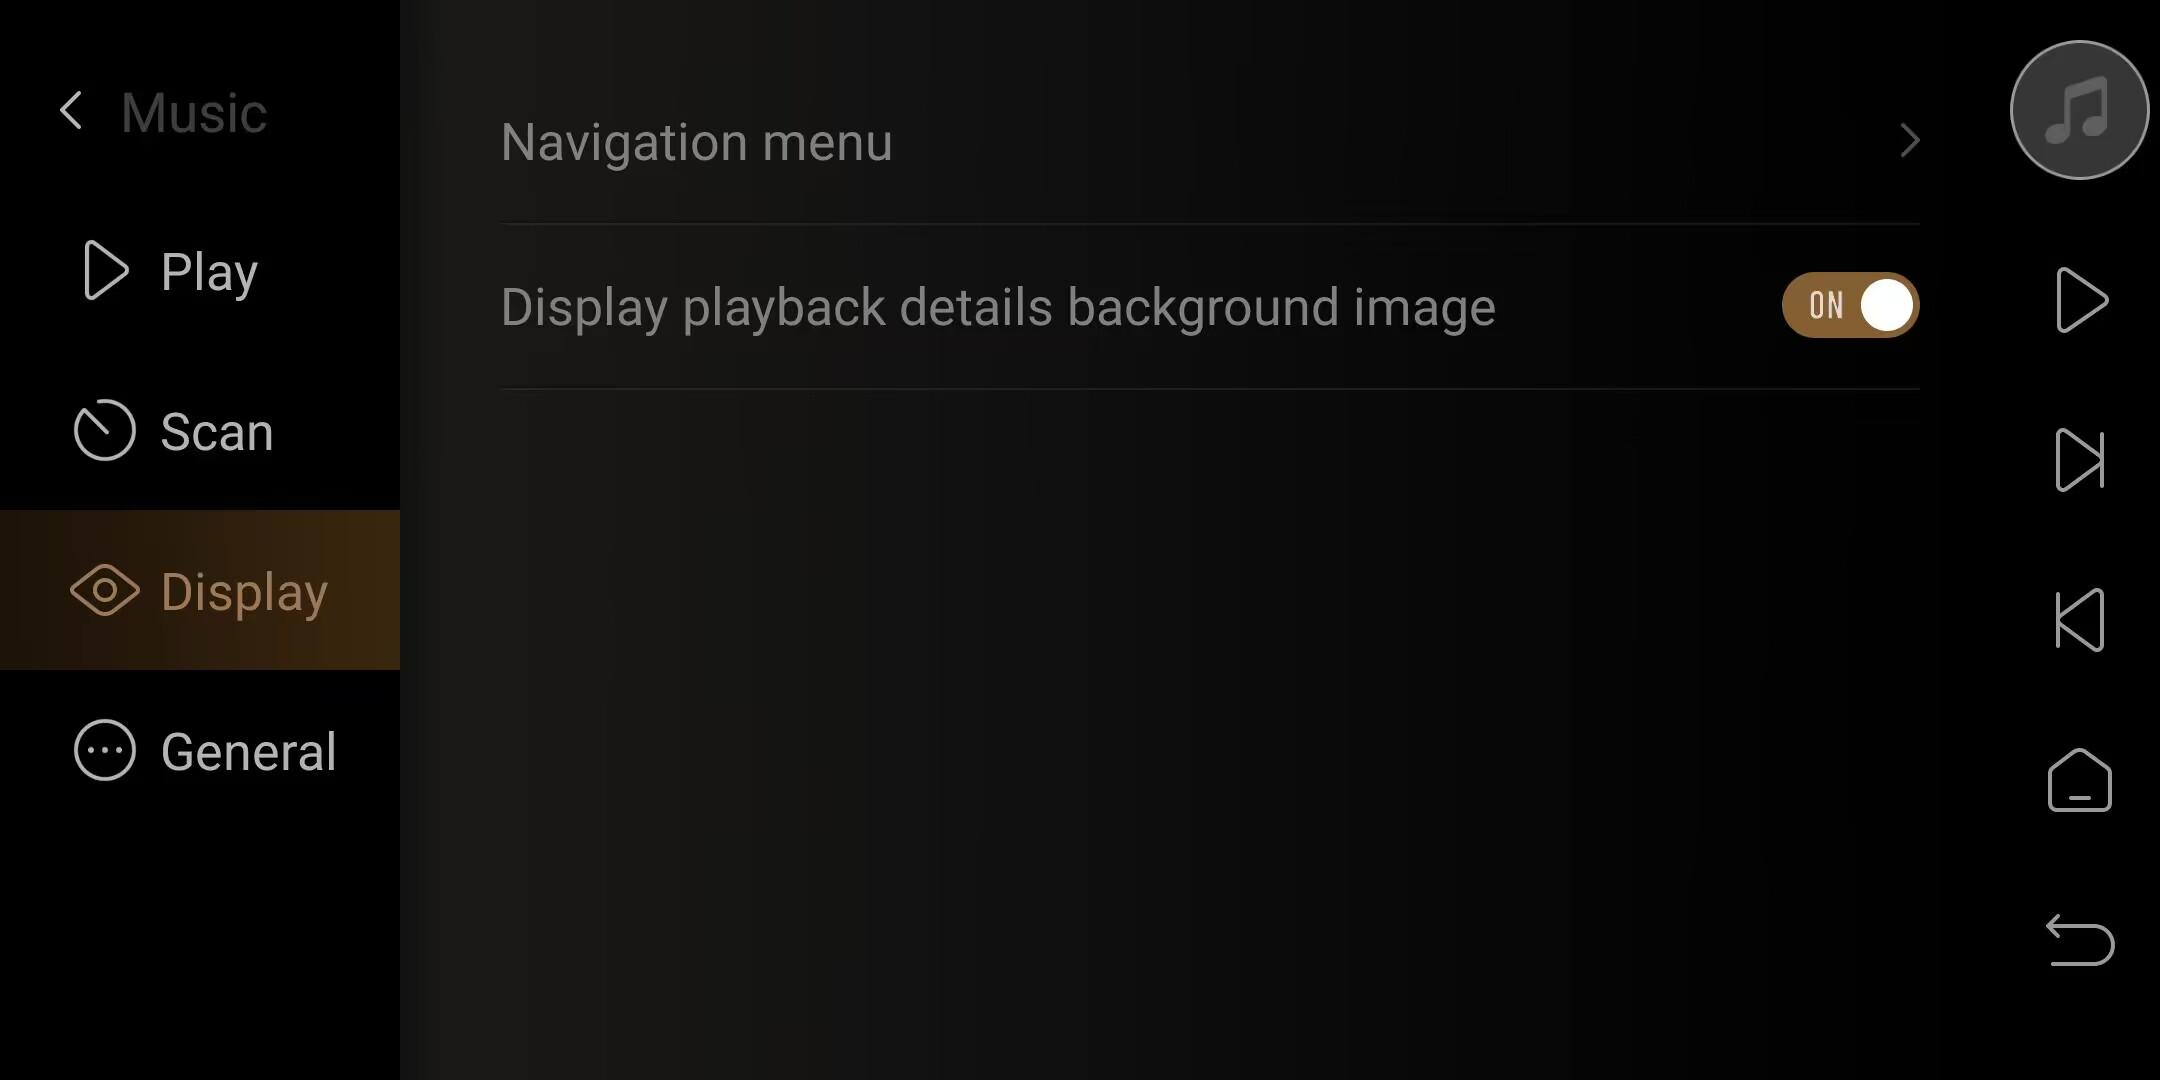
Display
Navigation menu:Customize the display on the left navigation menu of the music library.
Display playback details background image:Music playback details display music cover with blurred background.
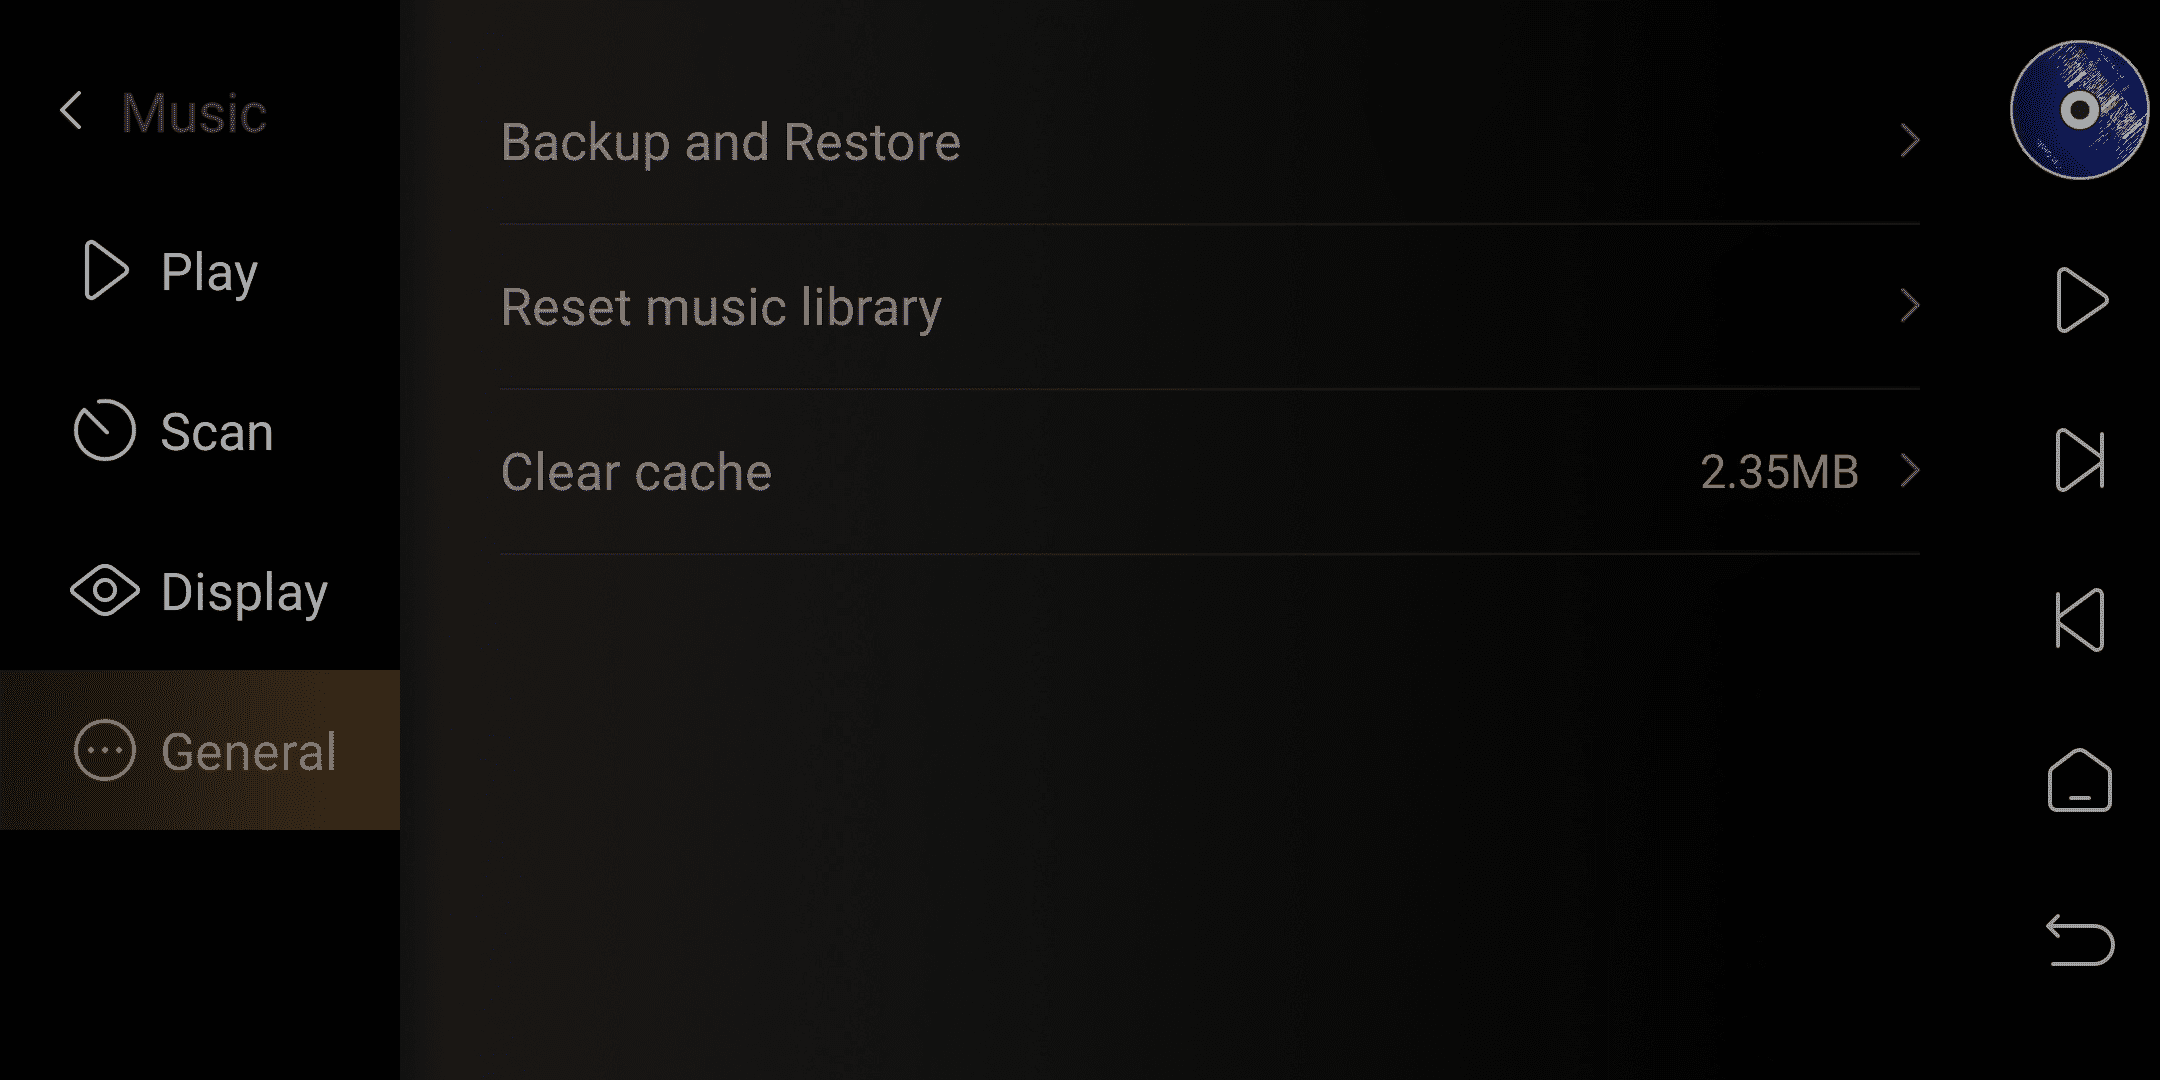
General
Backup and Restore:Backup and Restore Music Library
Friendly reminder:
Please do not choose internal storage as the backup path. Restoring to factory settings will erase it.
Supporting backup from Device A to restore on Device B.
Reset music library:Clear all data in the music library and restore the music library to factory settings.
Clear cache:Clear the cache files of the music library
3. Introduction to Music Library Playback Function
Supported audio formats of Internal player:
DAC decoding output: Supports up to stereo DSD512, PCM768KHz@32bit, MQA format.
HDMI output: Supports DSD64 Native multi-channel/PCM192KHz multi-channel output.
USB audio output: Supports up to stereo DSD512 Native, PCM768KHz 32Bit, MQA format.
USB-C input: Supports up to stereo DSD512, PCM768KHz 32Bit, MQA format.
Optical/Coaxial audio input: Supports up to stereo PCM 192KHz 24Bit, DSD64 Dop, MQA format.
When playing music from the music library, tap the rotate icon on the top right of the touchscreen to enter full screen mode. Tap it again to exit full screen.
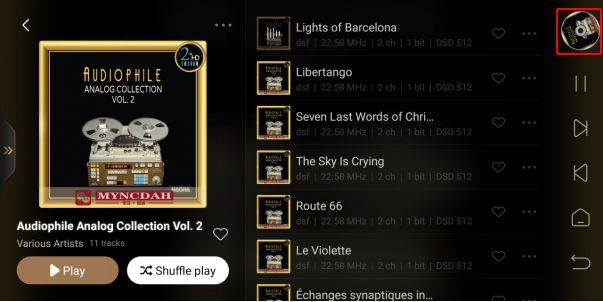
Music playback in full-screen mode allows for a visual display of song information and enables various music playback controls.
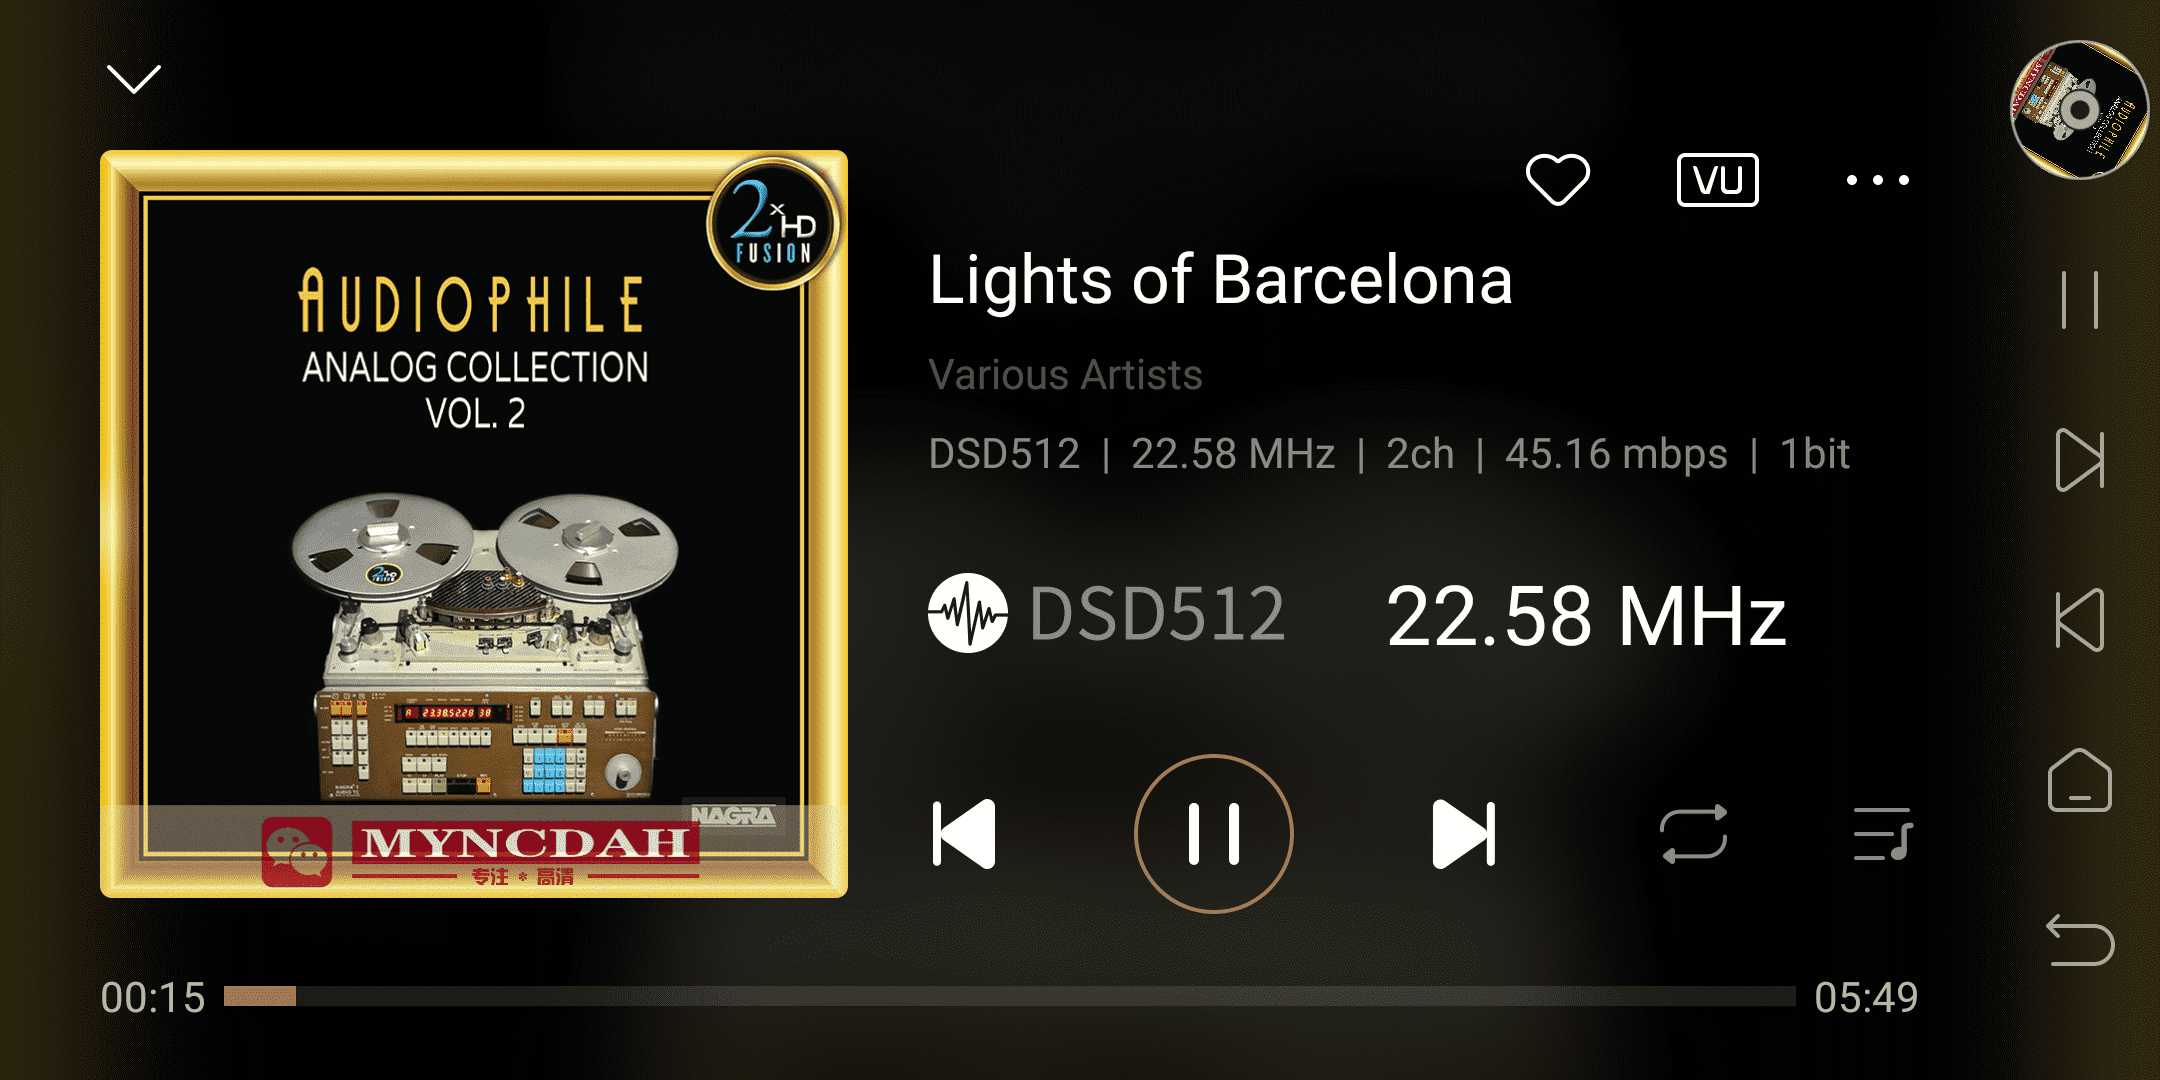
Click on the VU icon in the upper right corner to enter the VU display. Swipe left or right to switch between VU display modes.
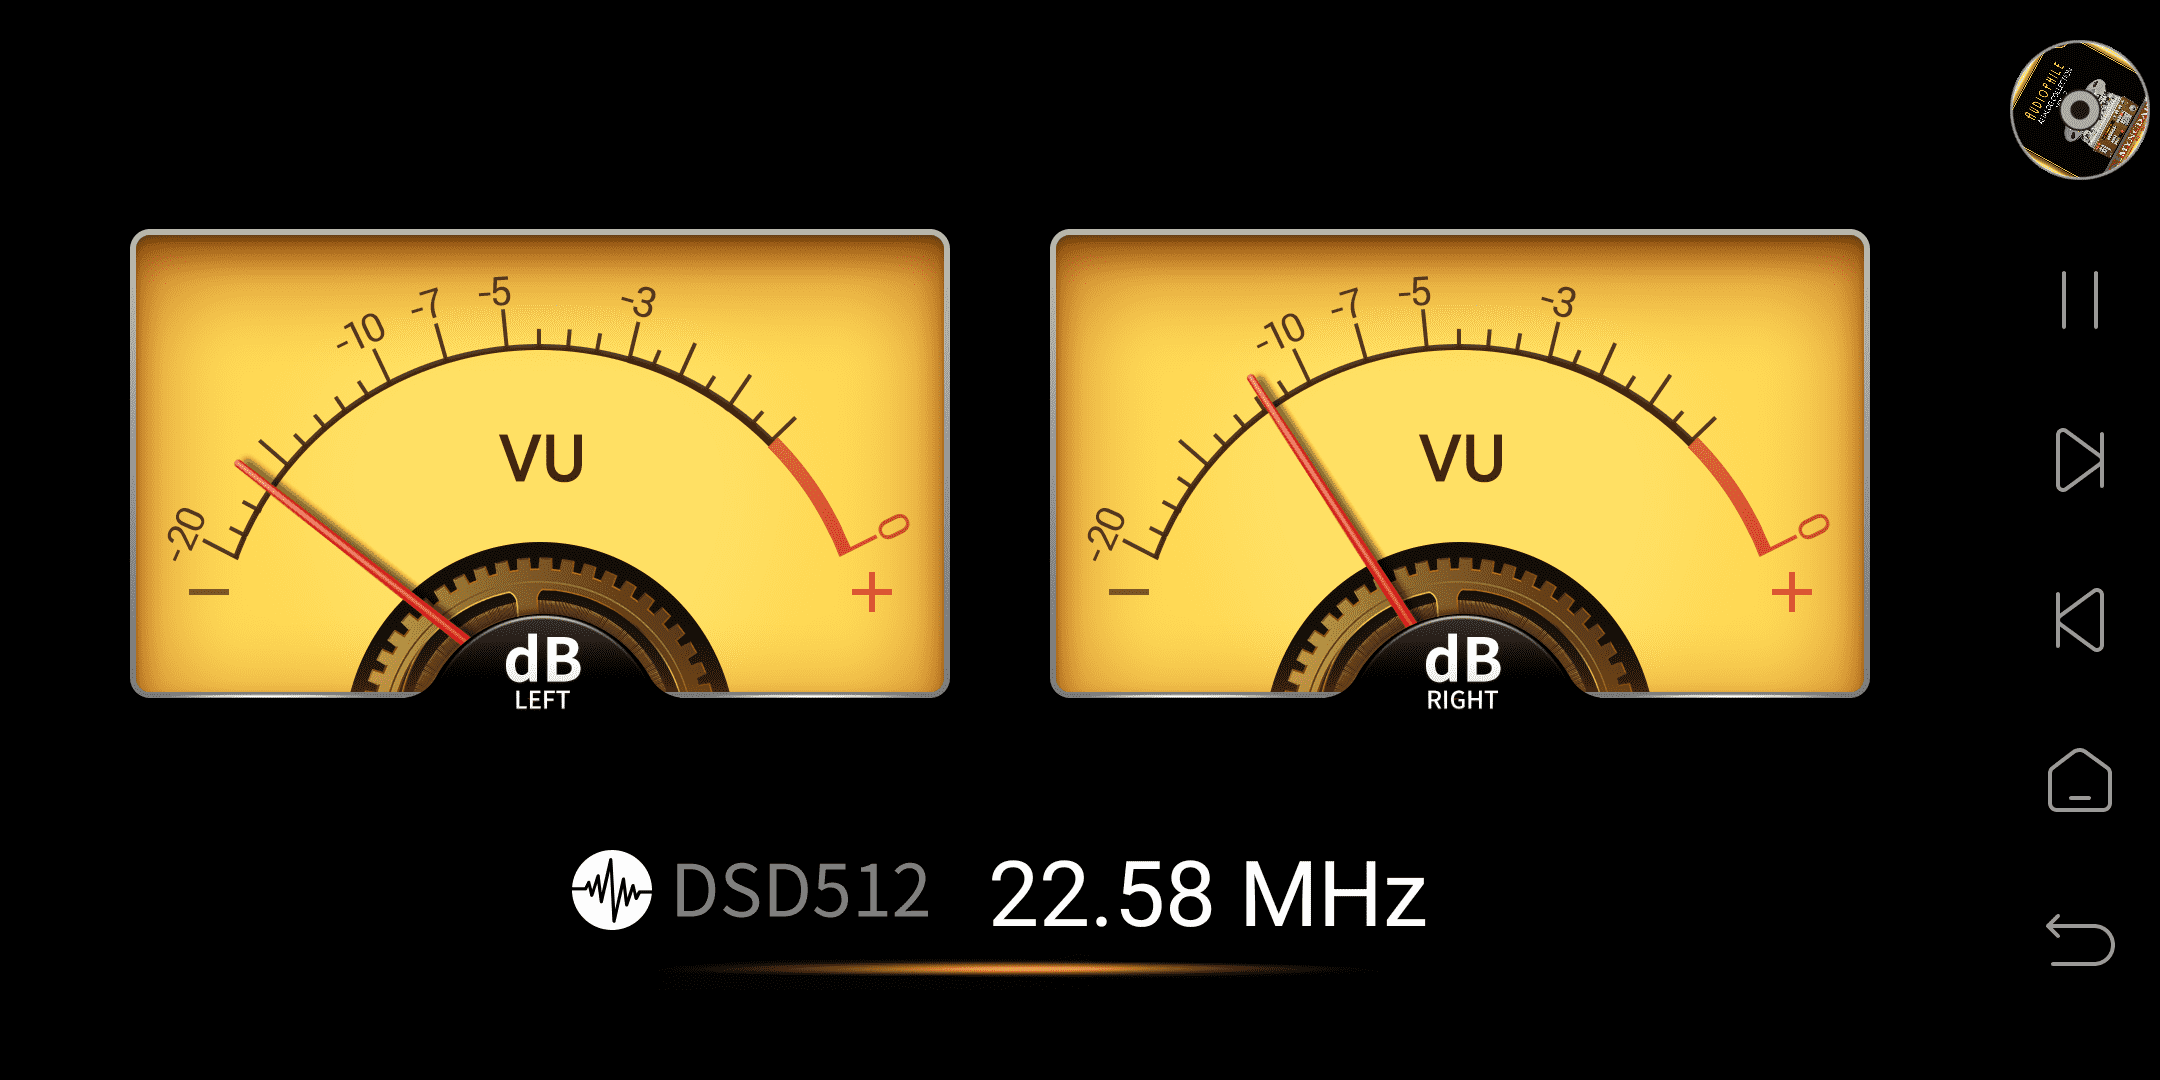
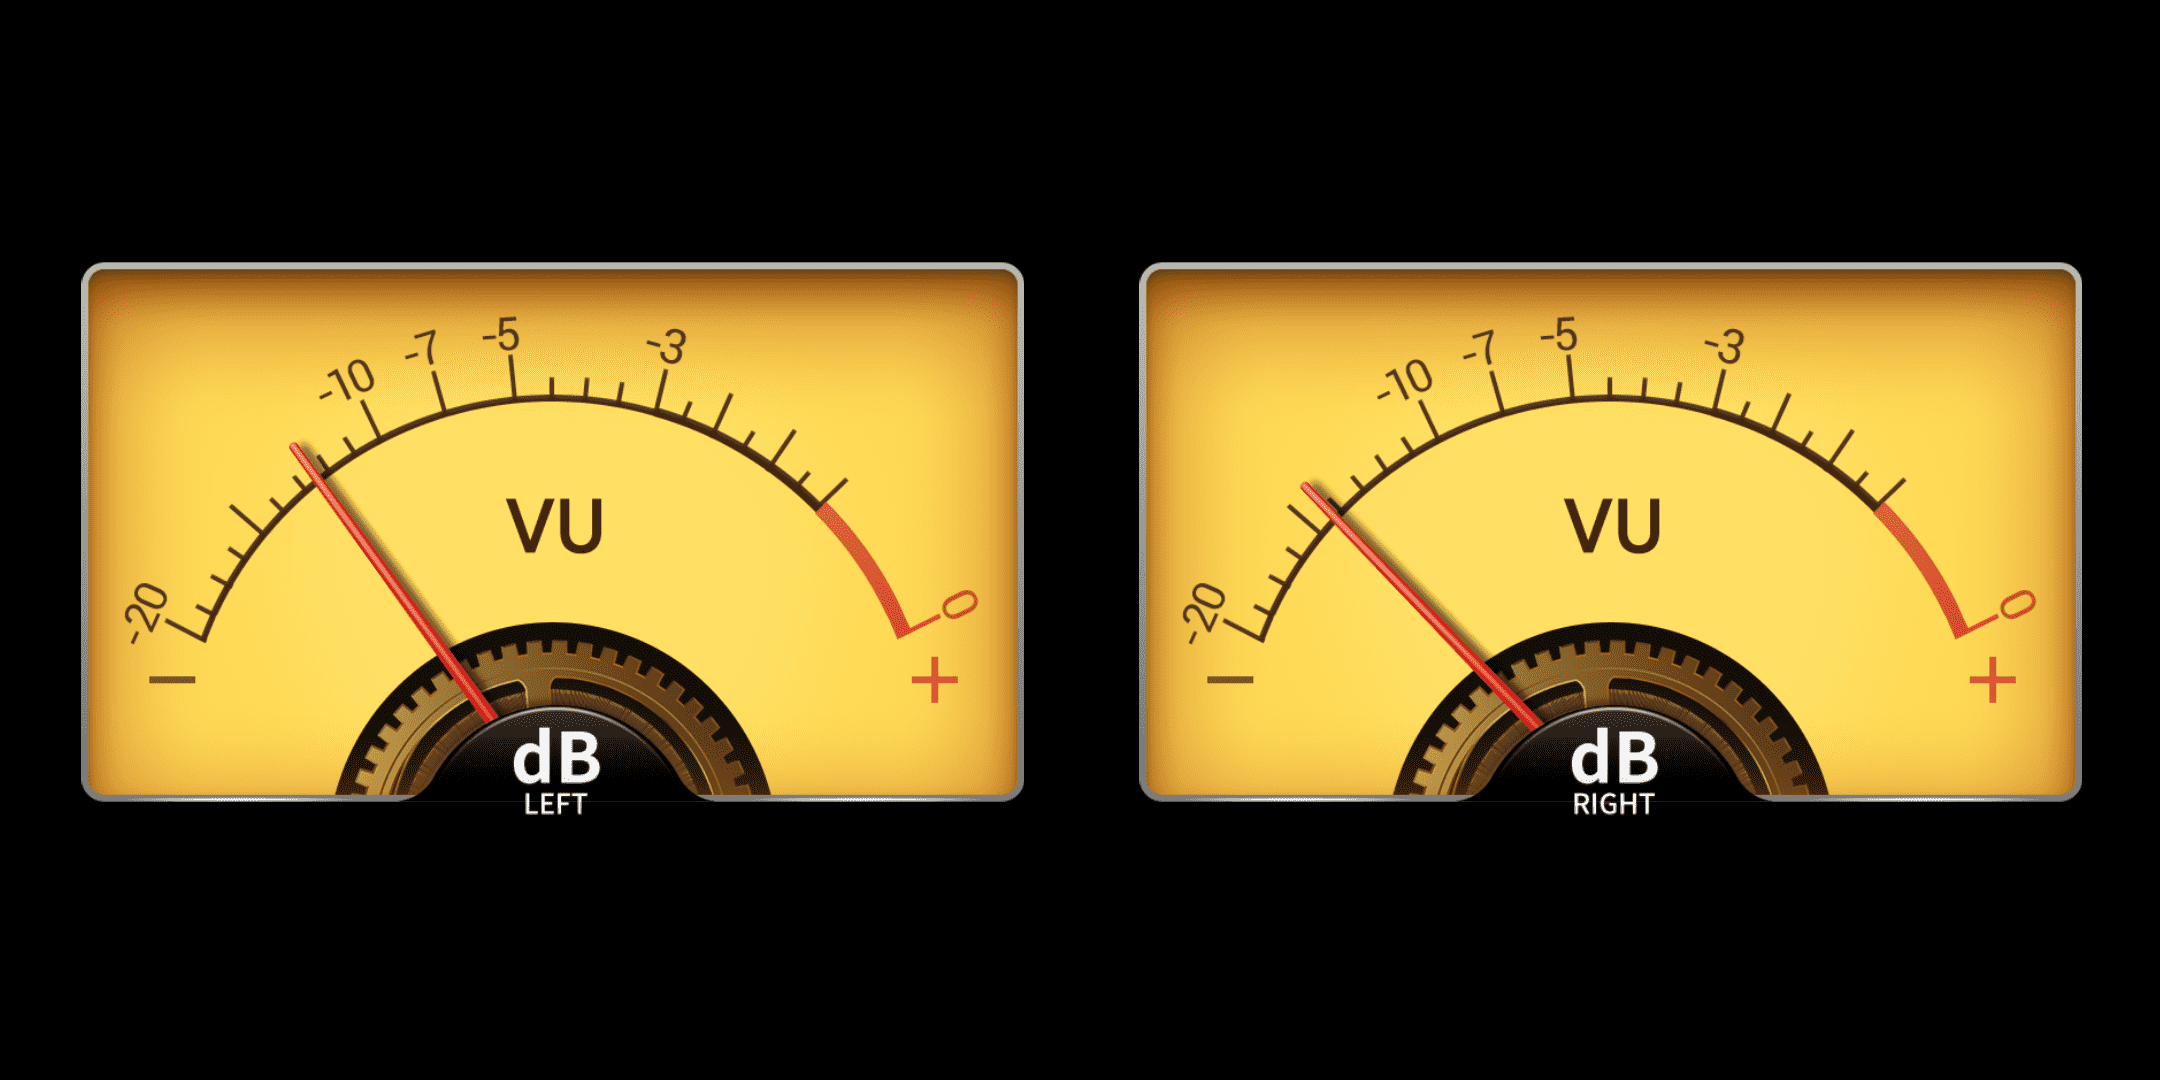
Clicking the touch screen again on the VU meter will hide the music format and display the VU meter in full screen.
[As shown in the picture below], the touch screen's right-side navigation bar contains a play button that allows you to quickly play and pause music from any menu.
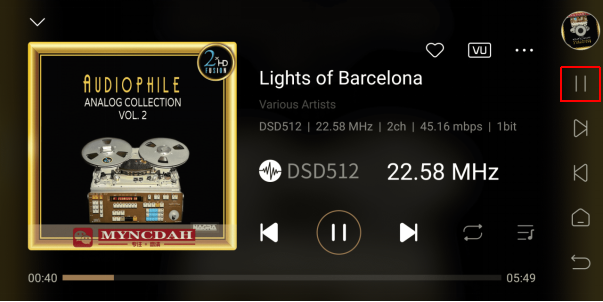
More functions are waiting for your exploration!


