

DMP-A8 Settings Menu Introduction


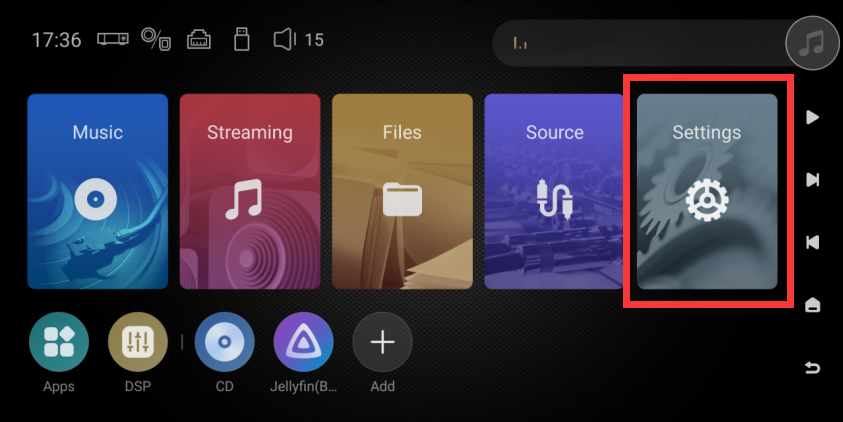
1. How to Access “Settings” Menu of DMP-A8
“Settings”menu is on the home page of DMP-A8, click to enter it.
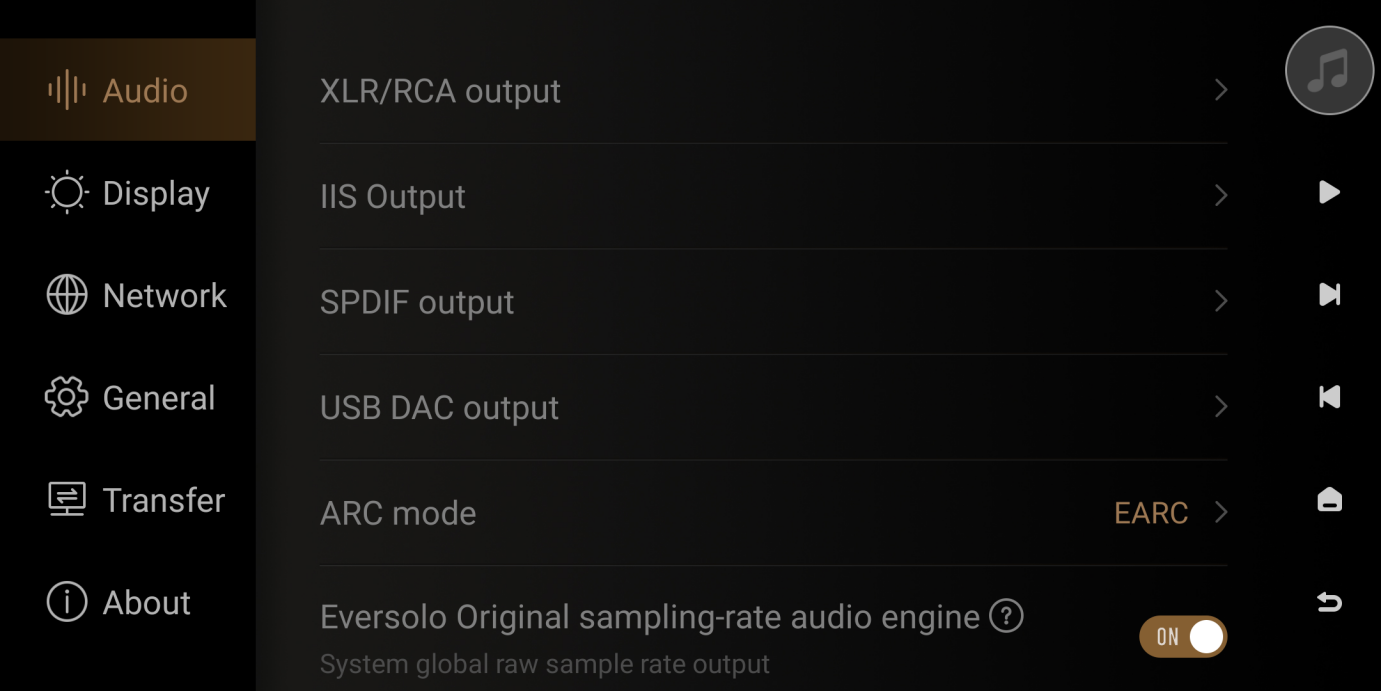
II. Audio
1. XLR/RCA output
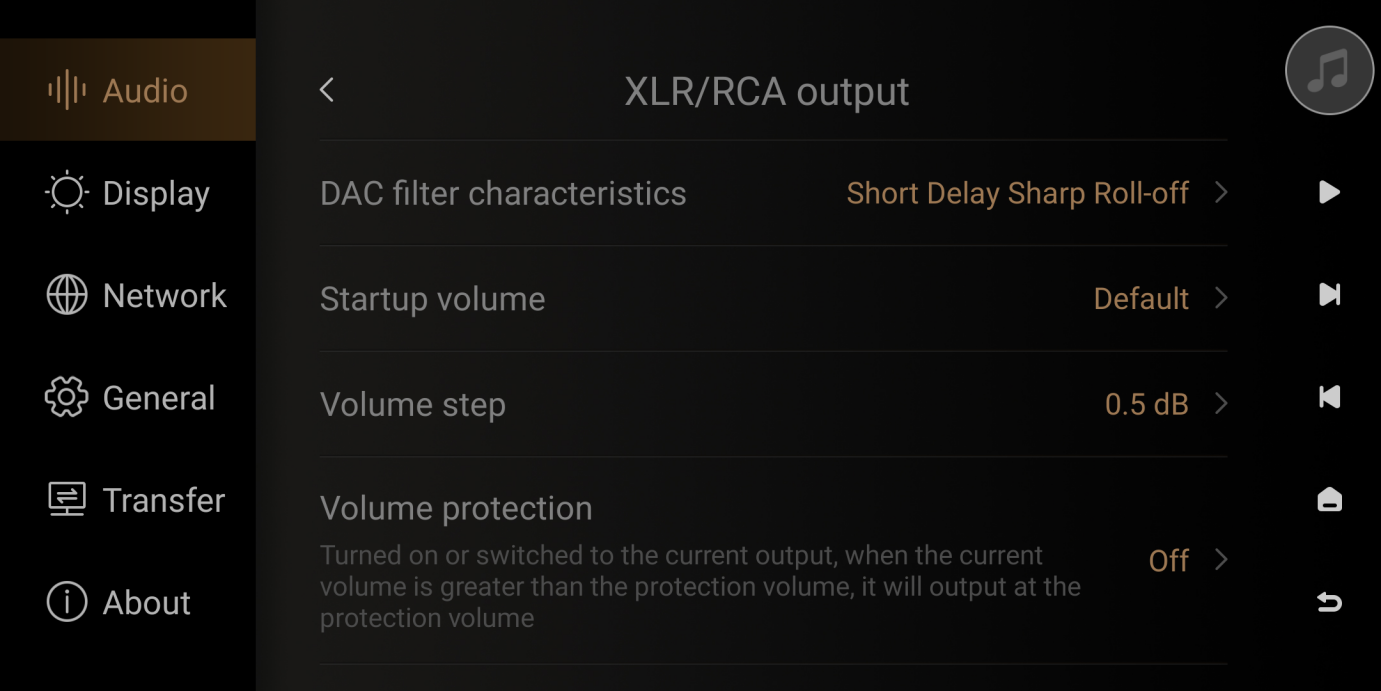
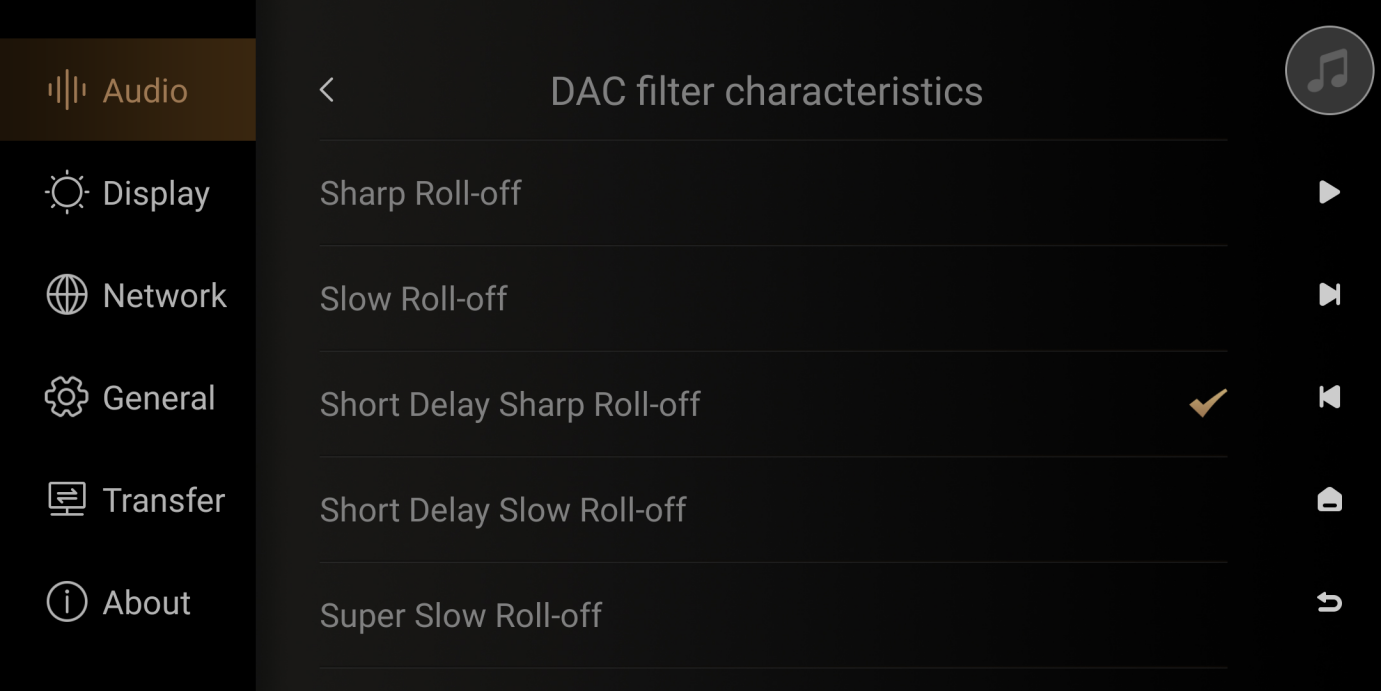
- DAC Filter Characteristics
PCM Output Sound Effect Selection.
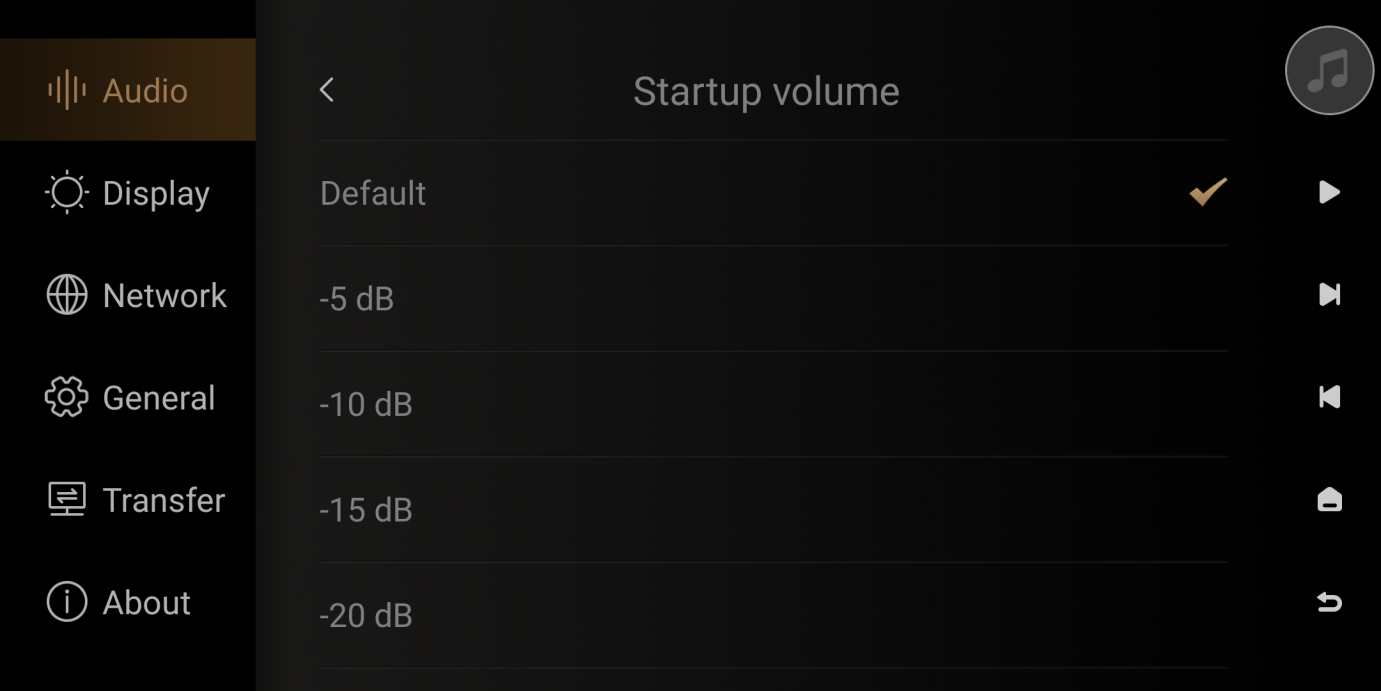
- Startup Volume: Set the volume level at startup.
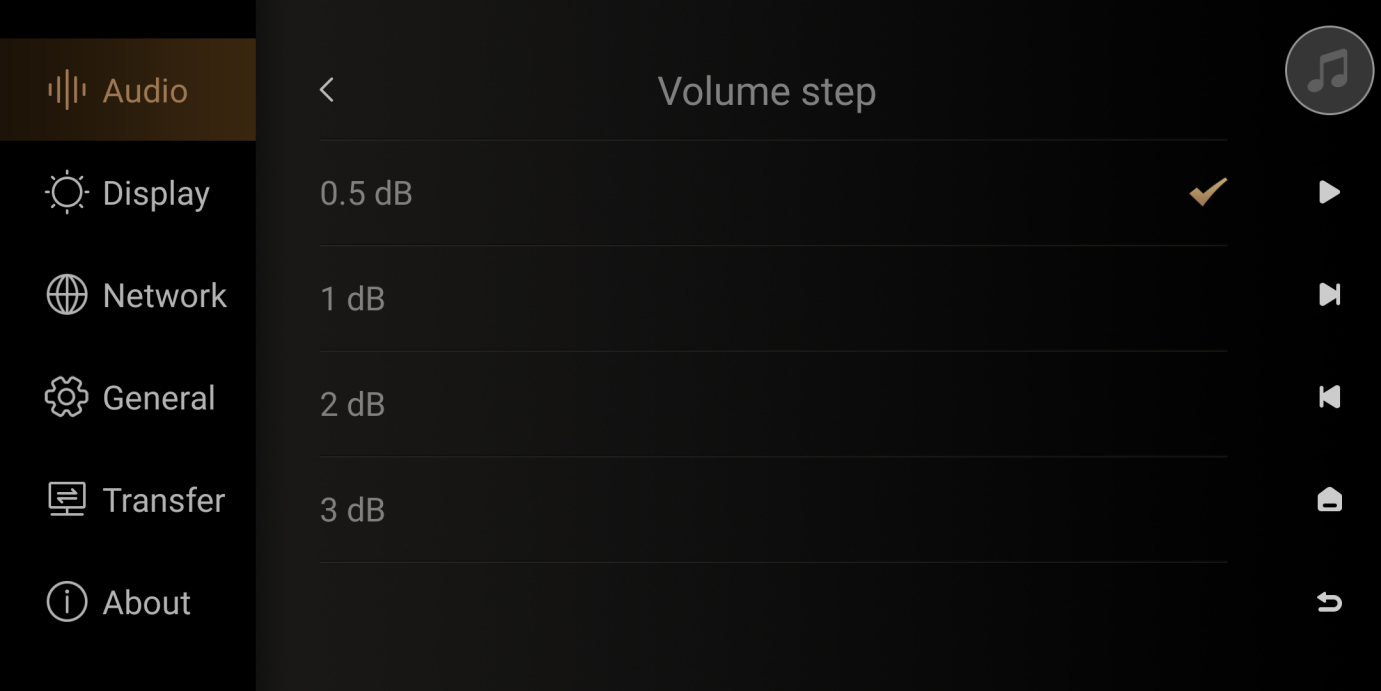
- Volume Step: Adjust the numerical value for volume increase or decrease for the current output port.
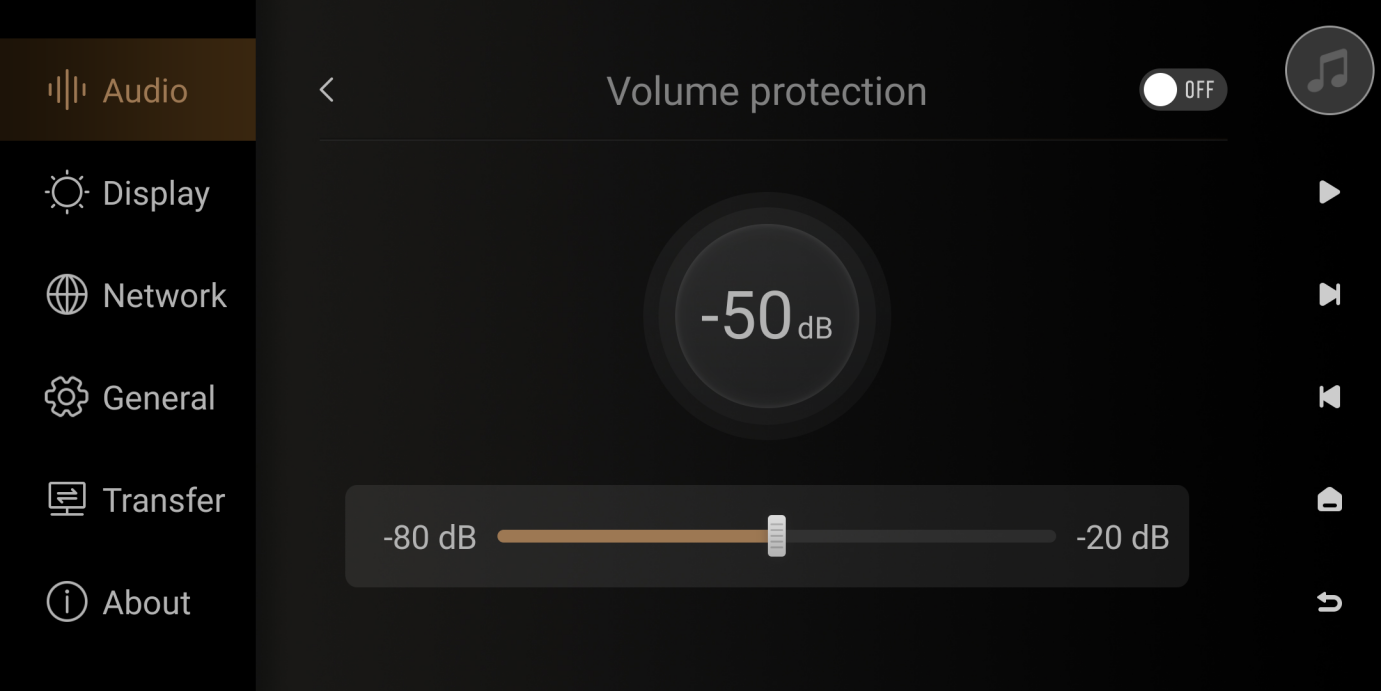
● Volume protection
Turn on this switch, and when powering on or switching to the current output, if the current volume is higher than the protection volume, it will output at the protection volume.
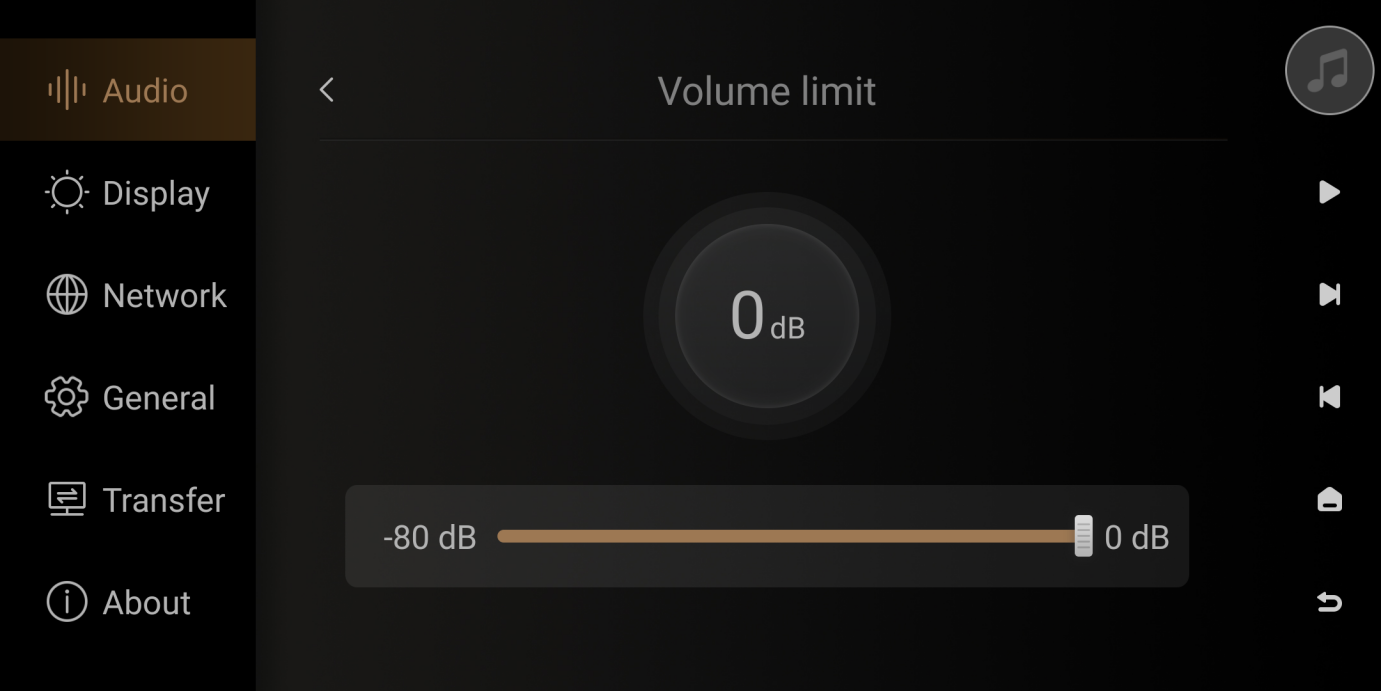
- Volume limit
When outputting, the maximum volume can be adjusted.
● Volume passthrough mode【Requires firmware upgrade v1.2.70 or above】
Enabling this option, the RCA/XLR port will output to maximum volume which can not be adjusted.
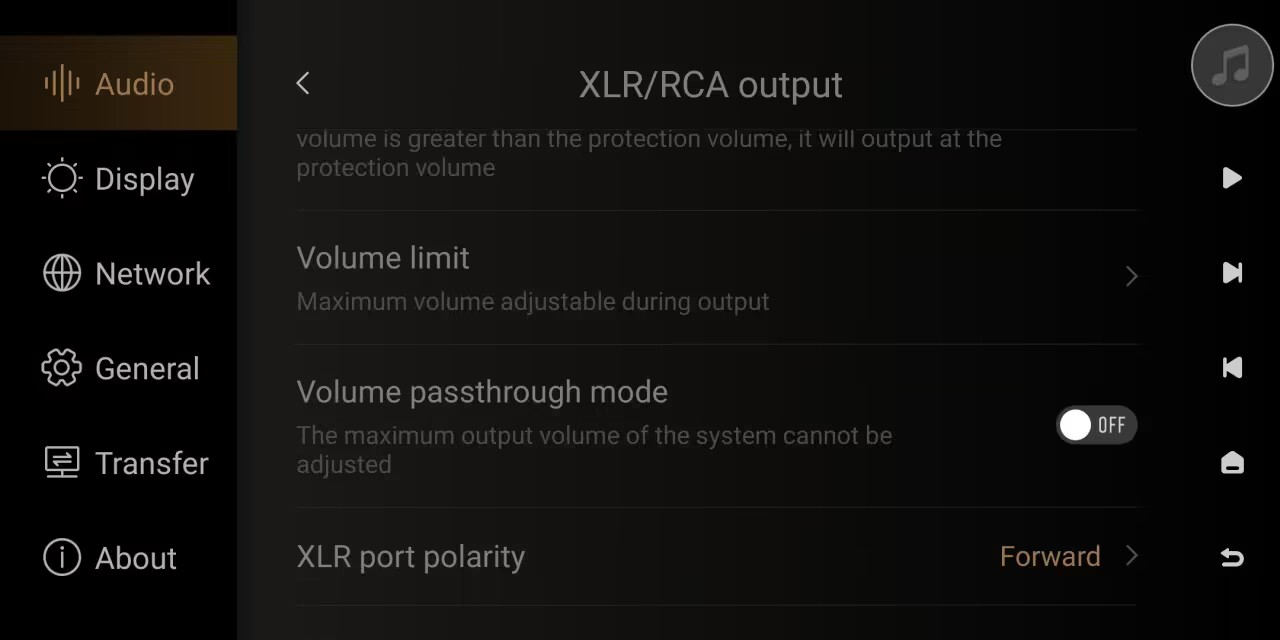
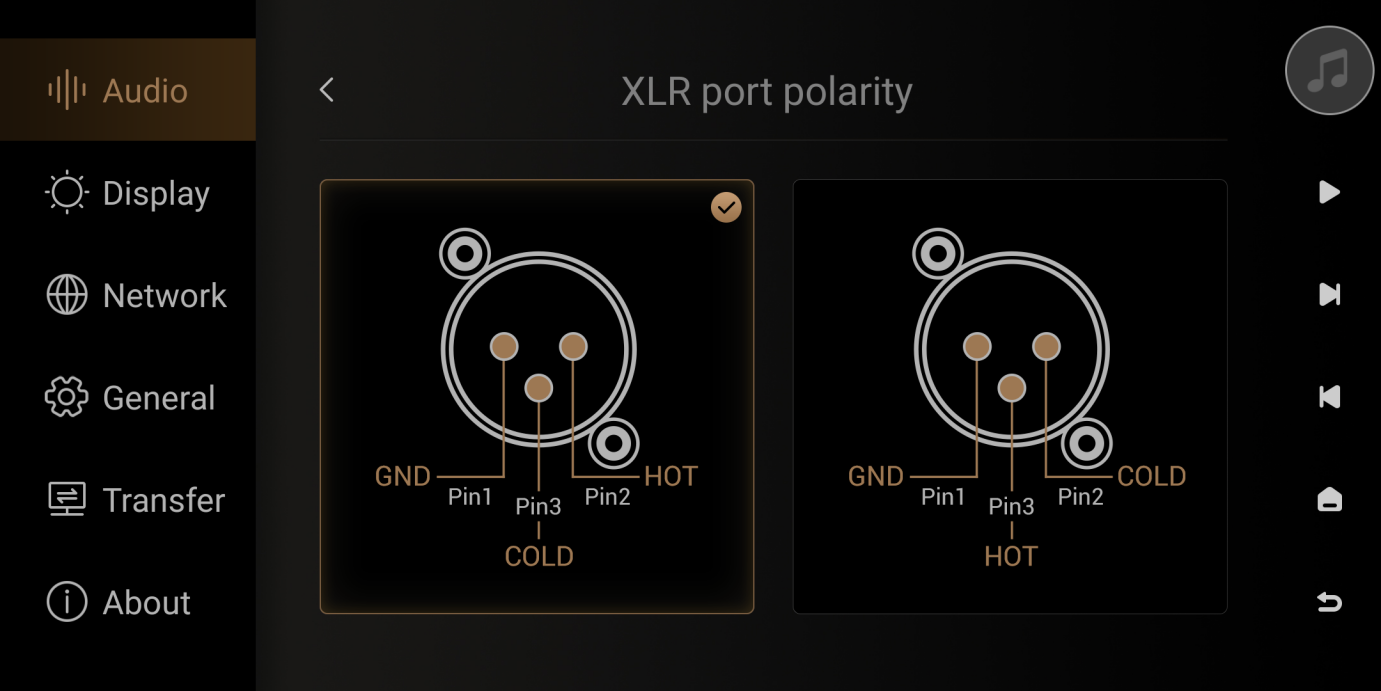
● XLR port polarity
XLR connector polarity selection
2. IIS output
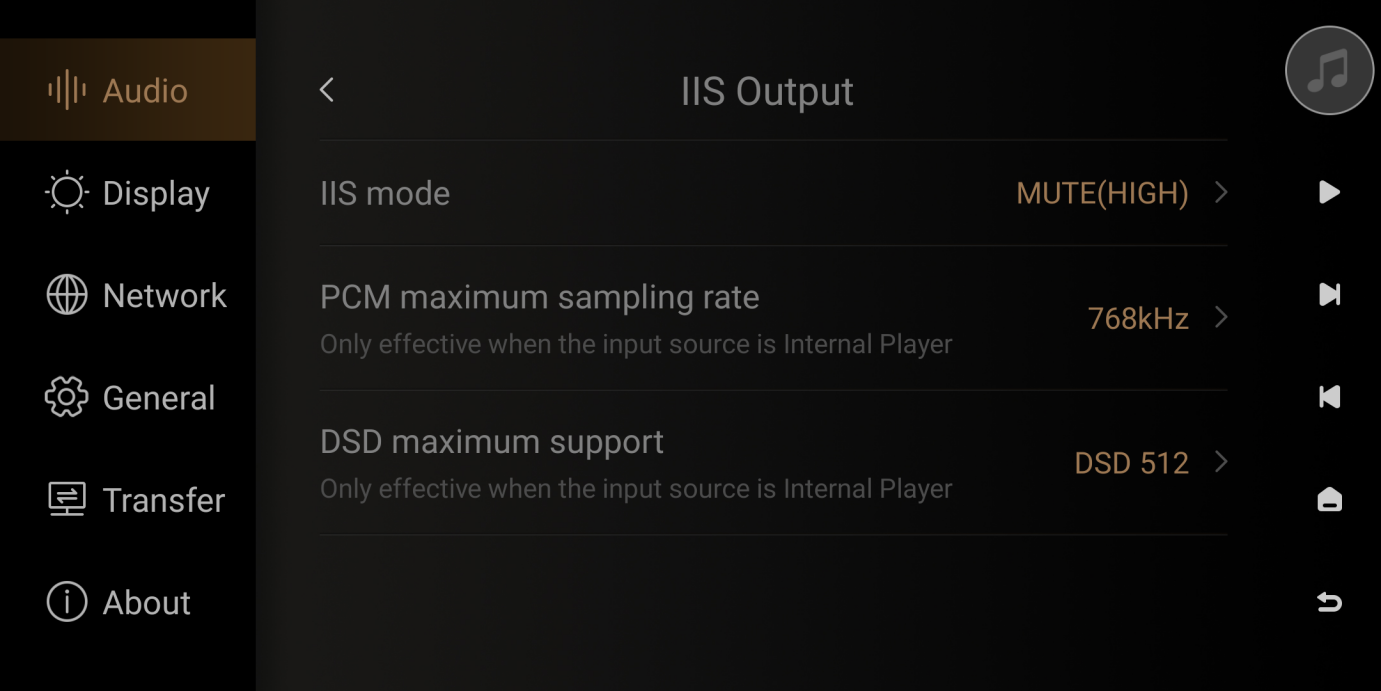
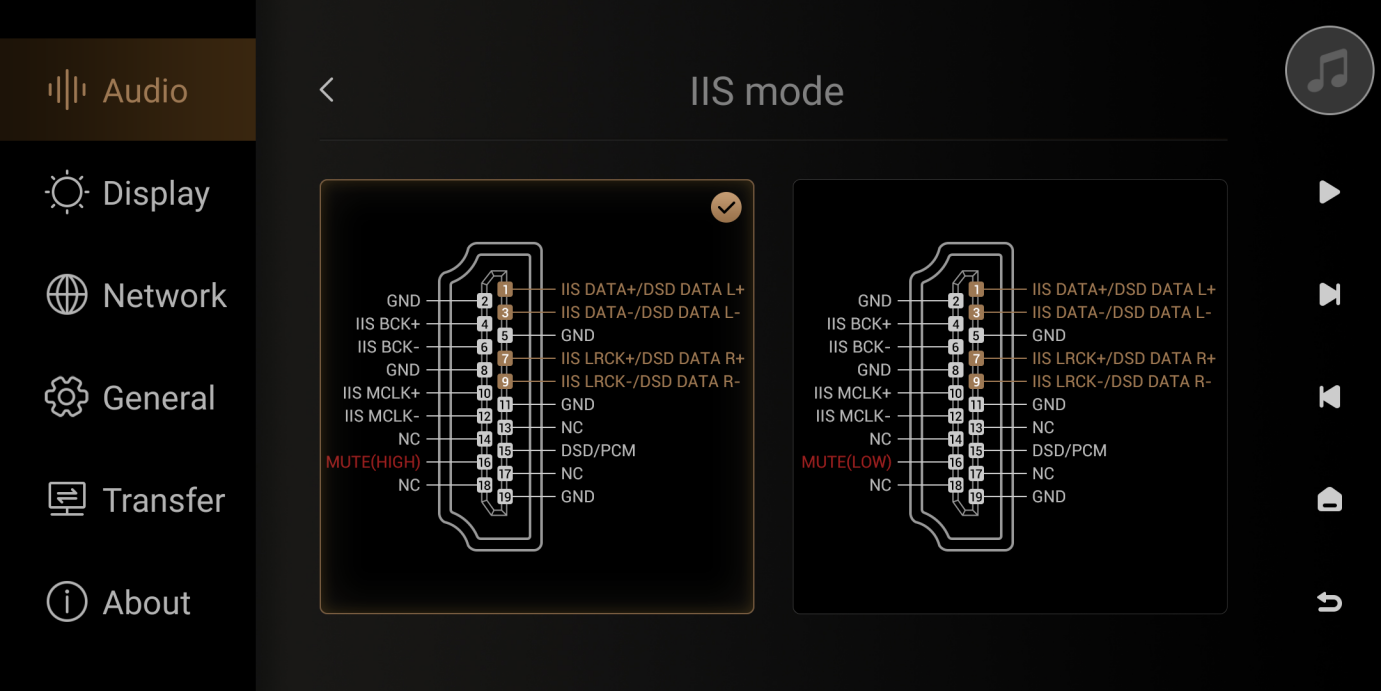
● IIS mode
The IIS signal mute level differs for external DACs of different brands. The MUTE PIN can be switched through settings.
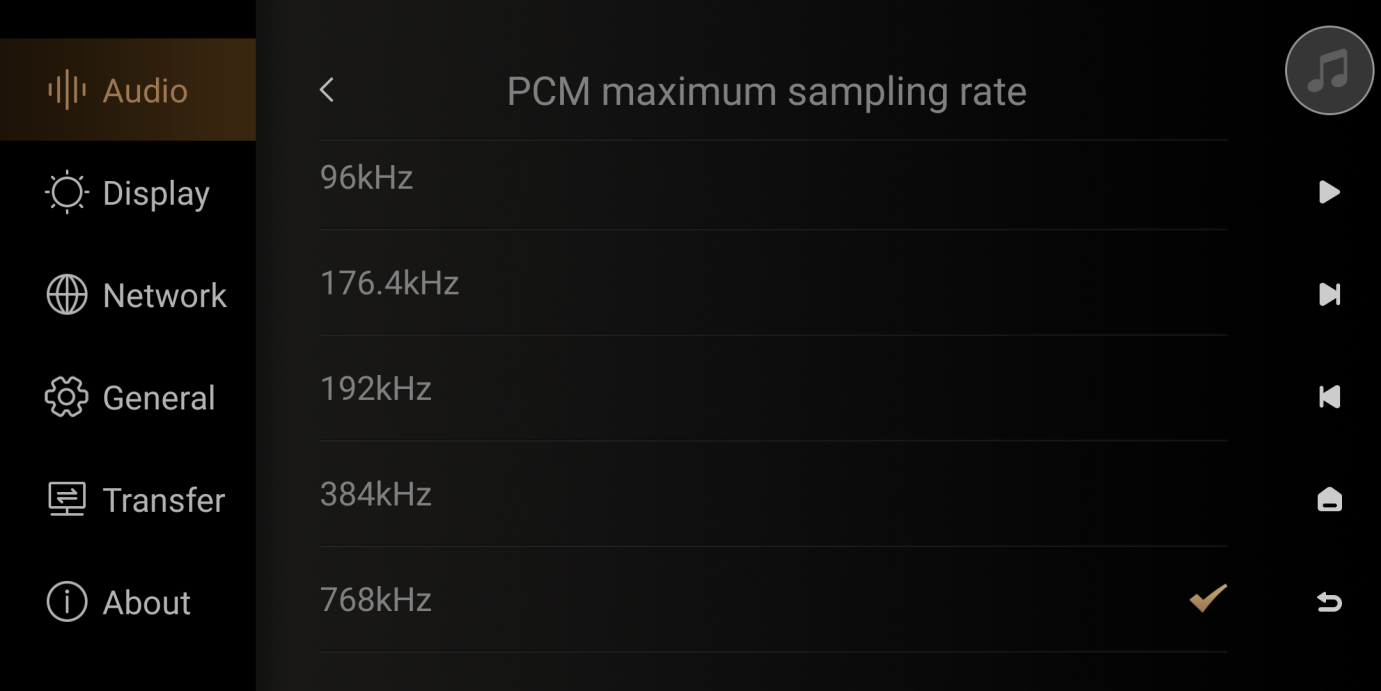
- PCM maximum sampling rate
PCM maximum sampling rate for IIS output port can be set here, supports up to 768KHz
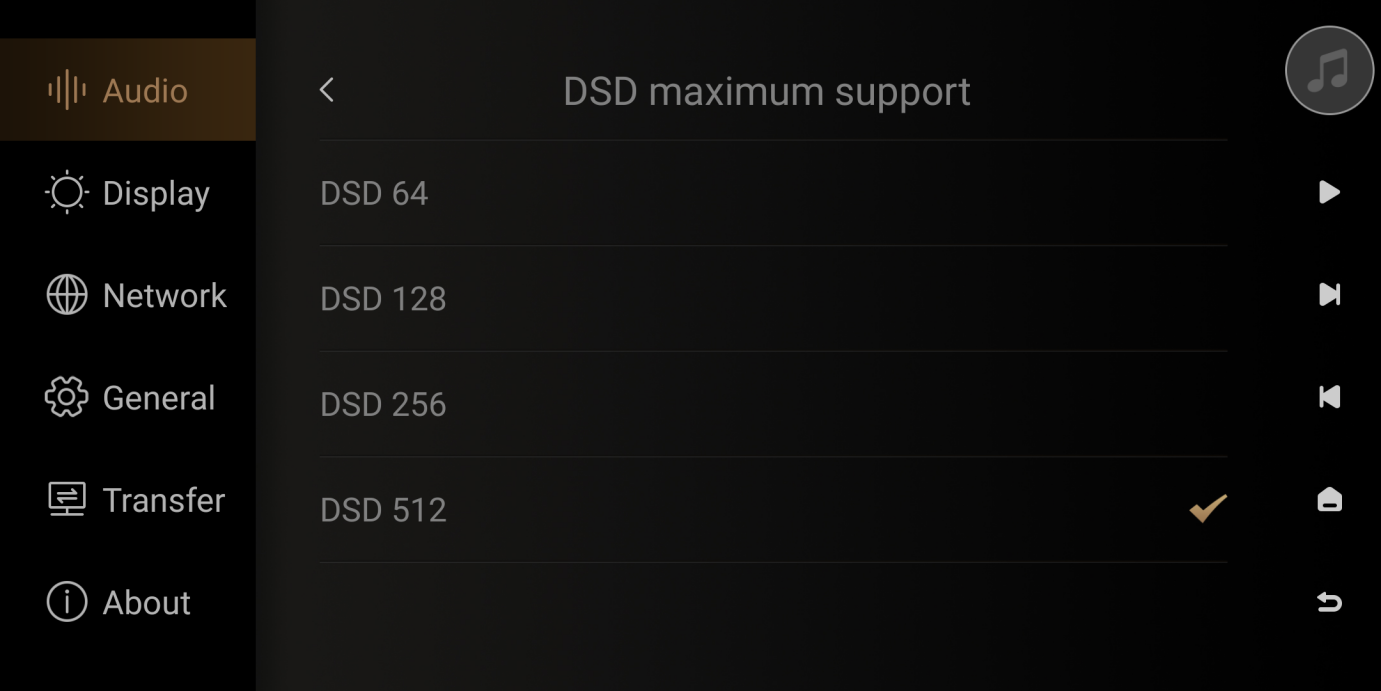
- DSD maximum support
Configure IIS port output for DSD, supporting up to DSD512.
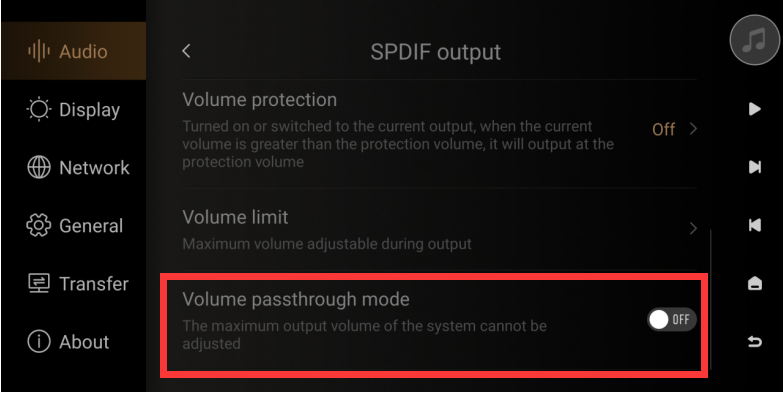
3. SPDIF output (optical/coaxial)
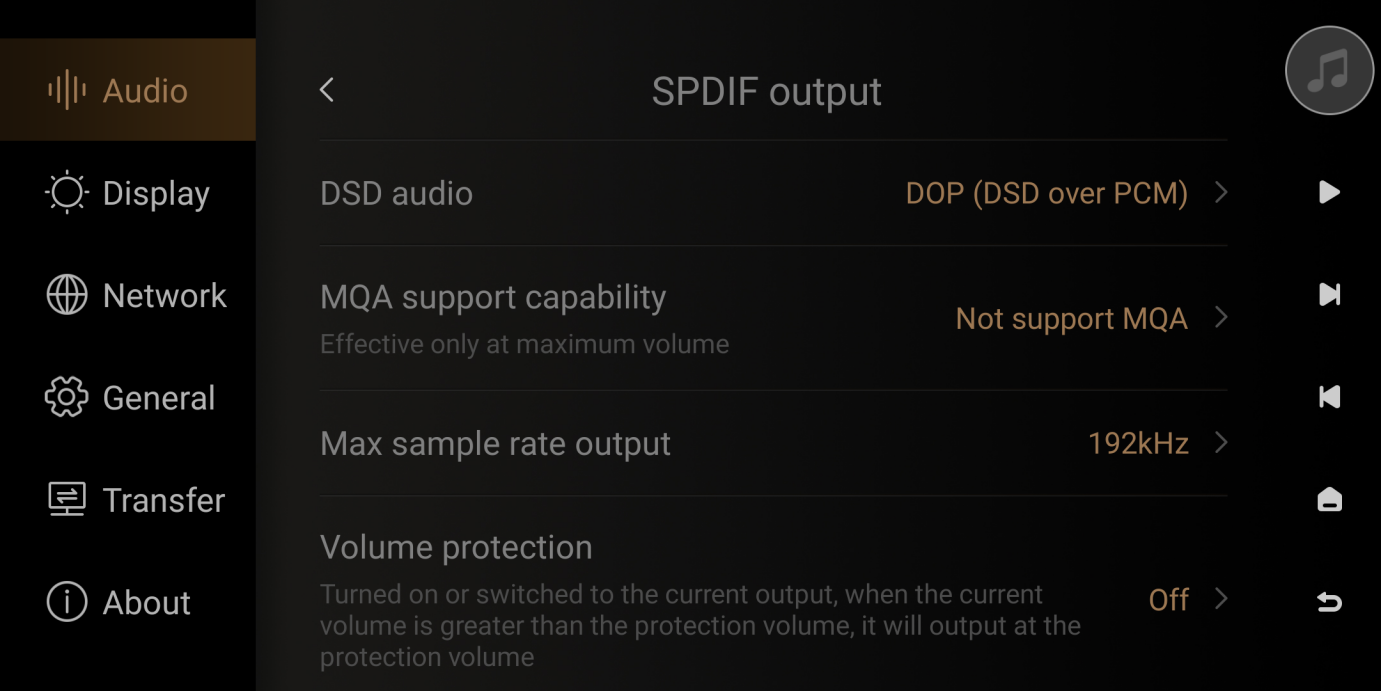
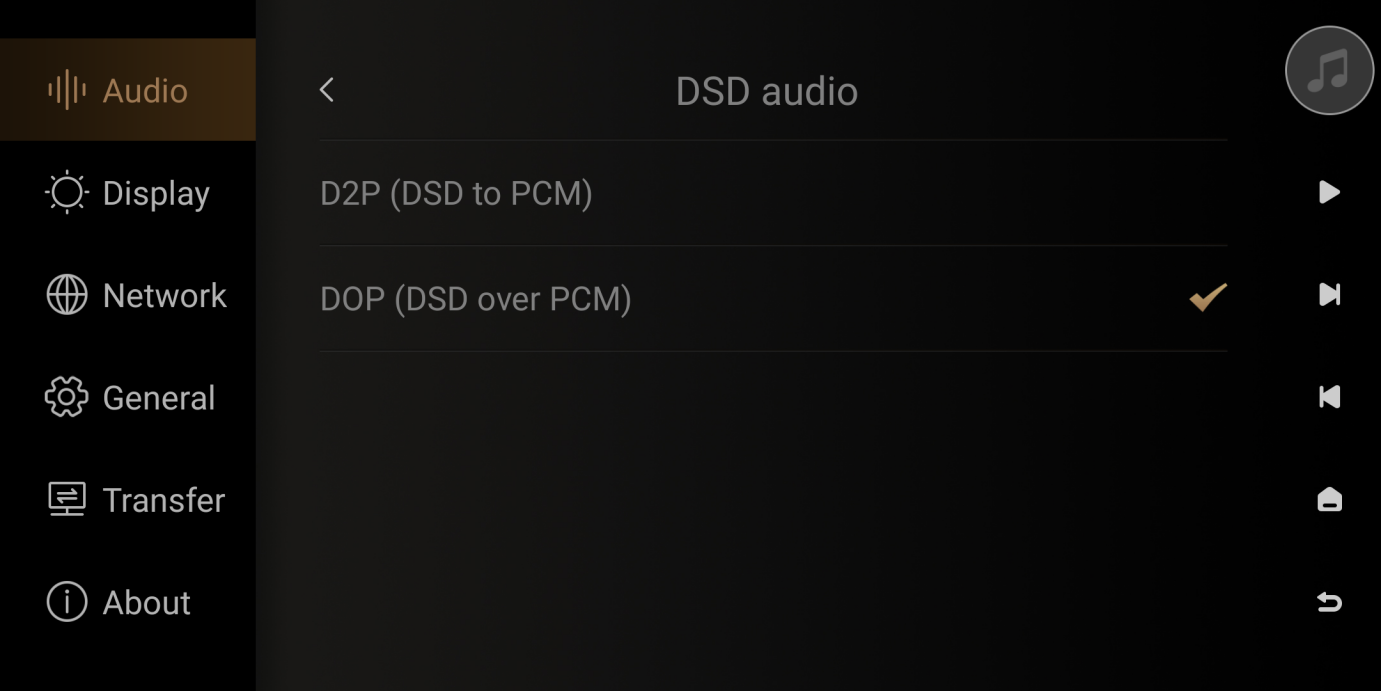
- DSD audio
D2P(DSD to PCM):DSD music decoding with PCM output.
DOP(DSD over PCM):Transmitting DSD through PCM
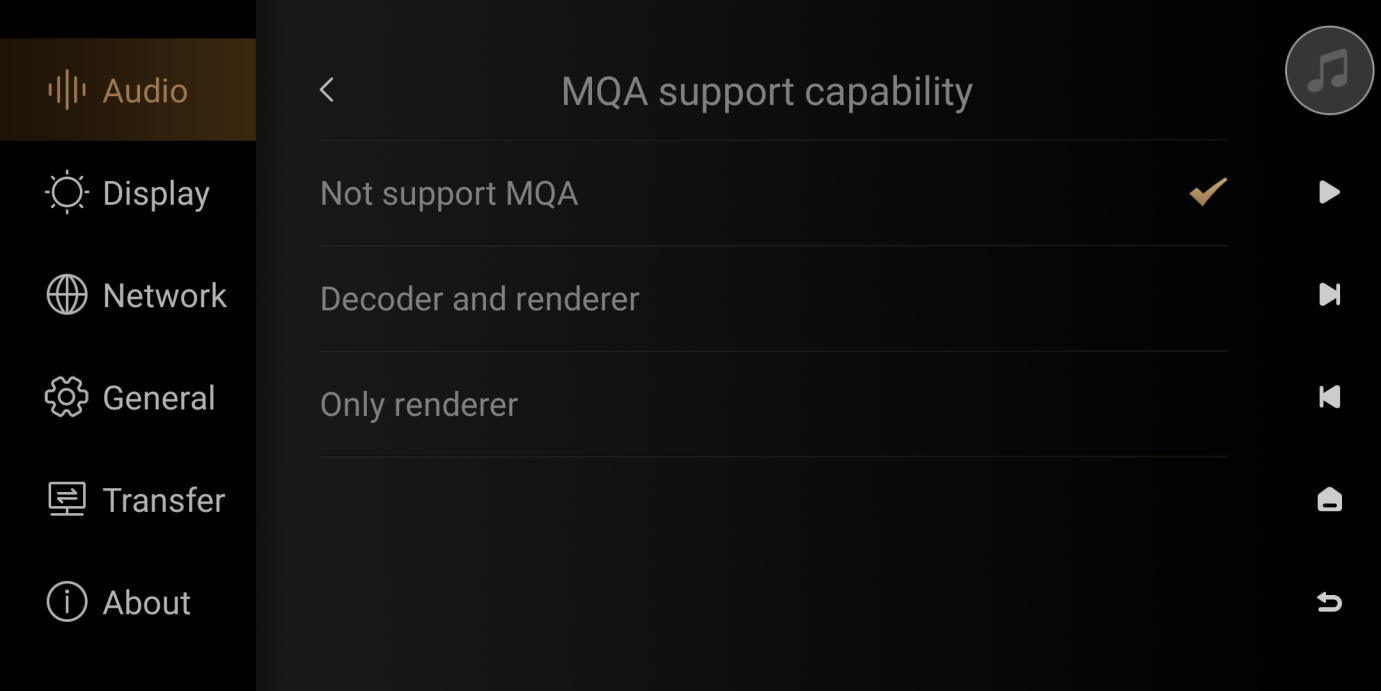
- MQA support capability
This selection is based on the back-end device's support capabilities: not supporting MQA, decoder and renderer, renderer only.
- About MQA decoder
Objective: The first step of MQA decoding, metaphorically speaking, can be understood as "finding the folding method and opening the first layer."
Implementation: This step is typically achieved through playback software such as TIDAL or ROON.
Outcome: After decoding, it unfolds to 2x, and the output sampling rate is 88.2kHz or 96kHz.
- About MQA renderer
Objective: To use with MQA playback software to unfold the decoded audio stream.
Implementation method: Decode is achieved through Xmos or DAC chips with built-in MQA rendering capability.
Results: After the rendering and unfolding process, it completes the full MQA decoding process. The maximum unfolding level depends on the system or DAC's maximum performance. The highest sample rate for 8× unfolding is 384kHz, and for 16× unfolding is 768kHz. According to consultations with MQA, it may even be possible to achieve 32× unfolding in the future.
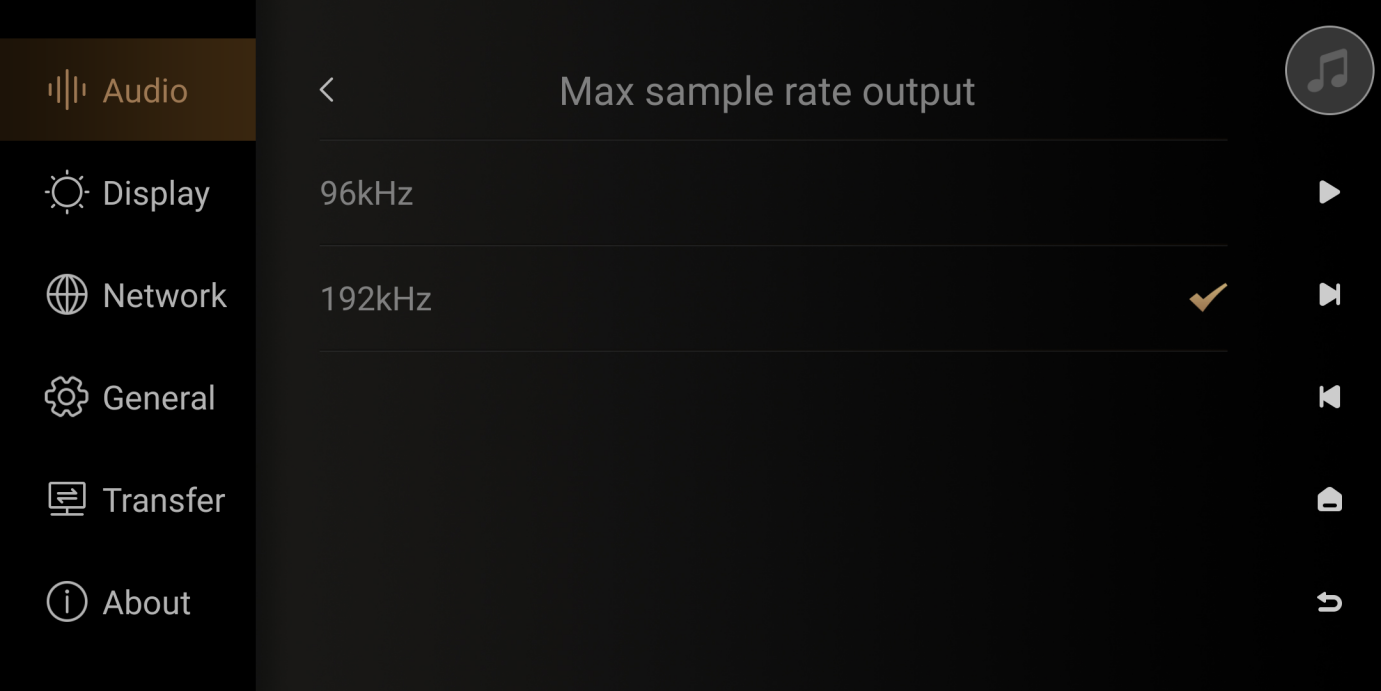
- Max sample rate output
Customize the maximum sampling rate of the optical/coaxial output
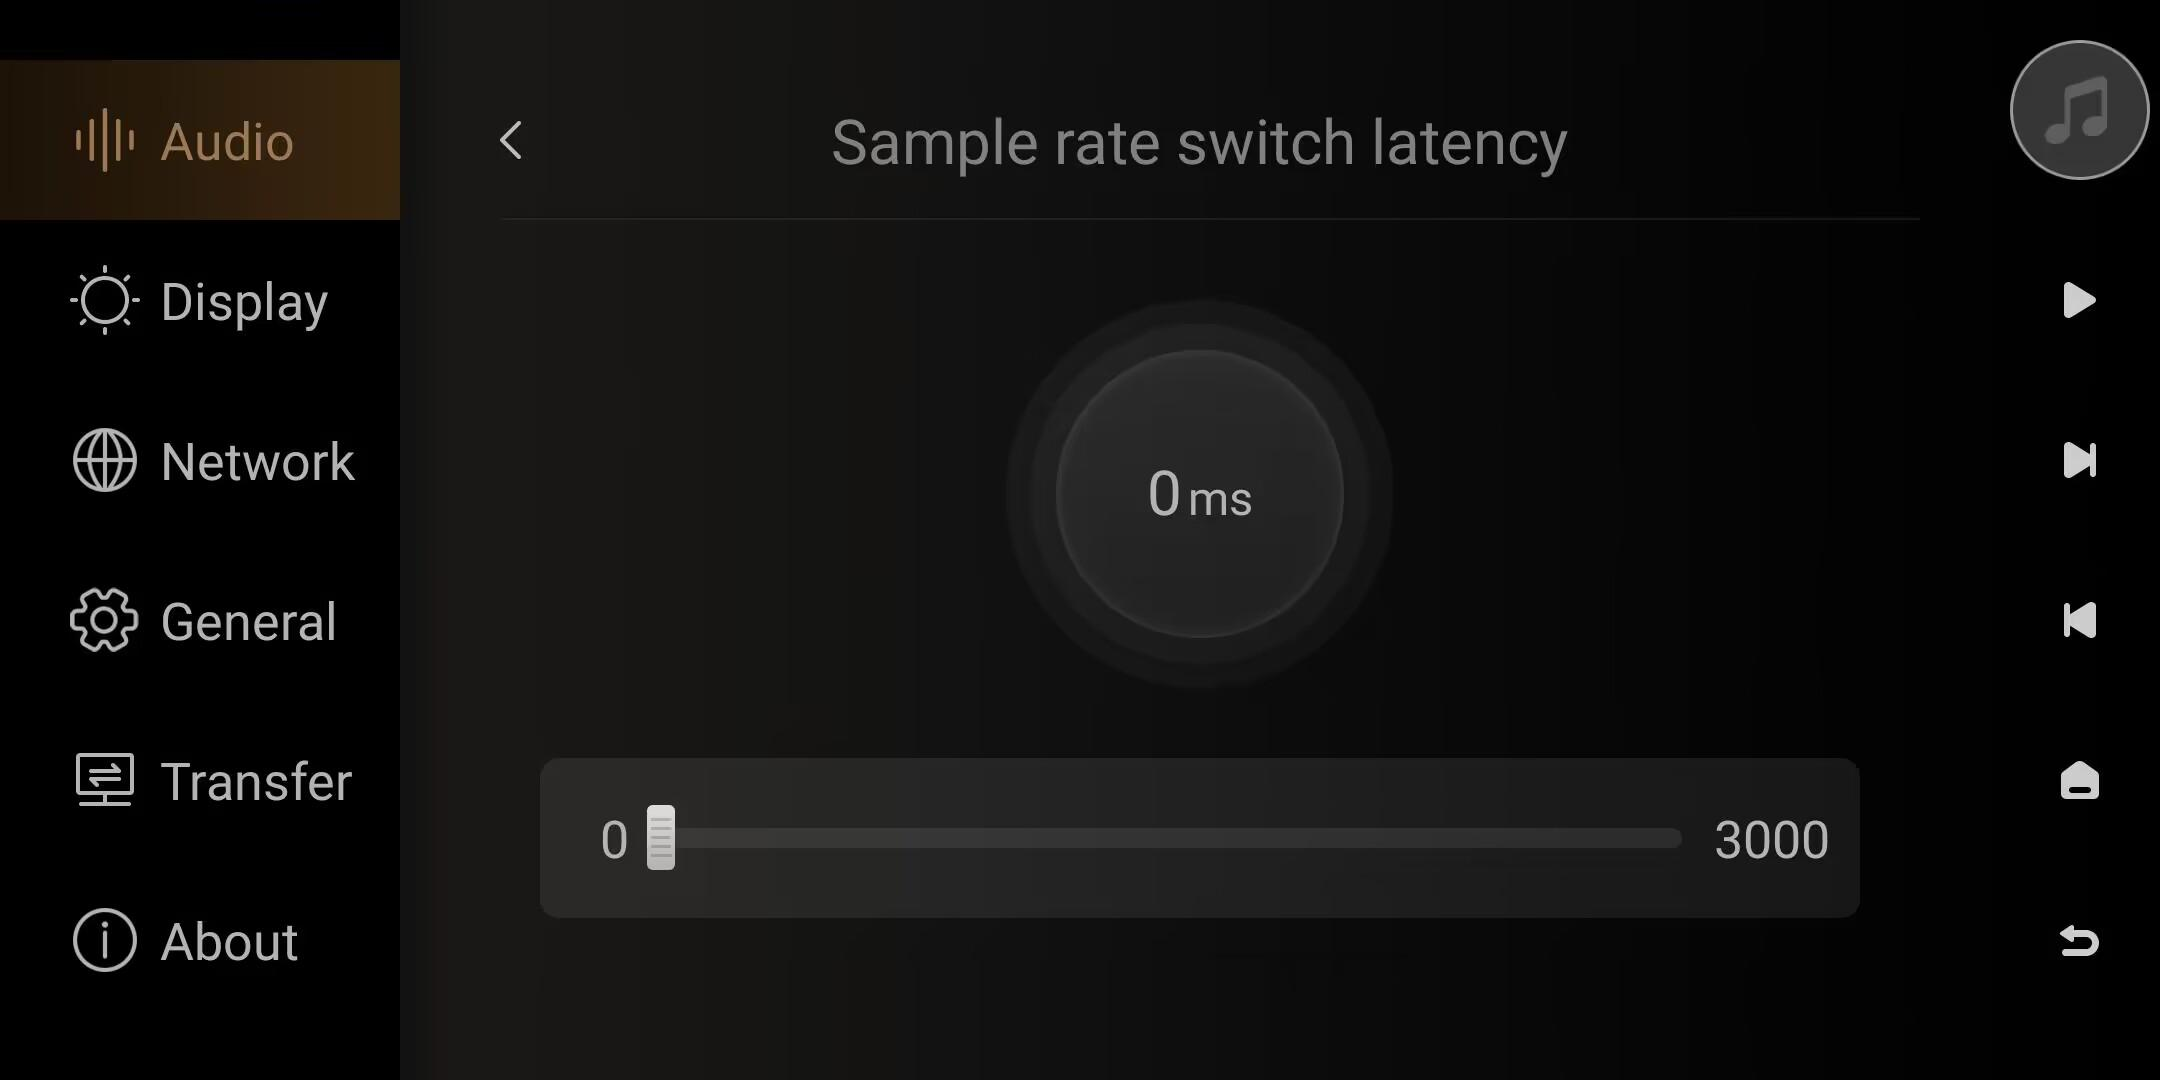
- Sample rate switch latency (available for v1.2.36 or above)
This option allows setting a delay for sample rate switching to prevent popping noises that may occur when external devices(connected with Coaxial or Optical port) changes the sample rate.
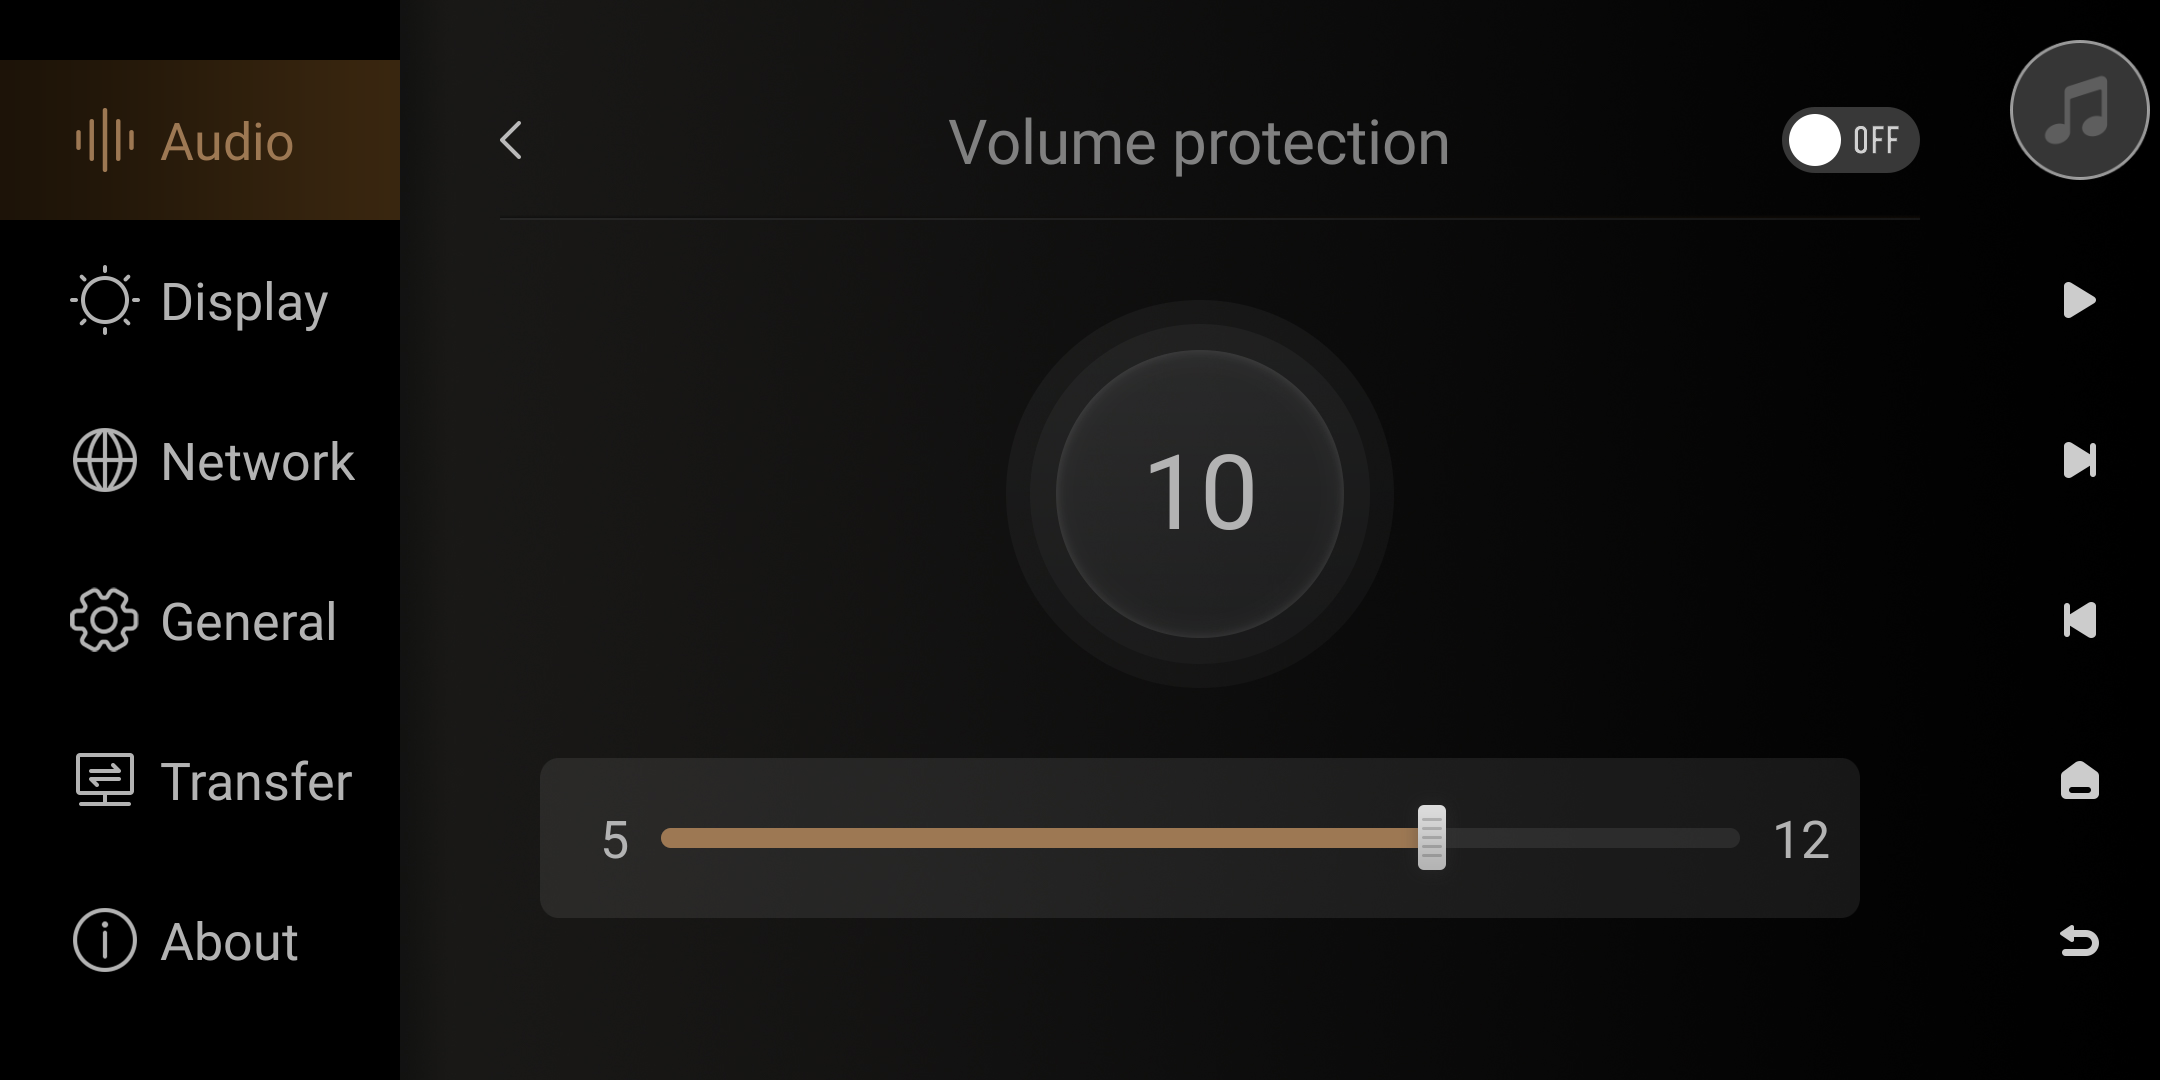
● Volume protection
Turn on this switch, and when powering on or switching to the current output, if the current volume is higher than the protection volume, it will output at the protection volume.
- Volume limit
When outputting, the maximum volume can be adjusted.

- Volume passthrough mode
Enabling this option sets the optical/coaxial output to maximum volume and cannot be adjusted.
4. USB DAC output
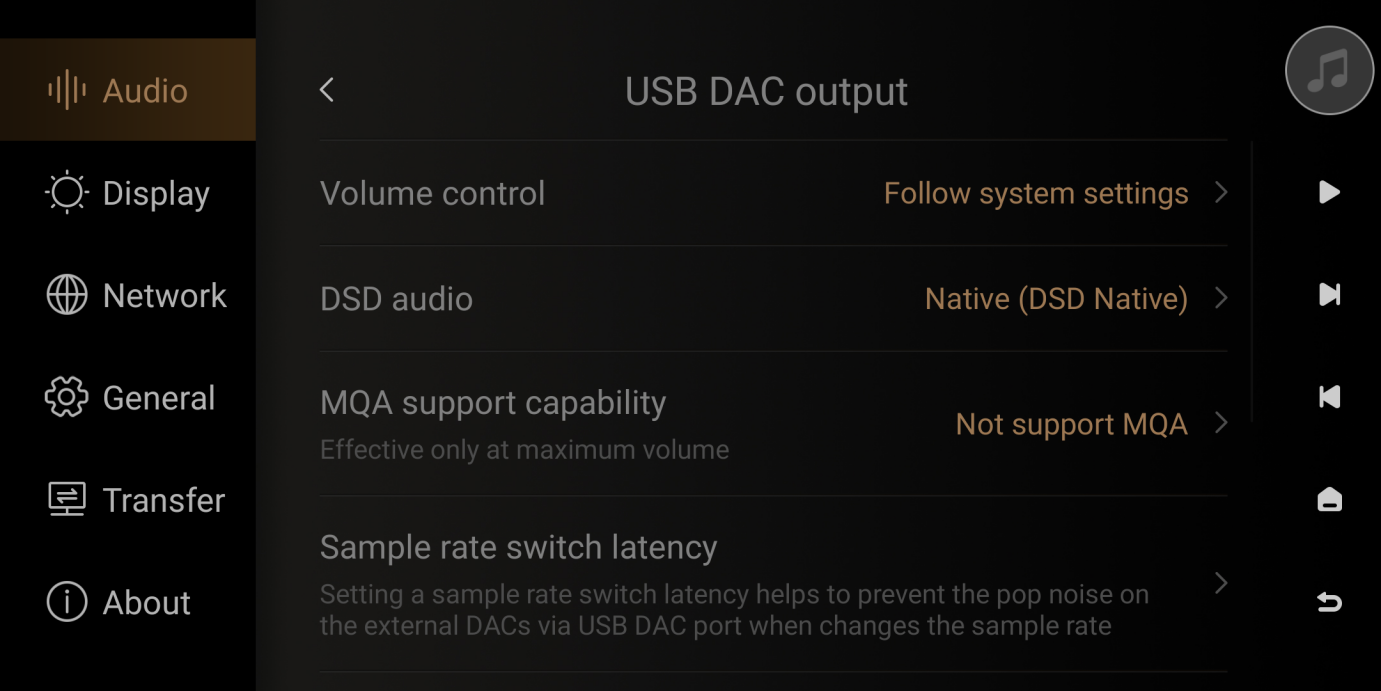
- Volume control
Follow systems settings:USB audio output is controlled by Eversolo's volume settings.
Audio device:USB audio output is controlled by the volume settings of the back-end audio device.

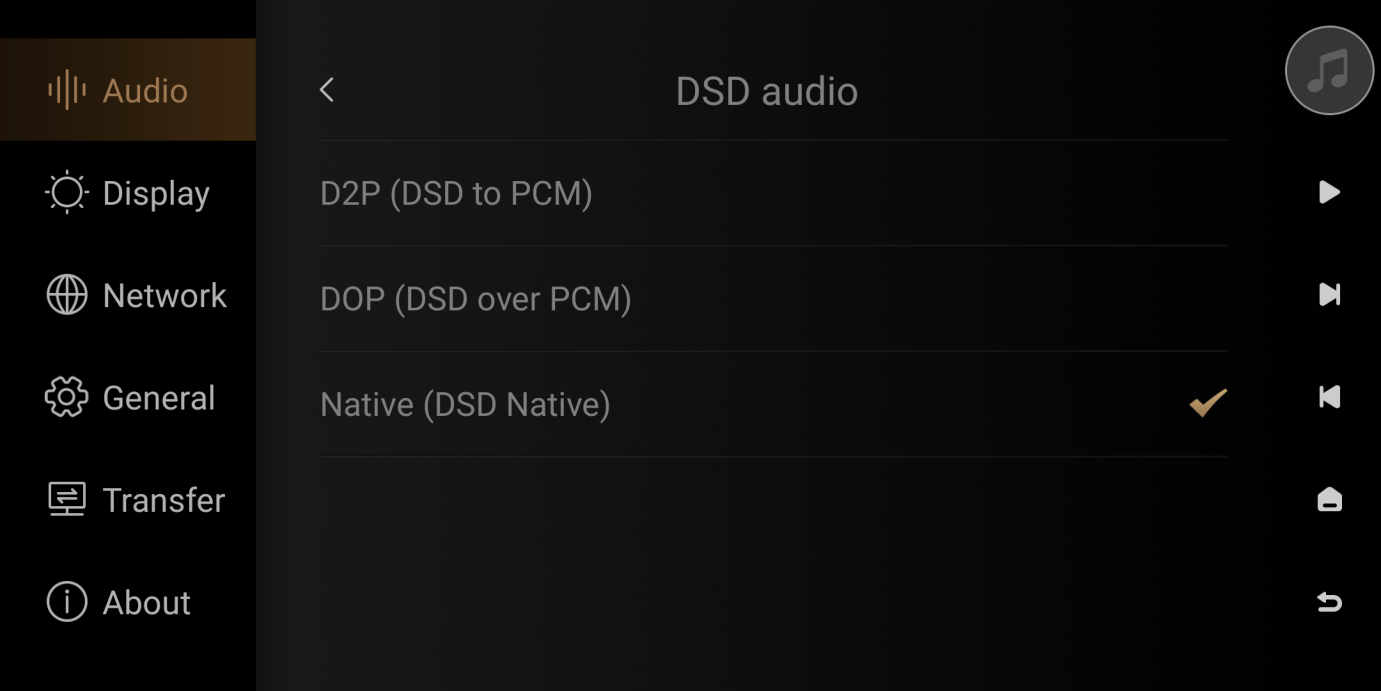
● DSD audio
D2P(DSD to PCM):DSD decoding with PCM output.
DOP:(DSD over PCM):Transmitting DSD through PCM
Native(DSD native):Direct output of DSD
- MQA support capability
This selection is based on the back-end device's support capabilities: not supporting MQA, decoder and renderer, renderer only.
- About MQA decoder
Objective: The first step of MQA decoding, metaphorically speaking, can be understood as "finding the folding method and opening the first layer."
Implementation: This step is typically achieved through playback software such as TIDAL or ROON.
Outcome: After decoding, it unfolds to 2x, and the output sampling rate is 88.2kHz or 96kHz.
- About MQA renderer
Objective: To use with MQA playback software to unfold the decoded audio stream.
Implementation method: Decode is achieved through Xmos or DAC chips with built-in MQA rendering capability.
Results: After the rendering and unfolding process, it completes the full MQA decoding process. The maximum unfolding level depends on the system or DAC's maximum performance. The highest sample rate for 8× unfolding is 384kHz, and for 16× unfolding is 768kHz. According to consultations with MQA, it may even be possible to achieve 32× unfolding in the future.

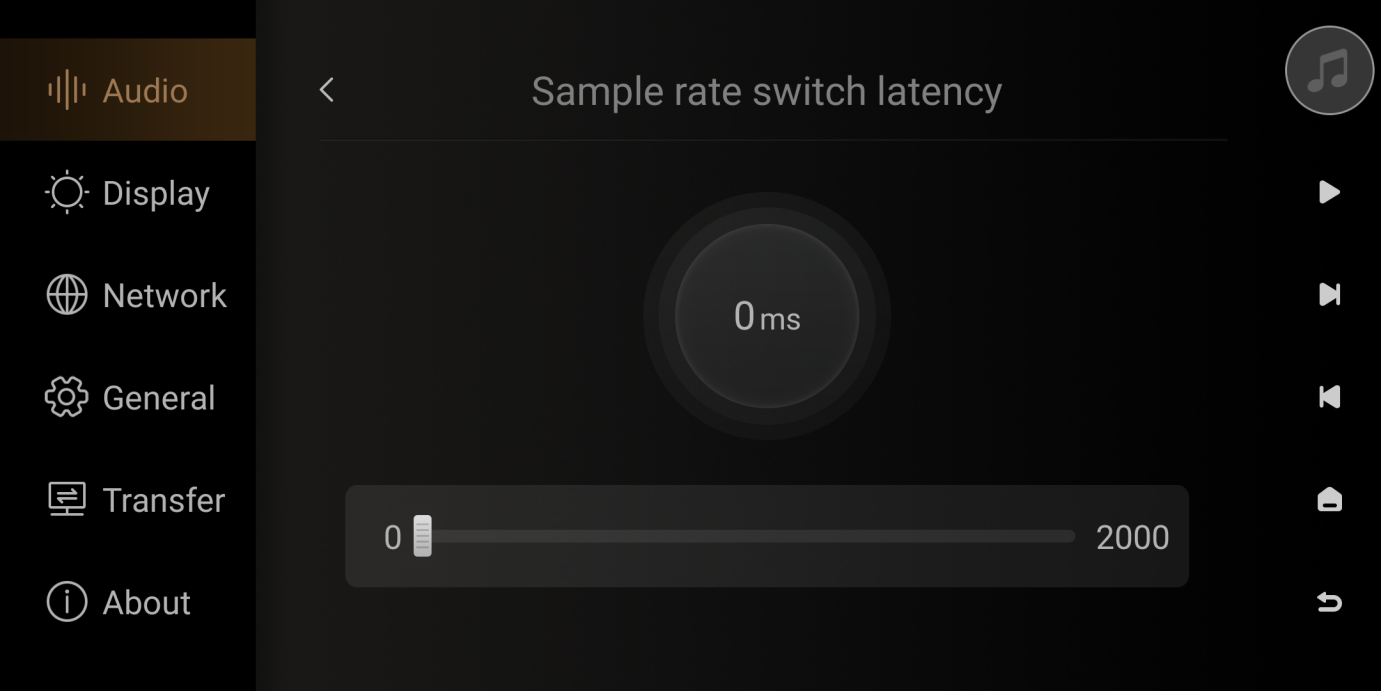
- Sample rate switch latency
Setting the sample rate switching delay can prevent the popping sound produced when an external USB DAC changes the sampling rate.
● Volume protection
Turn on this switch, and when powering on or switching to the current output, if the current volume is higher than the protection volume, it will output at the protection volume.

- Volume limit
When outputting, the maximum volume can be adjusted.

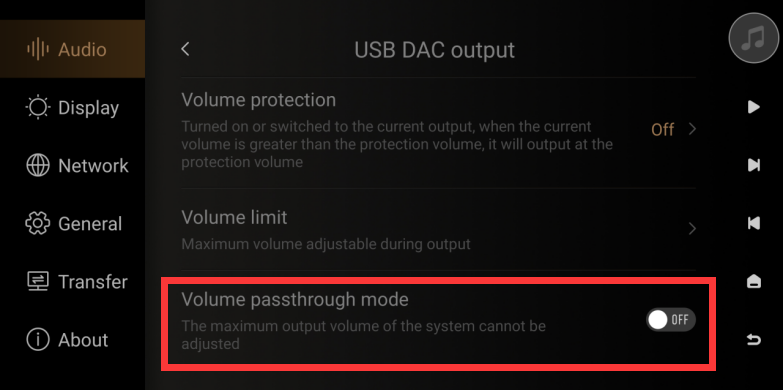
- Volume passthrough mode
When this option is enabled, the USB DAC system will output at maximum volume and cannot be adjusted.
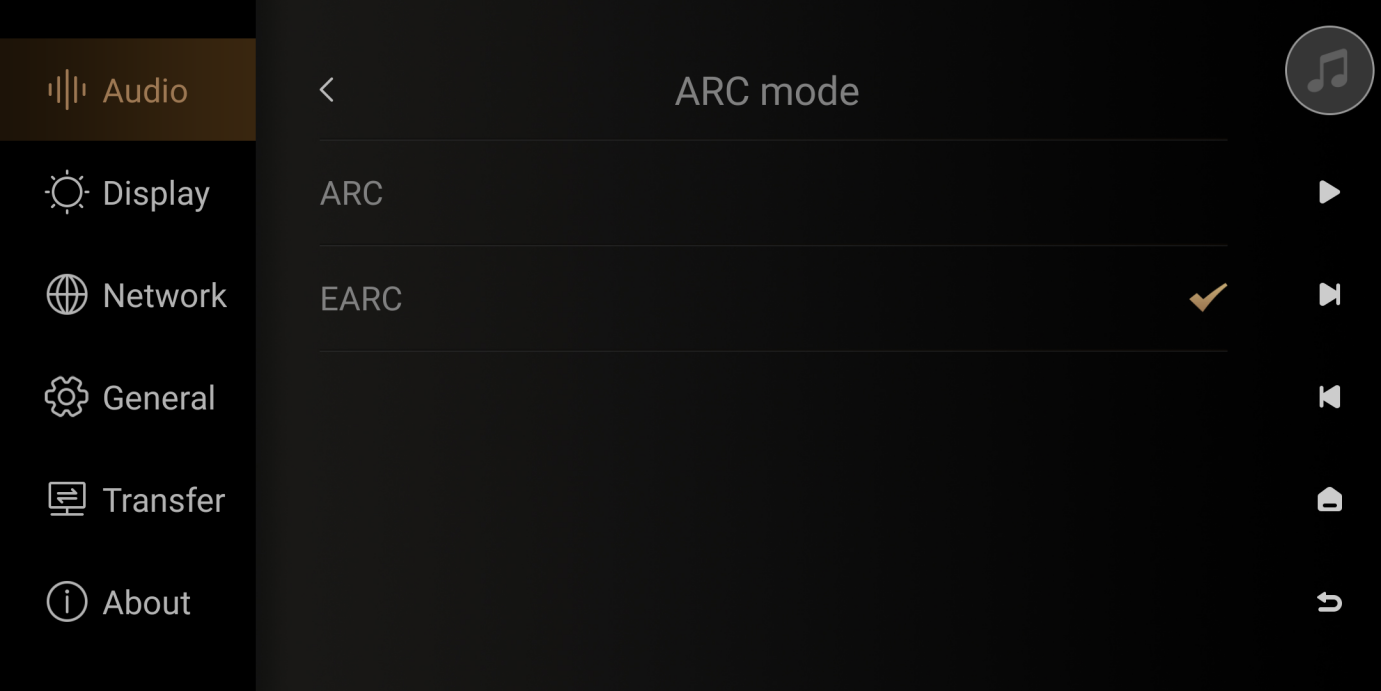
5. ARC Mode
Switch HDMI ARC Input Port Mode
ARC Mode: Supports a maximum input of 48KHz 24-bit
eARC Mode: Supports a maximum input of 192KHz 24-bit
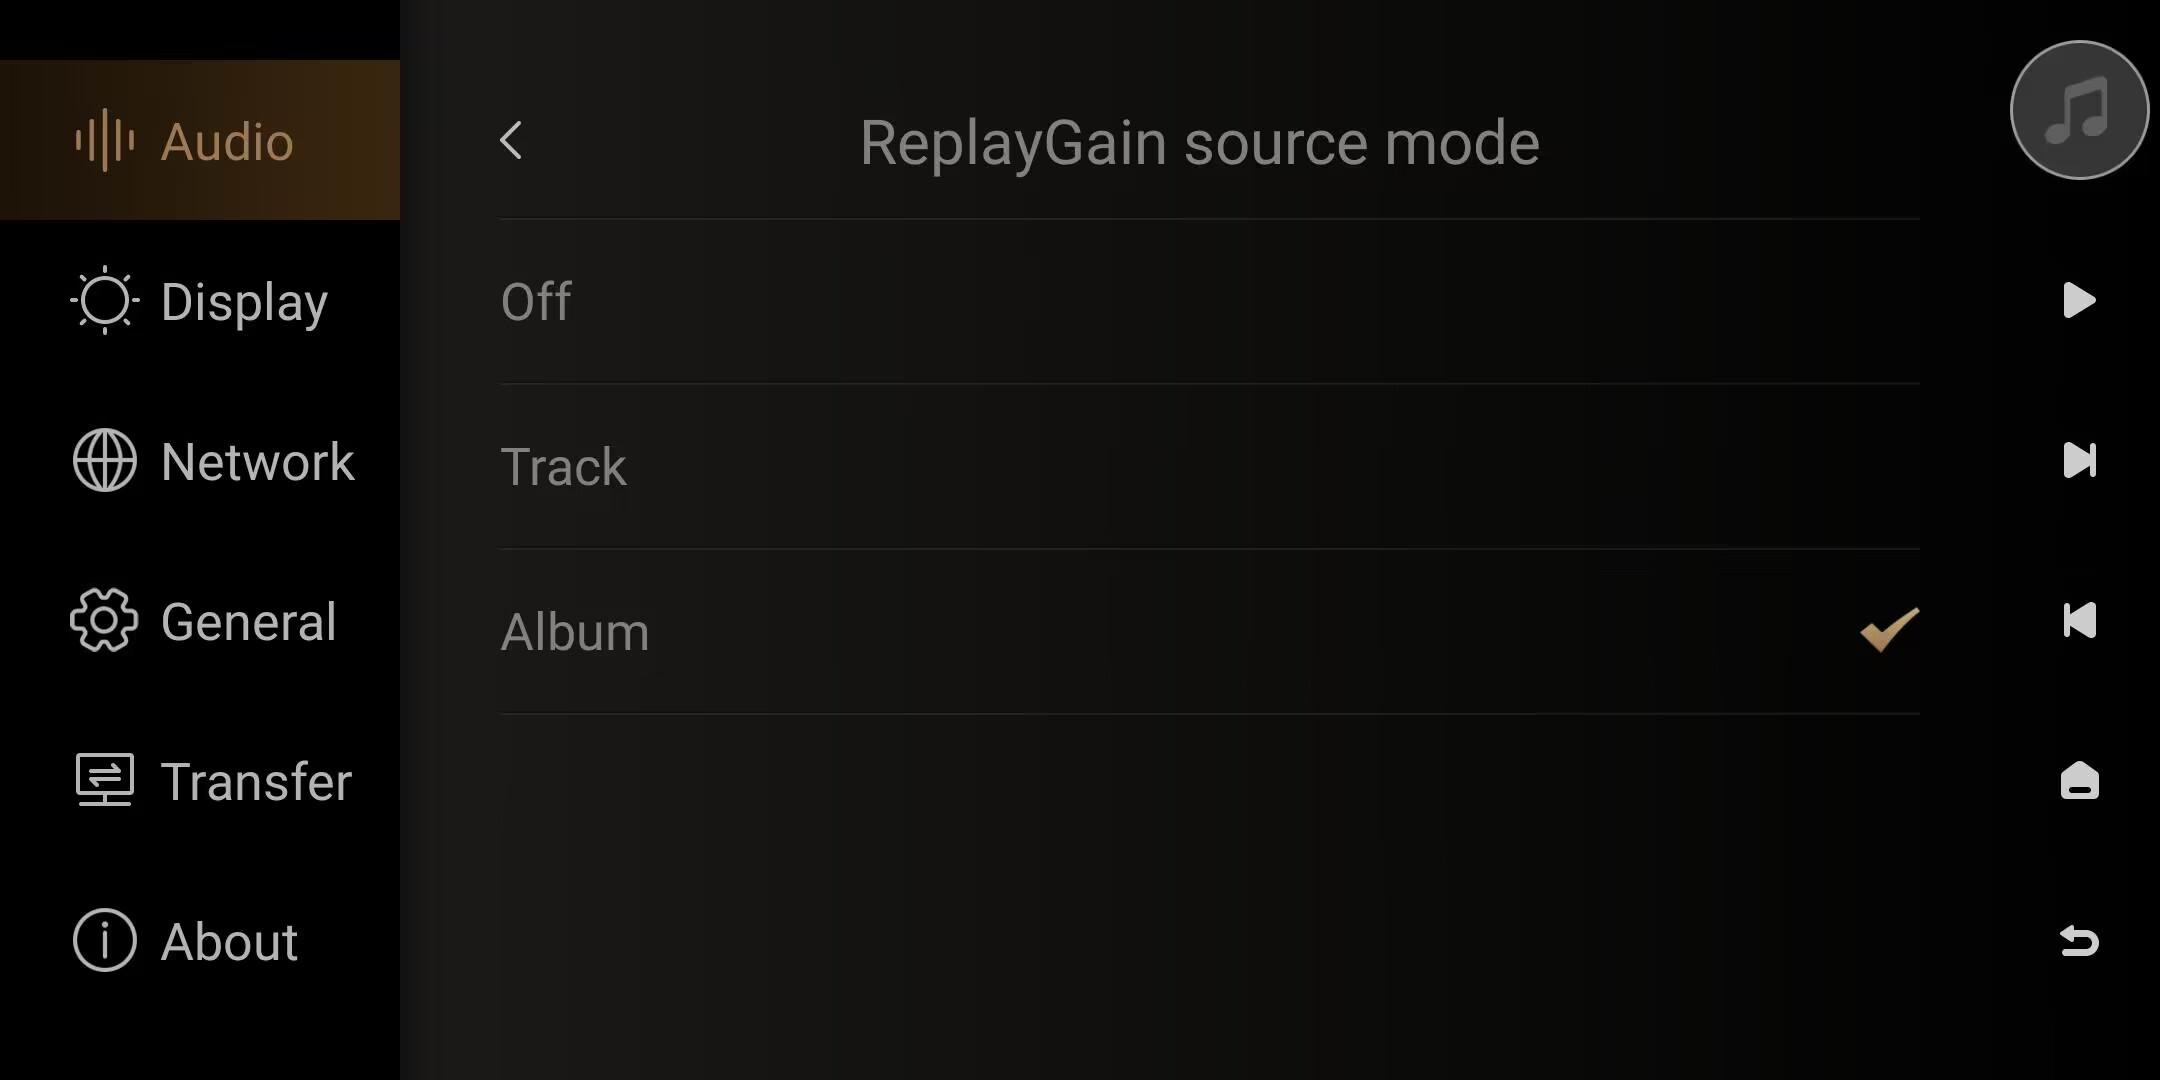
6. ReplayGain source mode
Replaygain is a tag that can be stored within an audio file, indicating a specific gain value (+3.1 decibels, -2.0 decibels, etc.). Players that support Replaygain read these tags and adjust the internal volume during playback. This adjustment maintains a consistent actual volume level across different songs without manually altering the system volume. Additionally replaygain is a standard that defines an algorithm to automatically detect audio file loudness. This allows software to autonomously adjust volume differences between songs.
There are two categories of Replaygain tags: album gain and track gain.
Album gain: treats an entire album as a whole, ensuring different albums are played at the same loudness level.
Track gain: balances the volume differences among different songs within the same album.
The distinction between these lies in the intentional variations in loudness within the same album, which are often intentional by the recording artist. By separating these two types of gain tags, users can independently choose to apply replay gain at the album or individual track level.
Note: Effective only when the input source is the internal player. It supports local non-DSD tracks and partially supports integrated music services with Replay GAIN. (Such as TIDAL/Qobuz/Deezer)
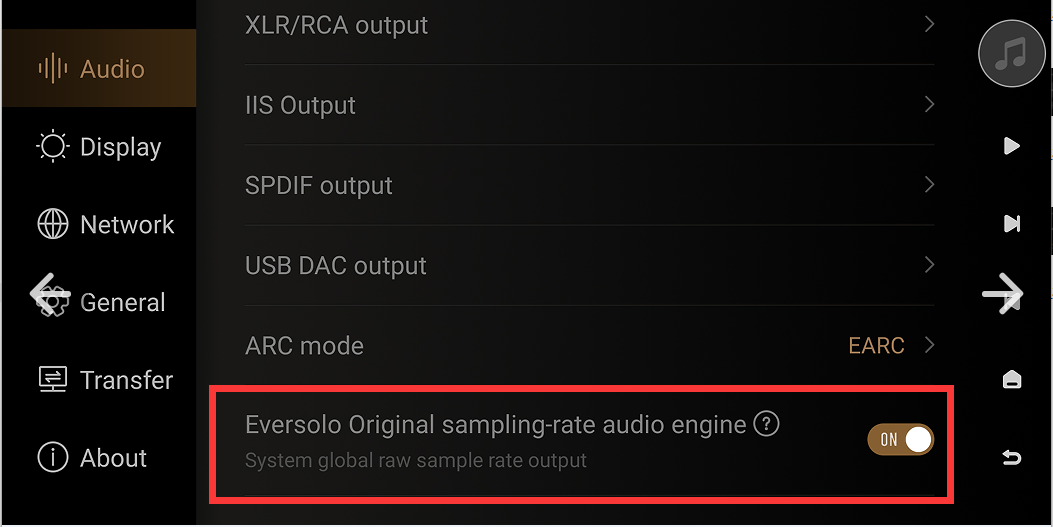
7. EOS engine
The DMP-A8 utilizes Eversolo's self-developed EOS (Eversolo Original sampling-rate audio engine), which supports global raw sampling rate output for audio. This means that any audio playback can bypass the Android SRC (Sample Rate Conversion) limitation entirely, including supporting direct audio output for third-party apps (such as direct output of high-resolution audio quality for Apple Music).
On:global raw sampling rate output for audio
Off:Android SRC is limited to 48kHz output.
- Display
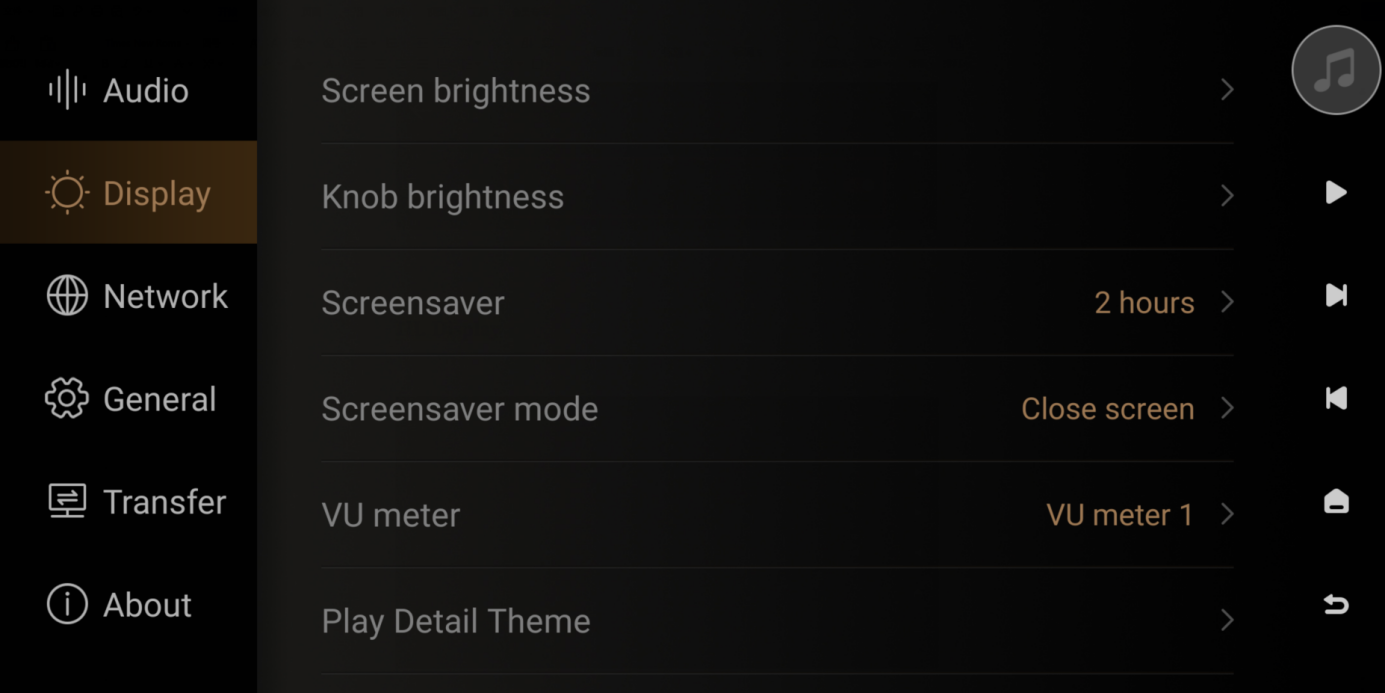
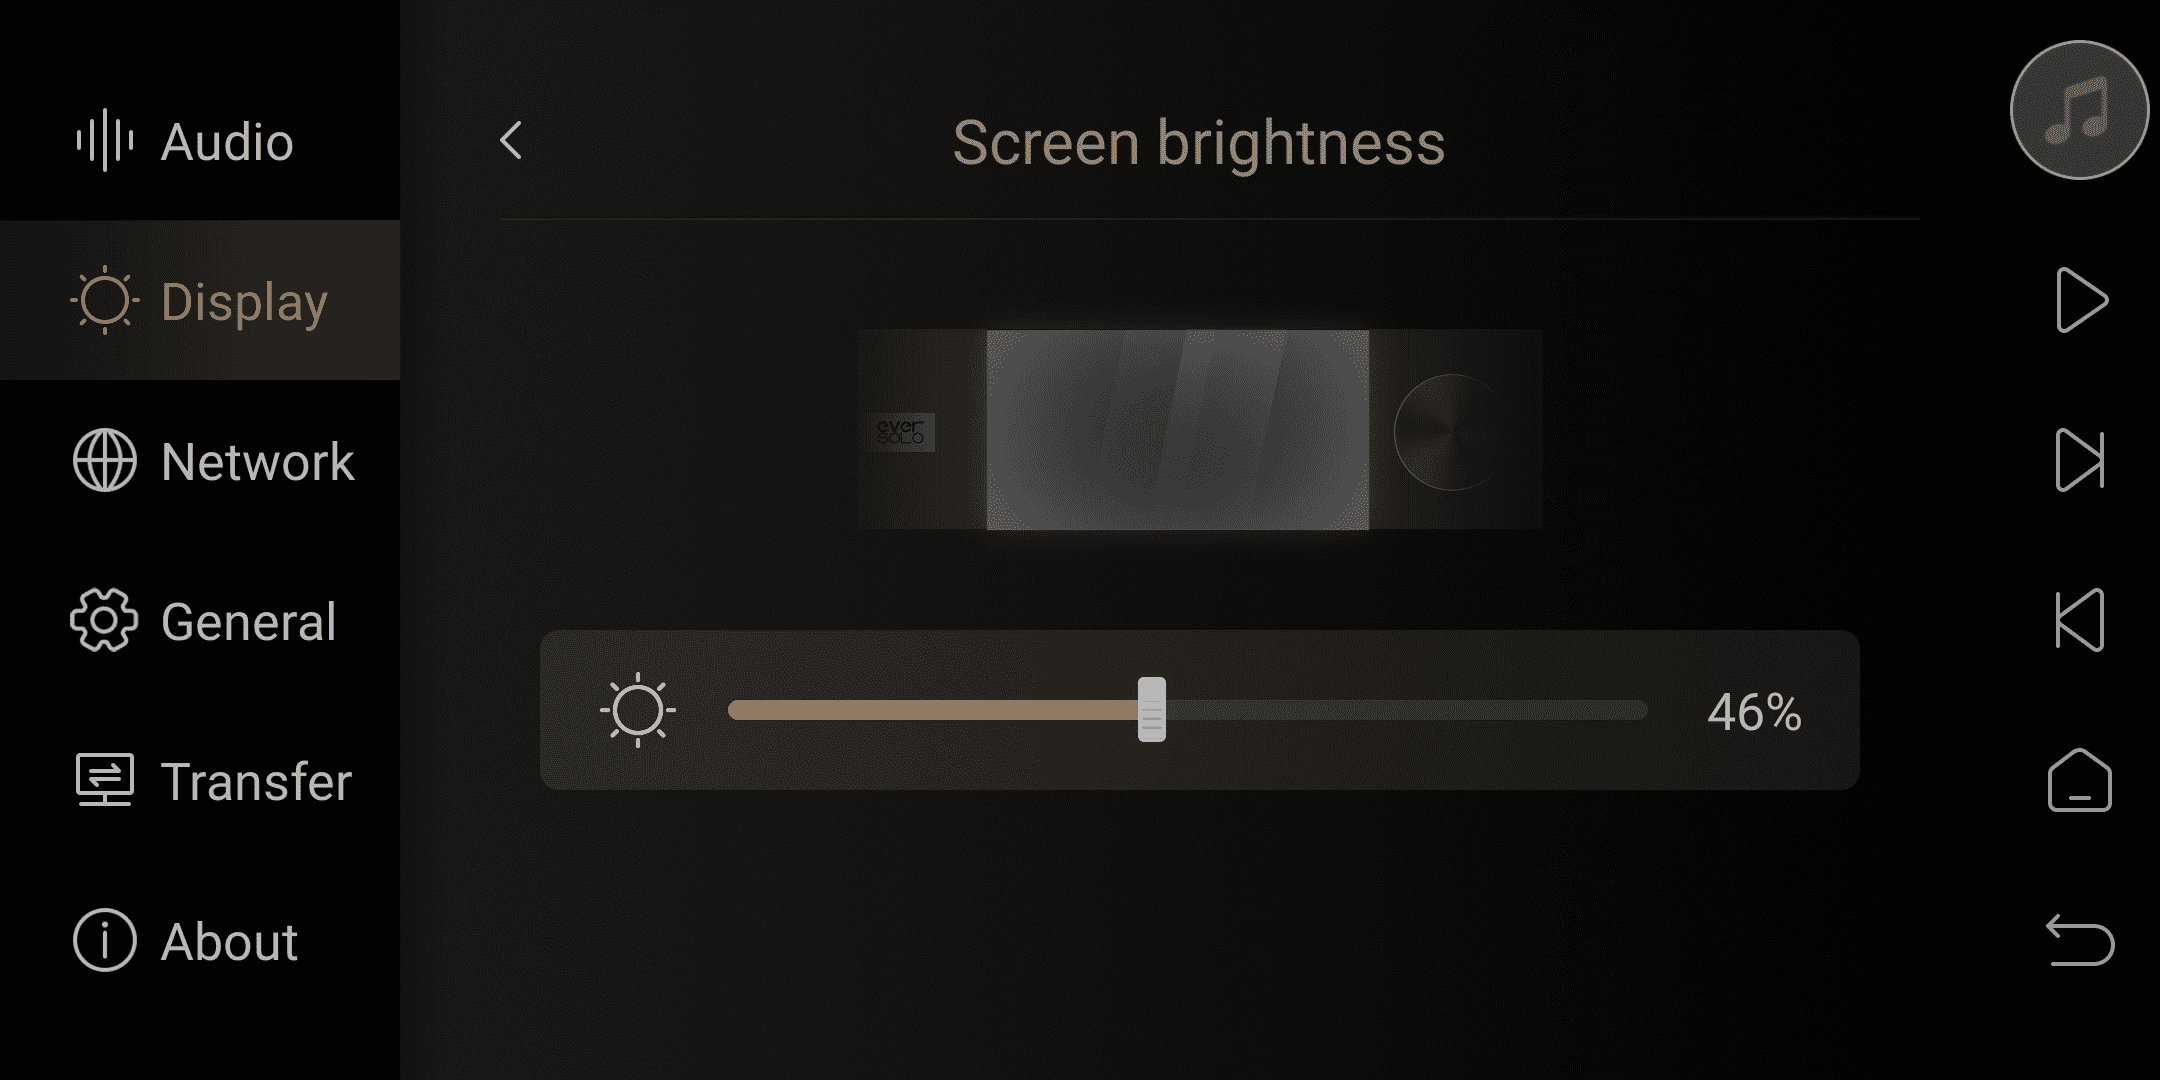
1. Screen brightness
Adjusting the brightness of the front touch screen on the DMP-A8.
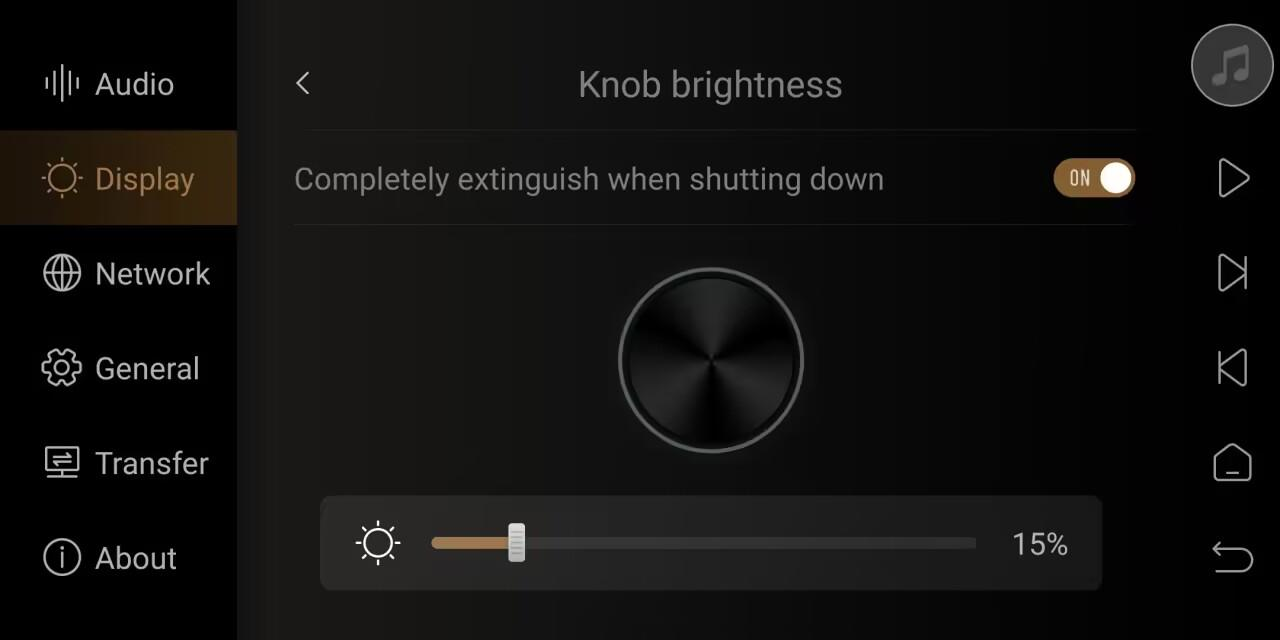
2. Knob brightness
Completely extinguish when shutting down: When this option is enabled, the knob LED ring on the DMP-A8 will turn off completely after the device is powered down.
Knob brightness: Adjusts the brightness of the knob LED ring in the DMP-A8's powered-on state. When set to the lowest level, the knob LED will turn off completely.
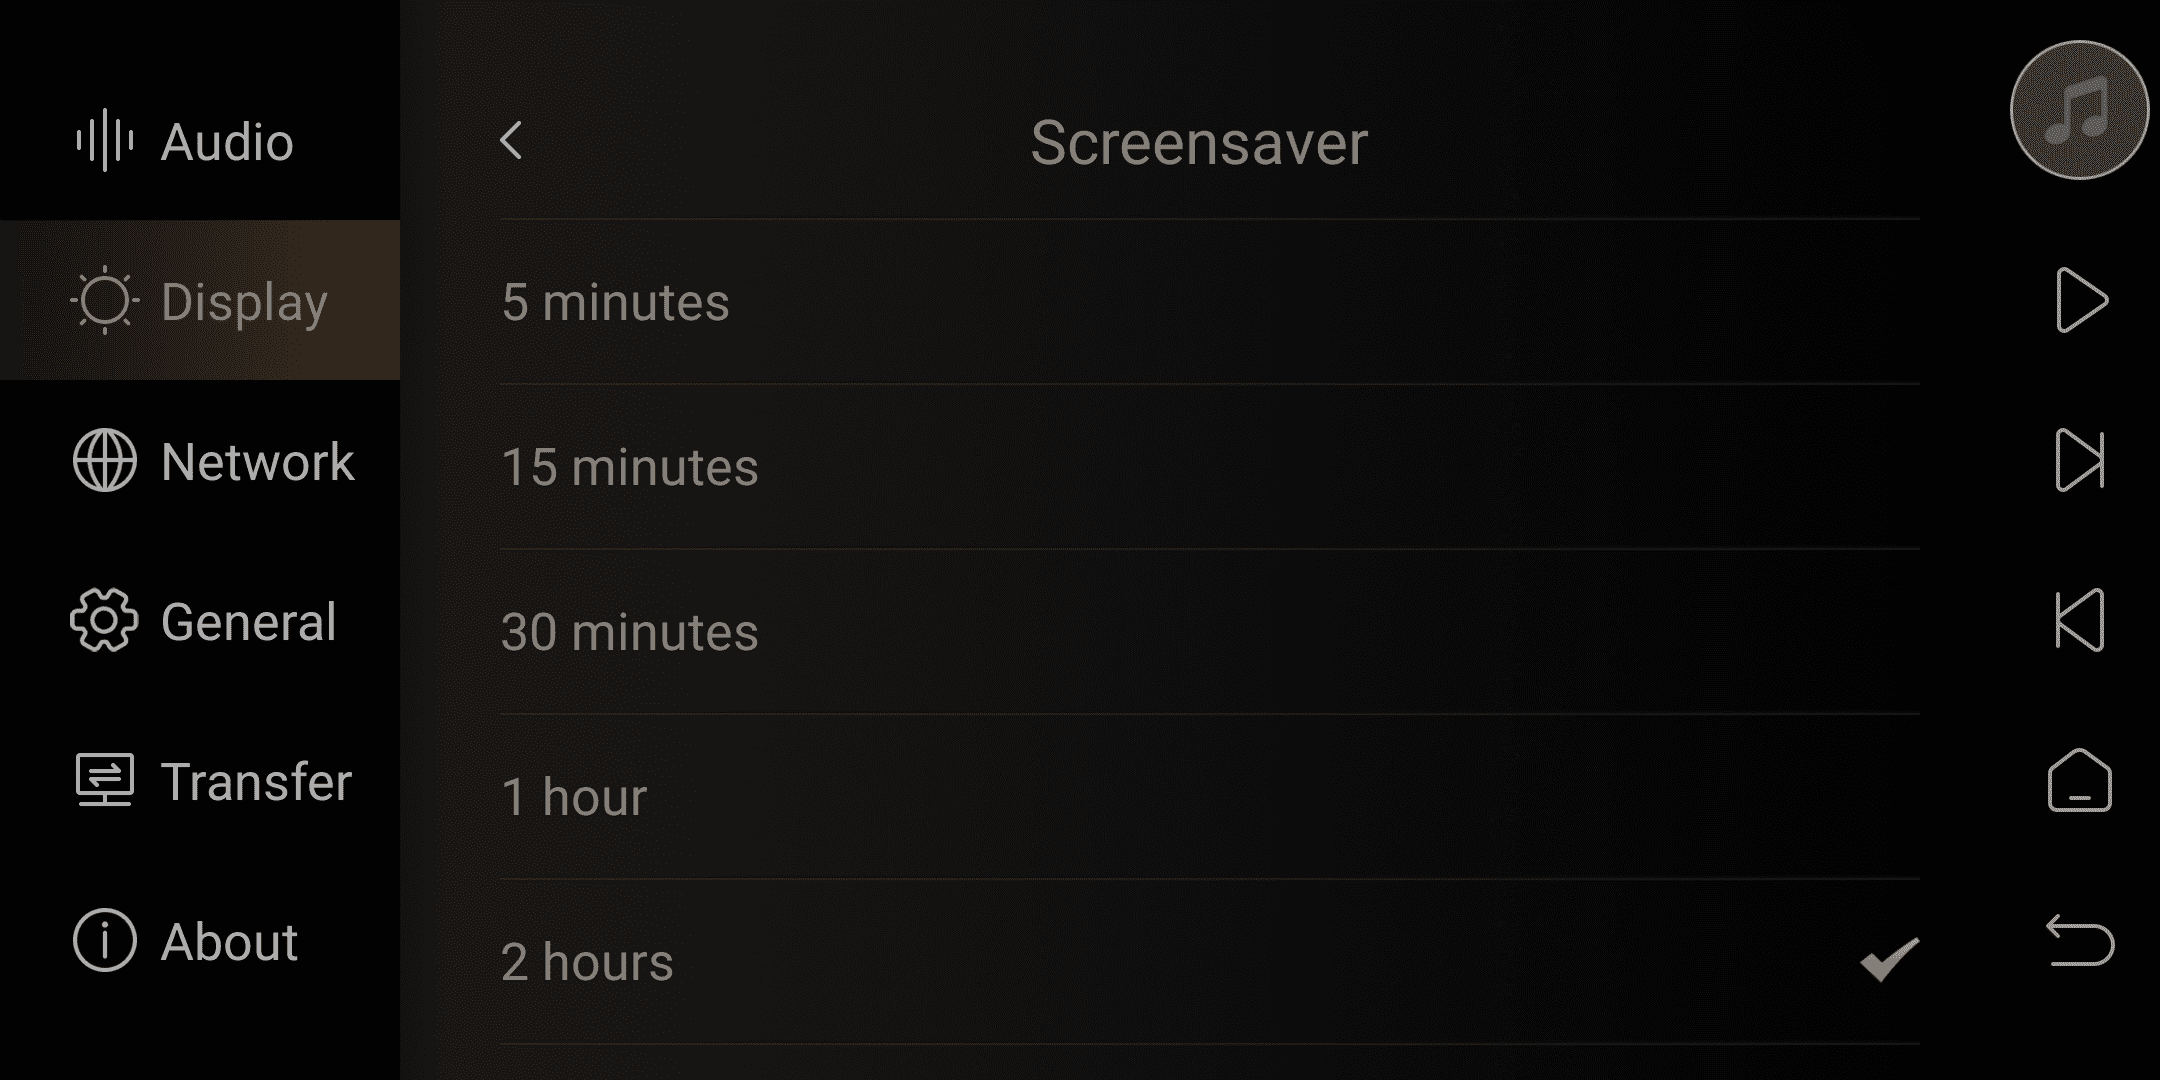
3. Screensaver
Customize time for screen saver to appear after a period of inactivity
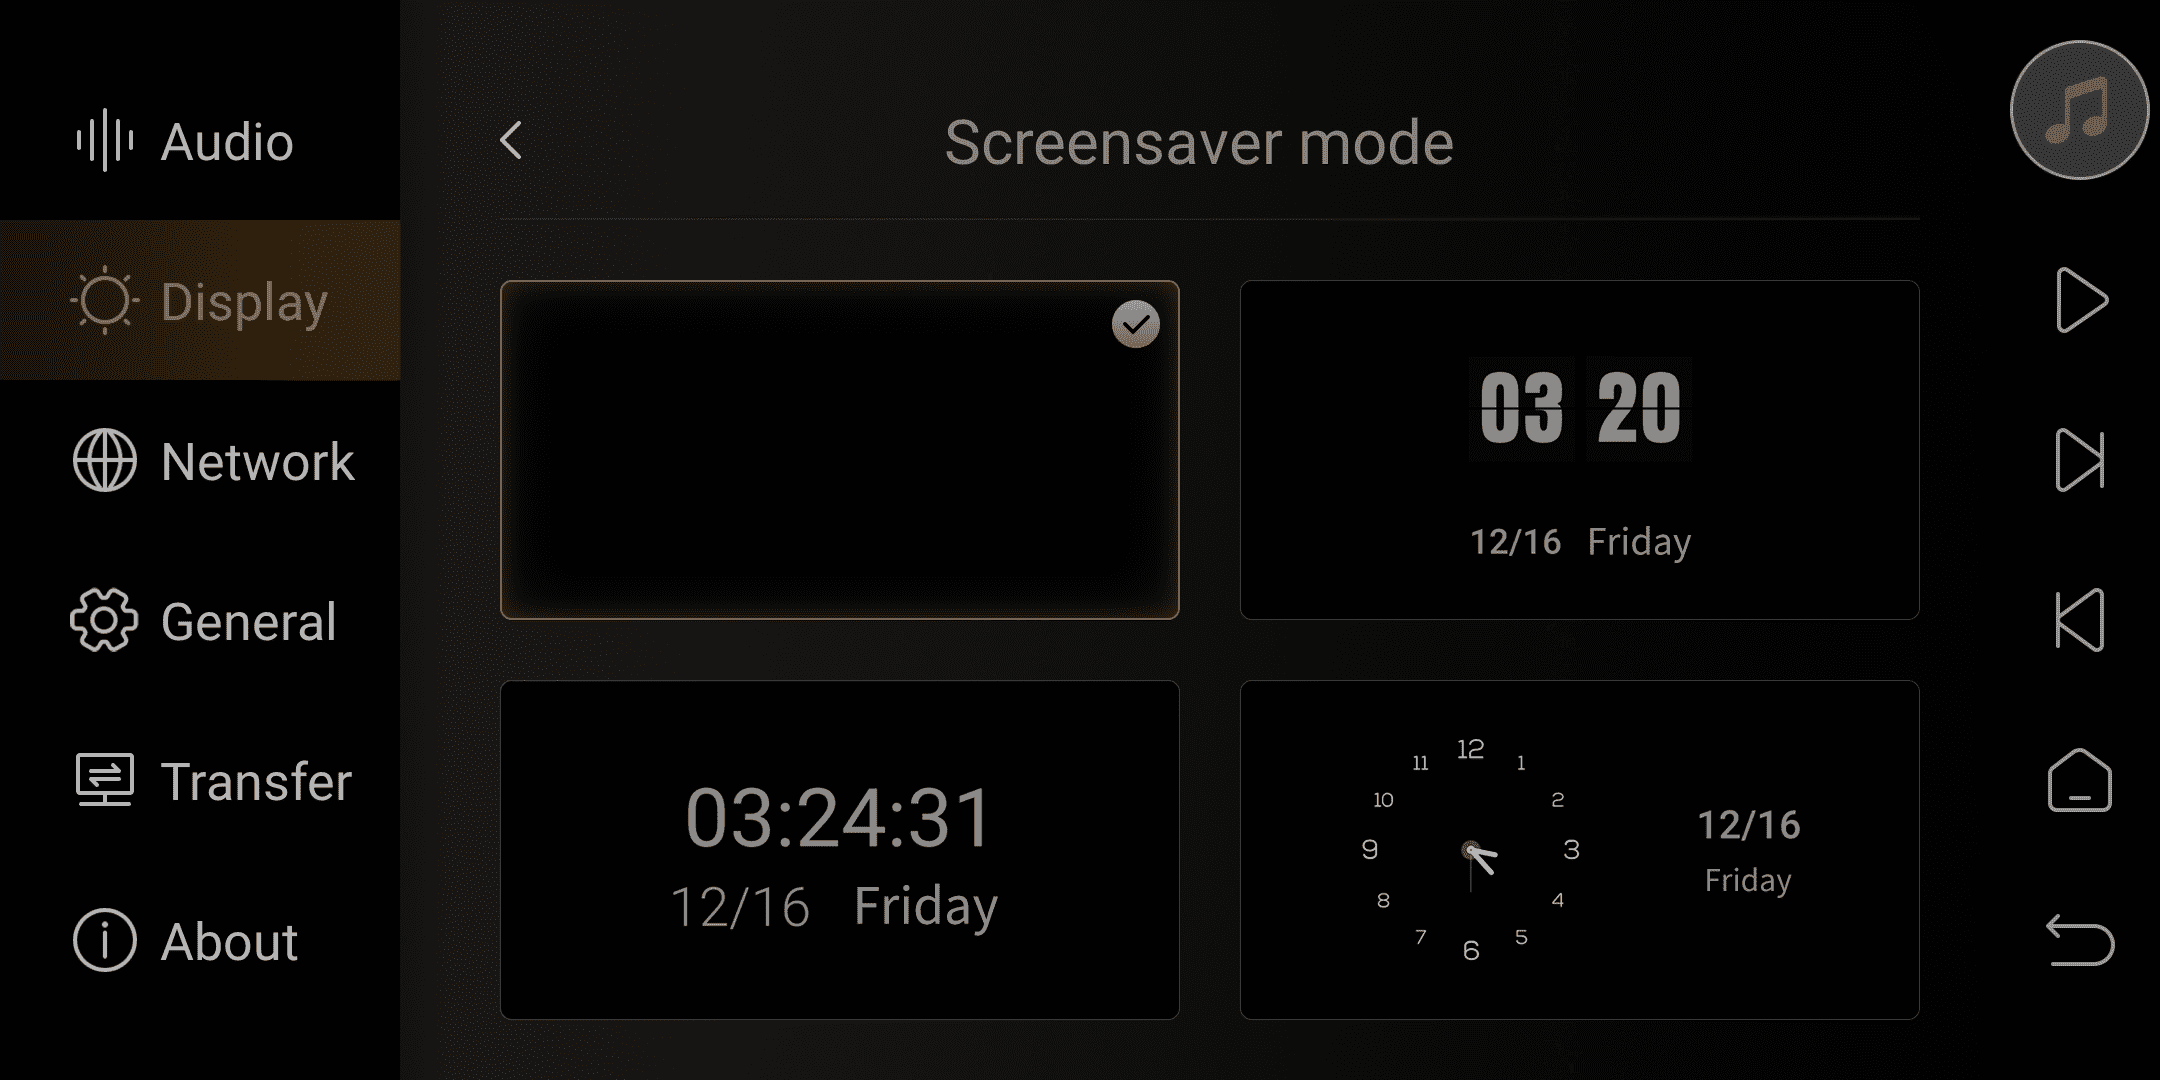
4. Screensaver mode
Select the display mode after activating the screen saver, there are four modes available to choose from.
5. VU meter
VU meter mode selection, currently there are four modes to choose from.

6. Play Detail Theme
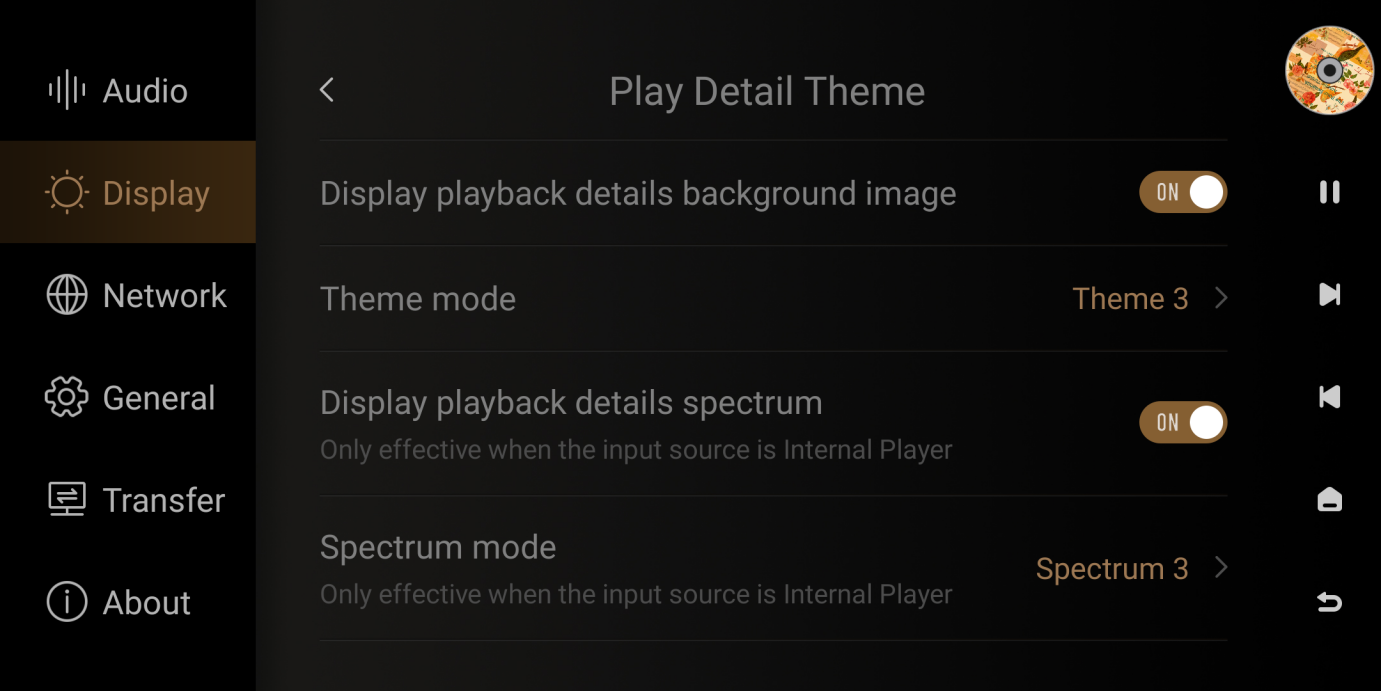
Display playback details background image
After enabling this option, the background of the music details interface displays a blurred version of the music cover.
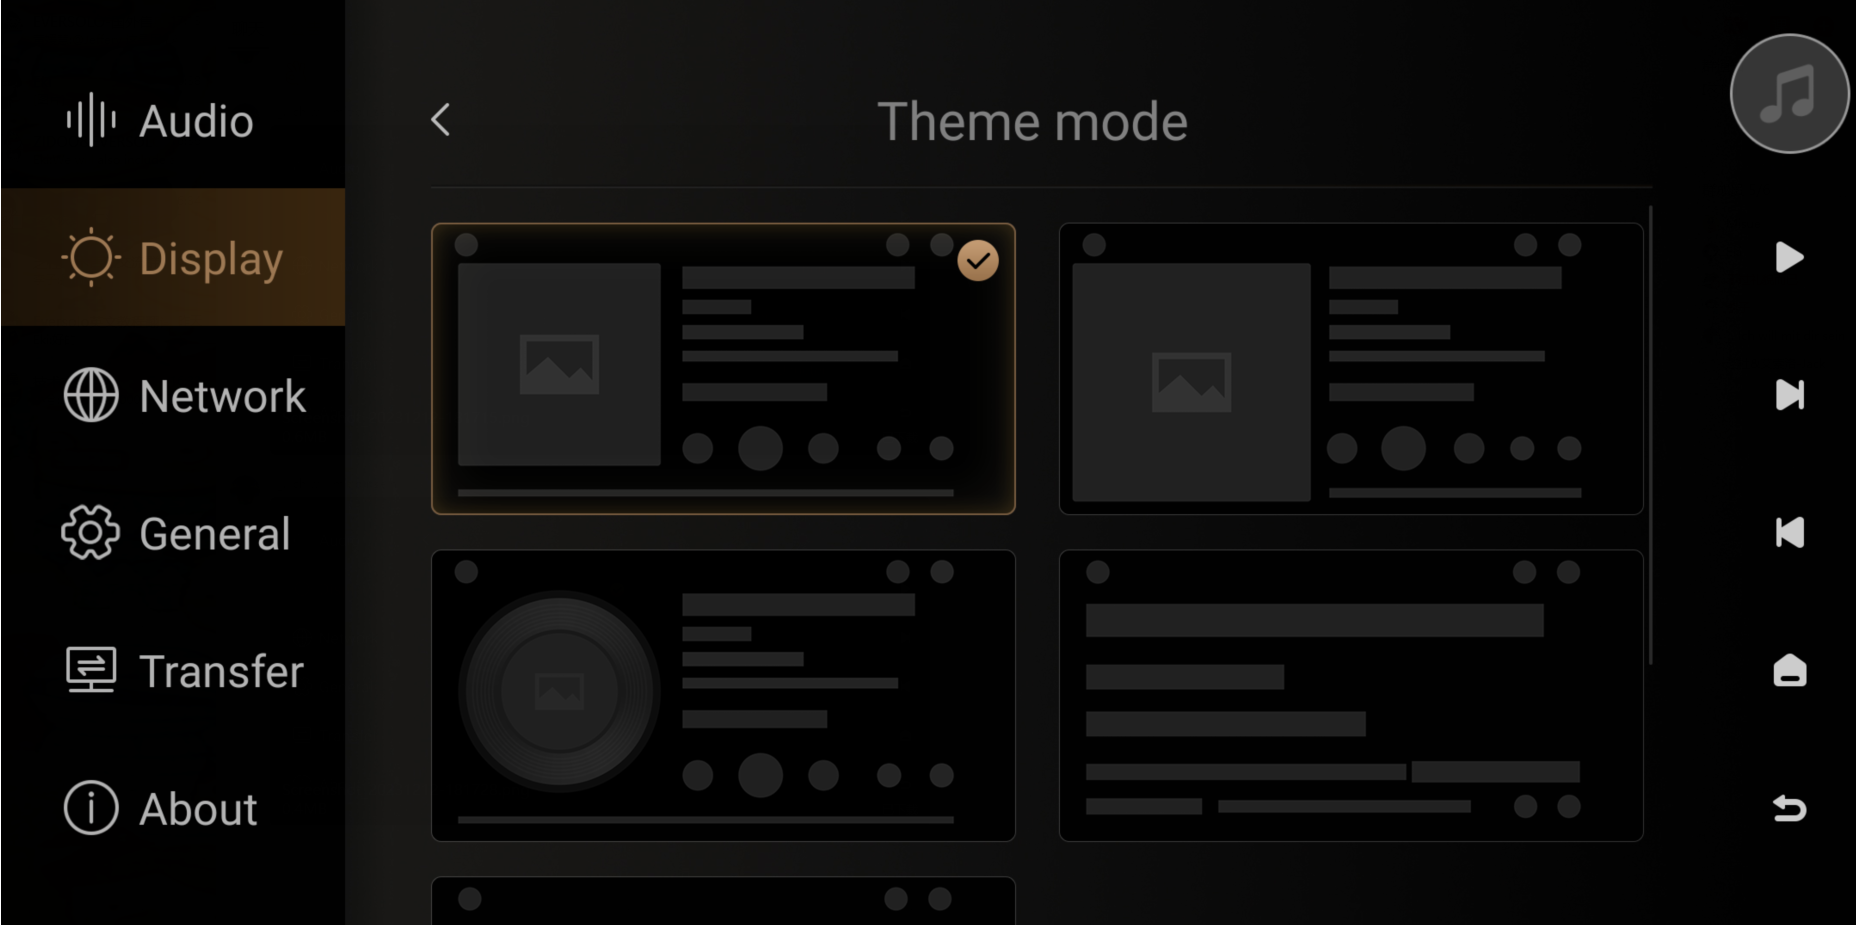
Theme Mode
There are currently five available modes for switching the play details display mode.
Display playback details
The background of the music details interface displays a gray spectrum after being activated.
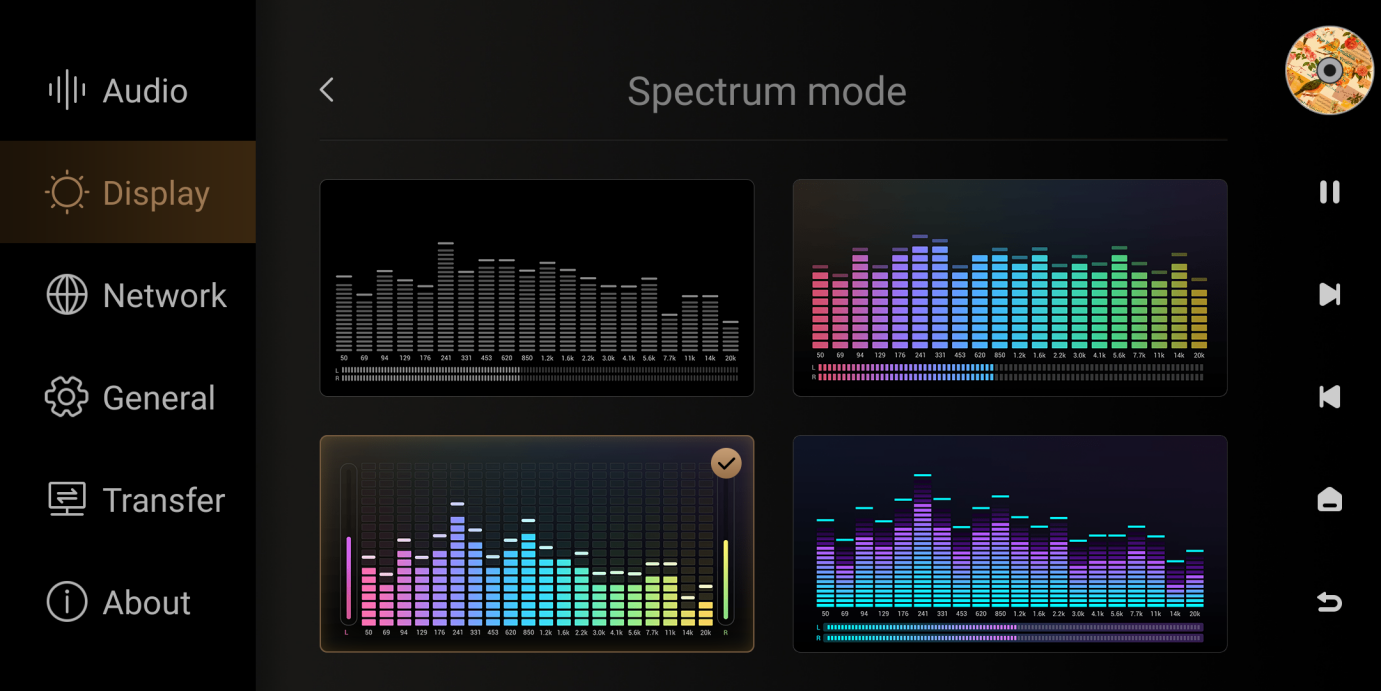
Spectrum mode
When playing music and switching to the spectrum display, there are currently four modes available for selection.
Network
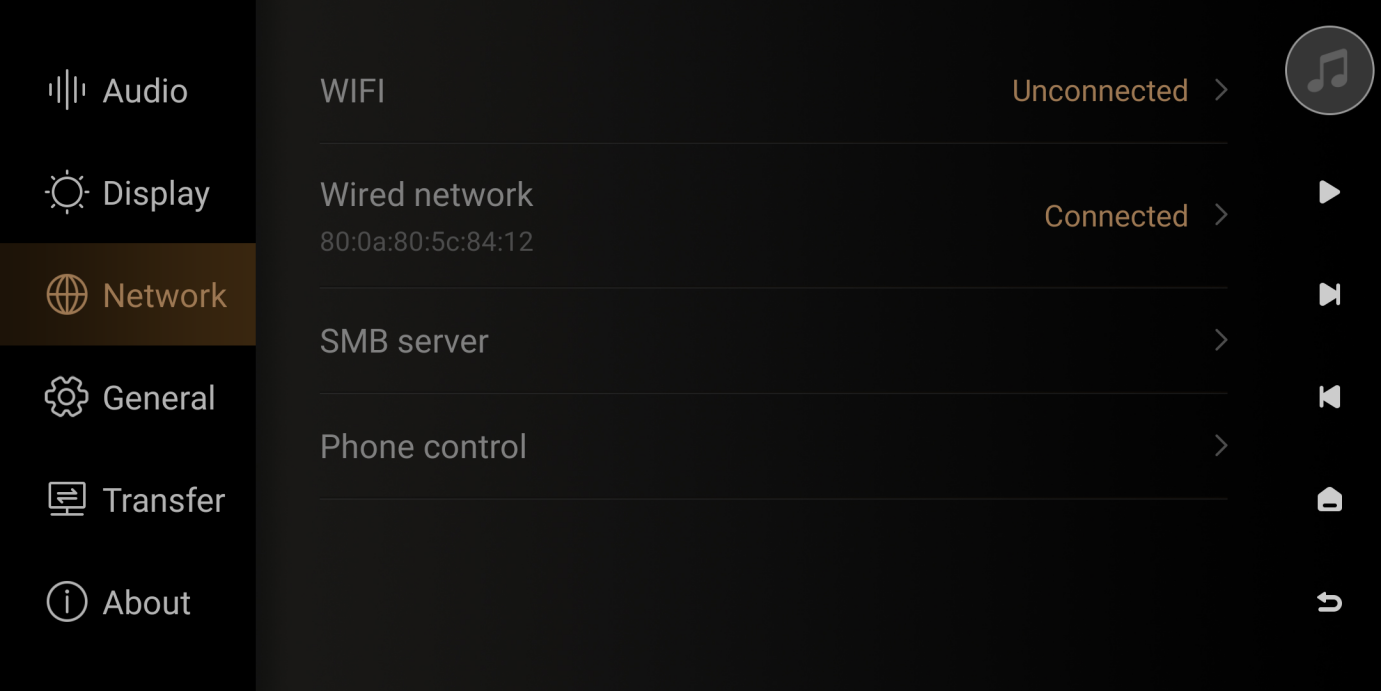
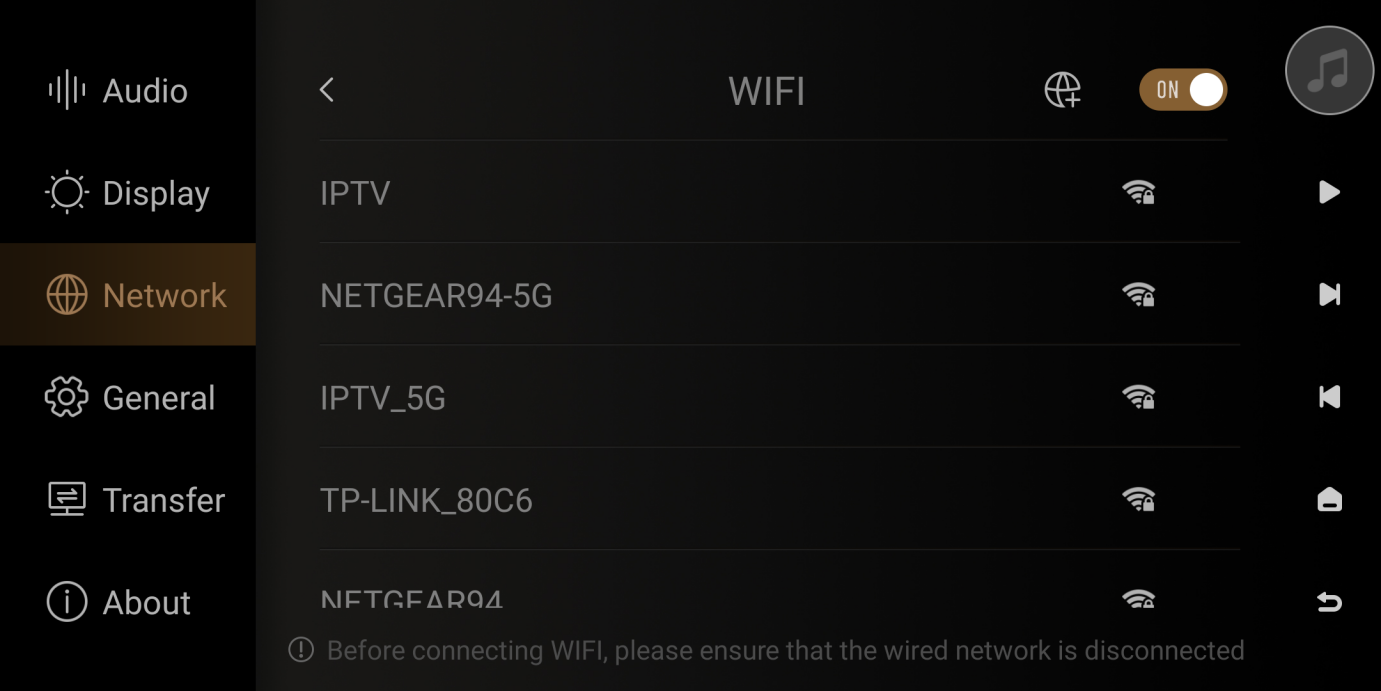
1. WiFi
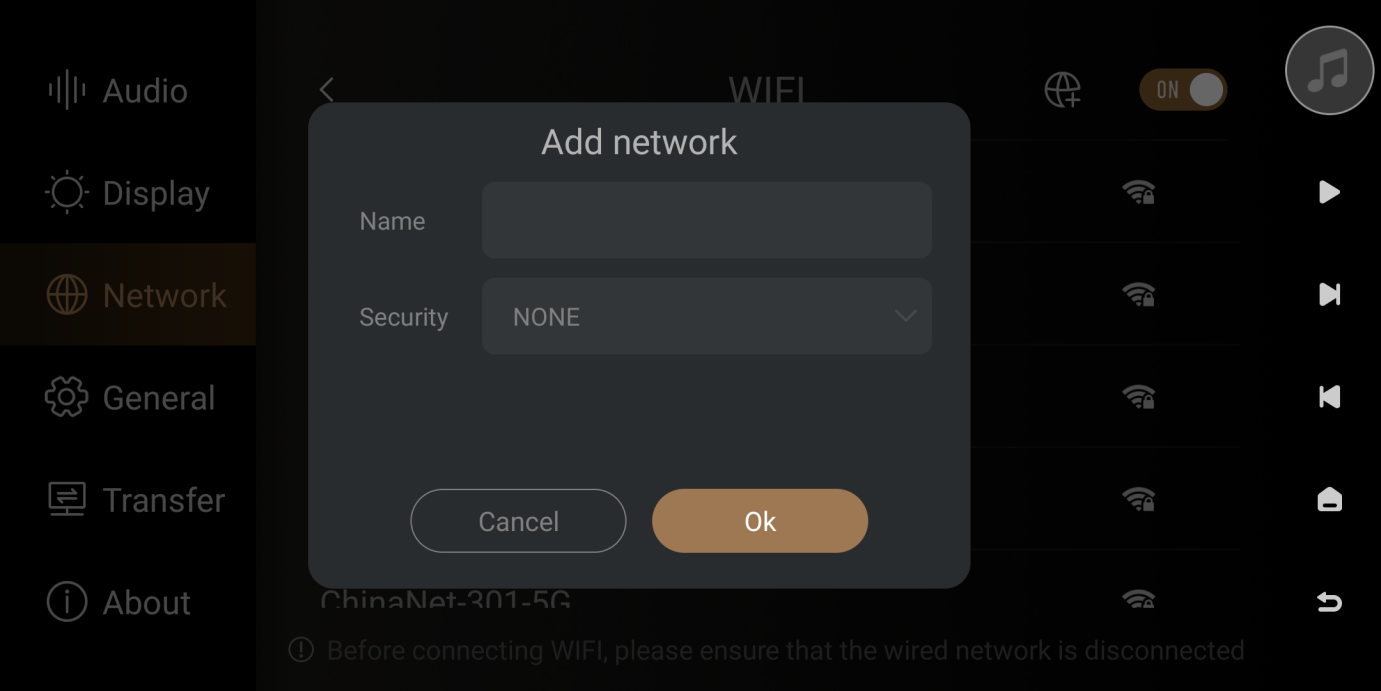
Wireless networking feature allows for automatic searching and connection to nearby WiFi networks. You can also manually add WiFi networks by tapping the + icon in the top right corner of the touch screen (supports hidden WiFi networks).
Friendly reminder: You can choose either WiFi or wired connection, but they cannot be used simultaneously.
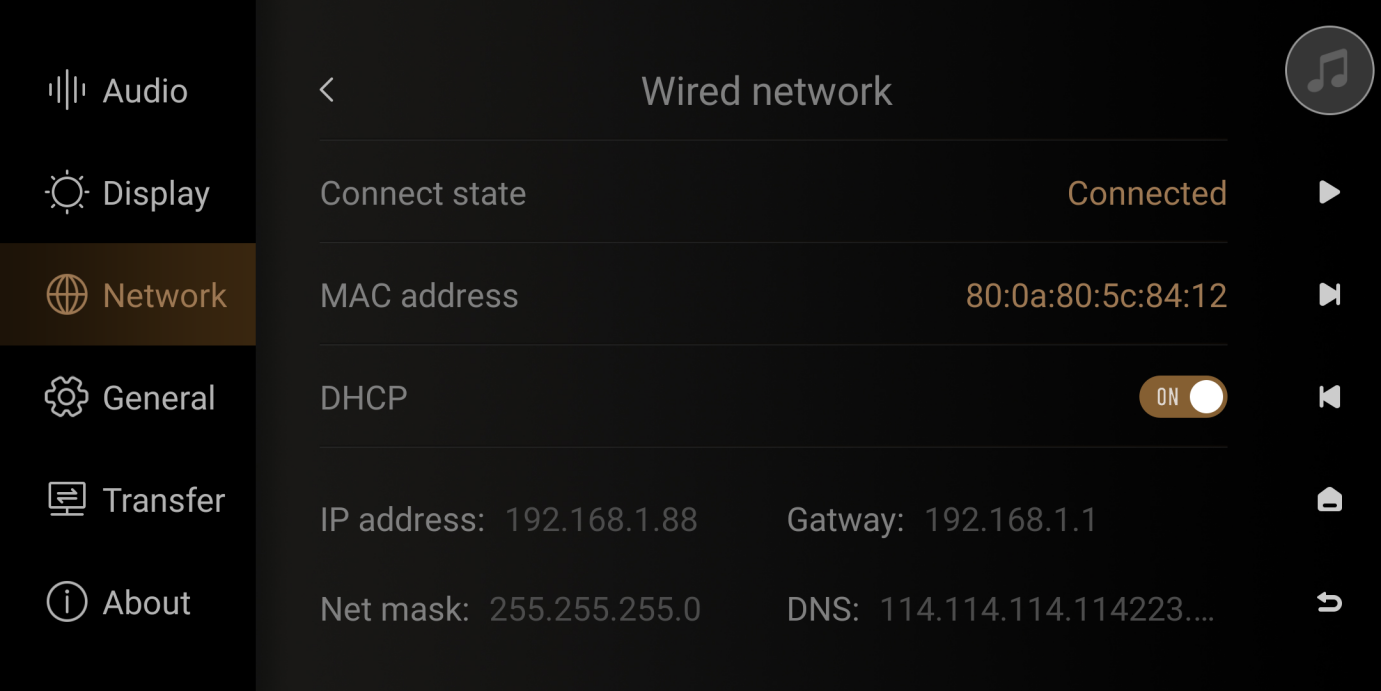
2. Wired network
Wired network connection, connect to the LAN port of the router or switch.
Enable DHCP: Automatically obtain the IP address assigned by the router. Disable DHCP: Set a static IP address manually. Please use it after successfully obtaining an IP address through automatic DHCP.
Friendly reminder: Choose either WiFi or wired network, they cannot be used simultaneously.
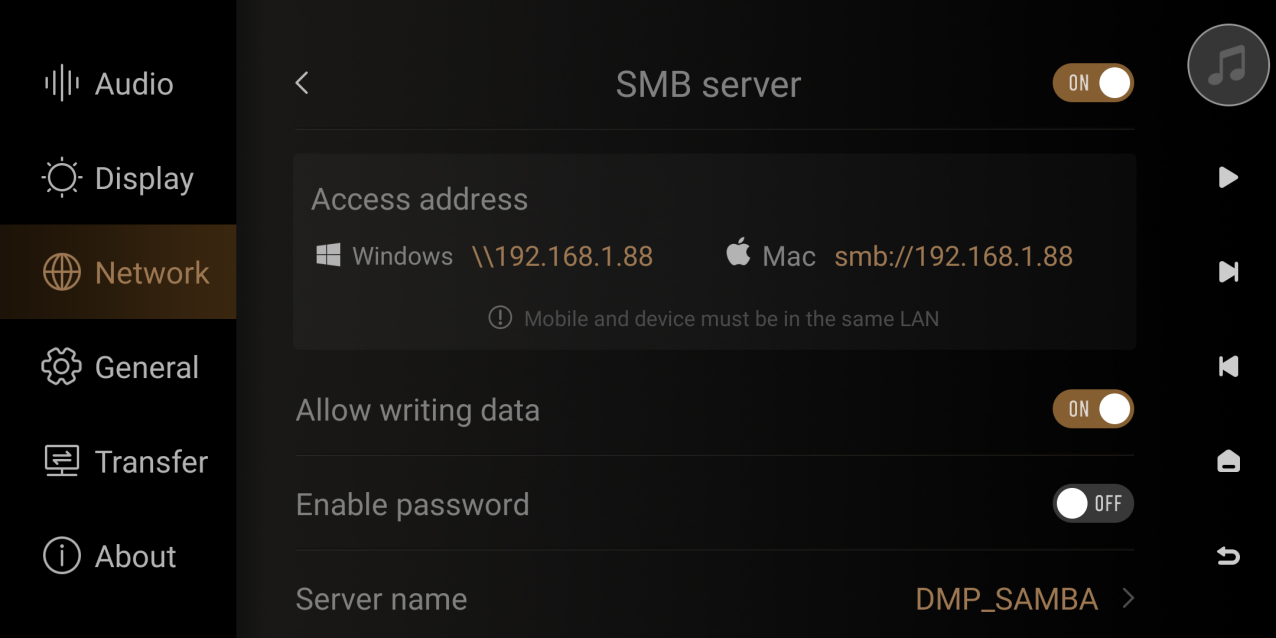
3. Samba Server
Enabling this function allows the phone and PC to access the storage space of the A8 via the network SMB protocol for music file transfer and management.
Friendly reminder: The phone and PC must be connected to the same local area network as the device.
4. Phone control
Left QR code: Scan the QR code with your smartphone or iPad using a browser to download the Eversolo Control APP.
Right QR code: Scan the Eversolo Control QR code to pair and connect the control APP with DMP-A8. 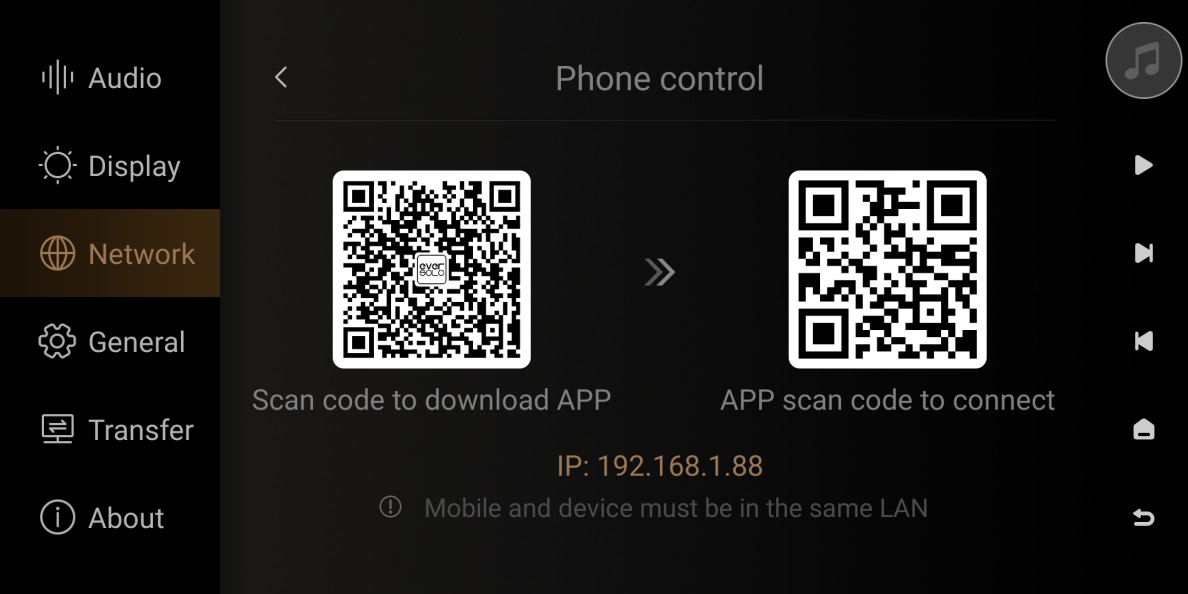
V. General
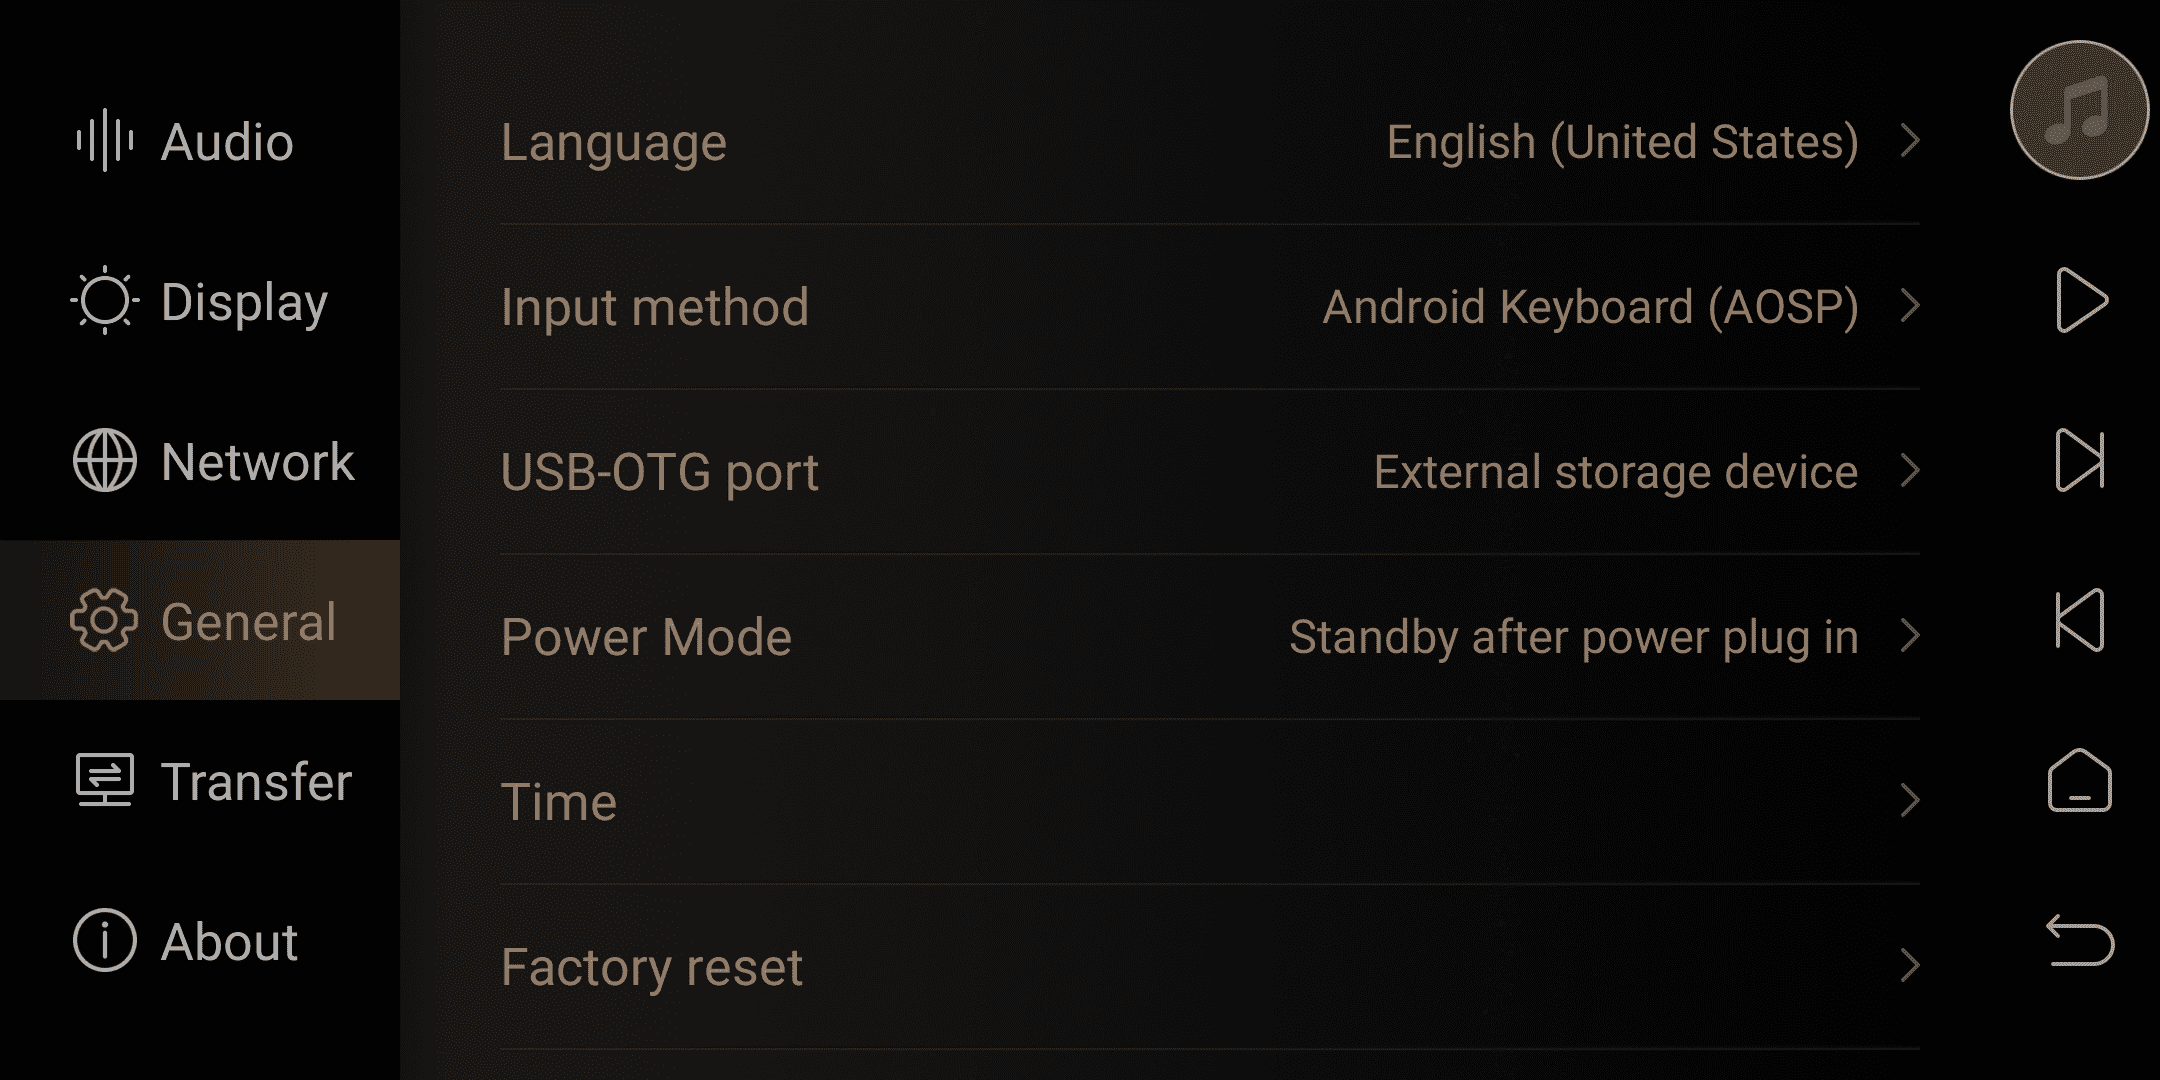
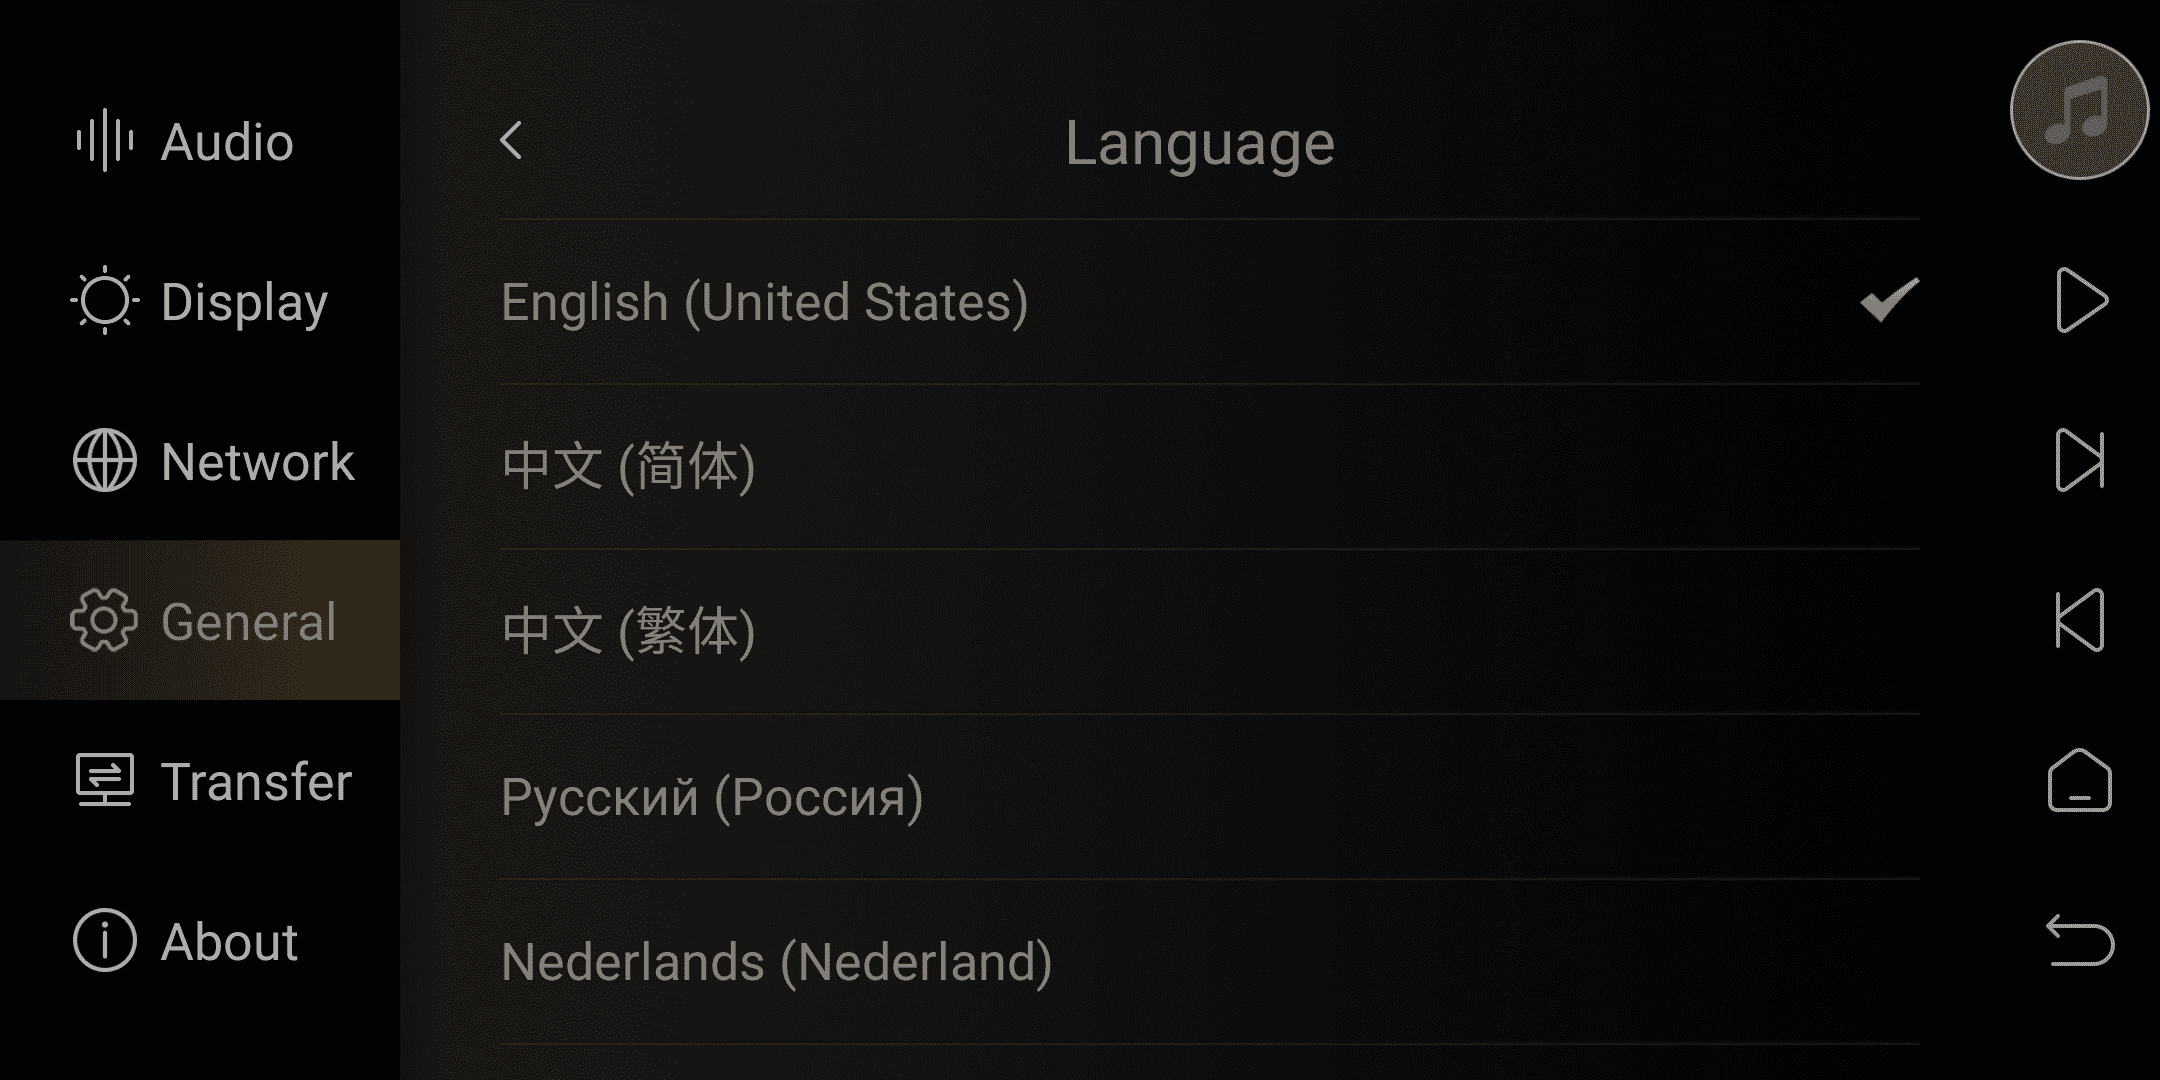
1. Language
The system’s language can be set here.
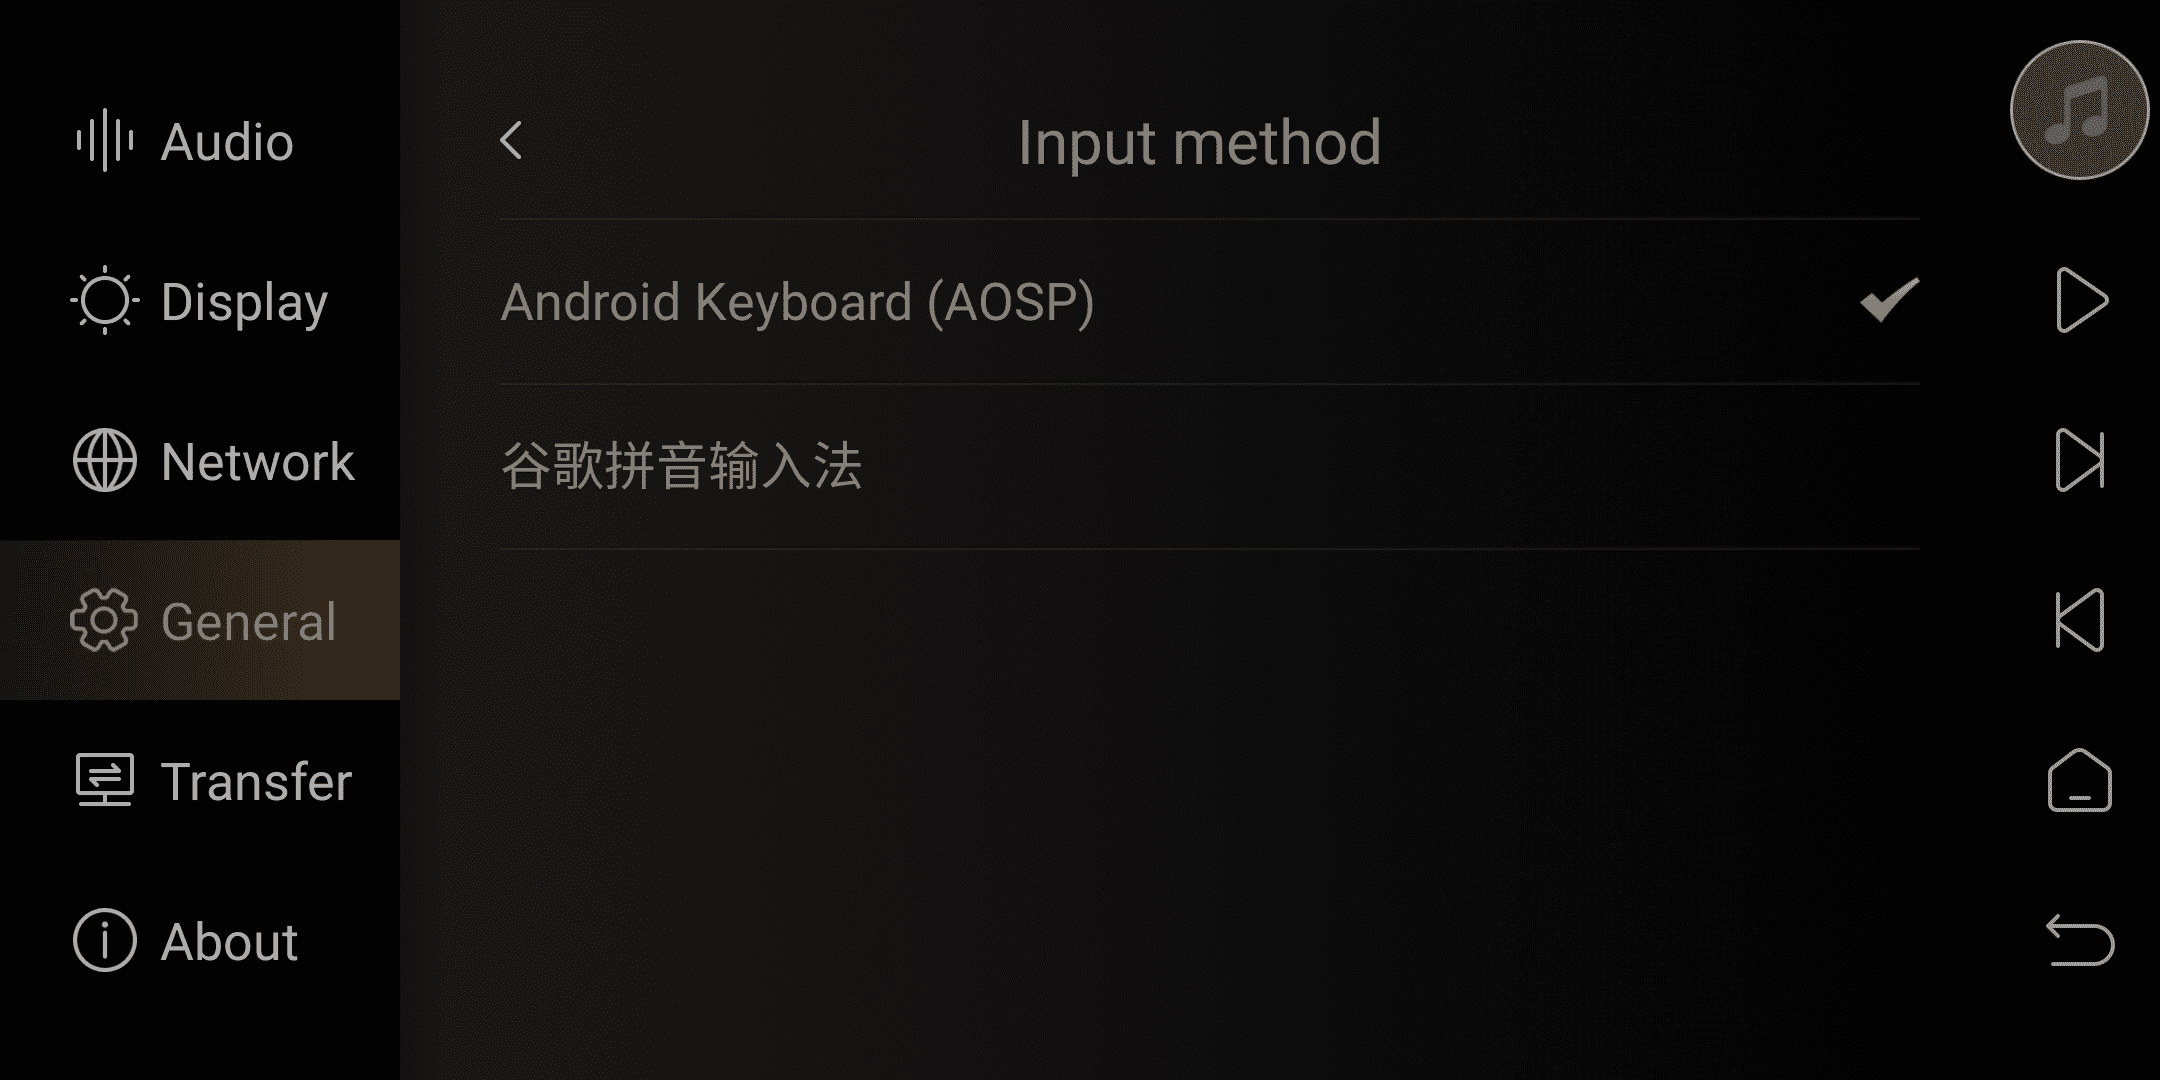
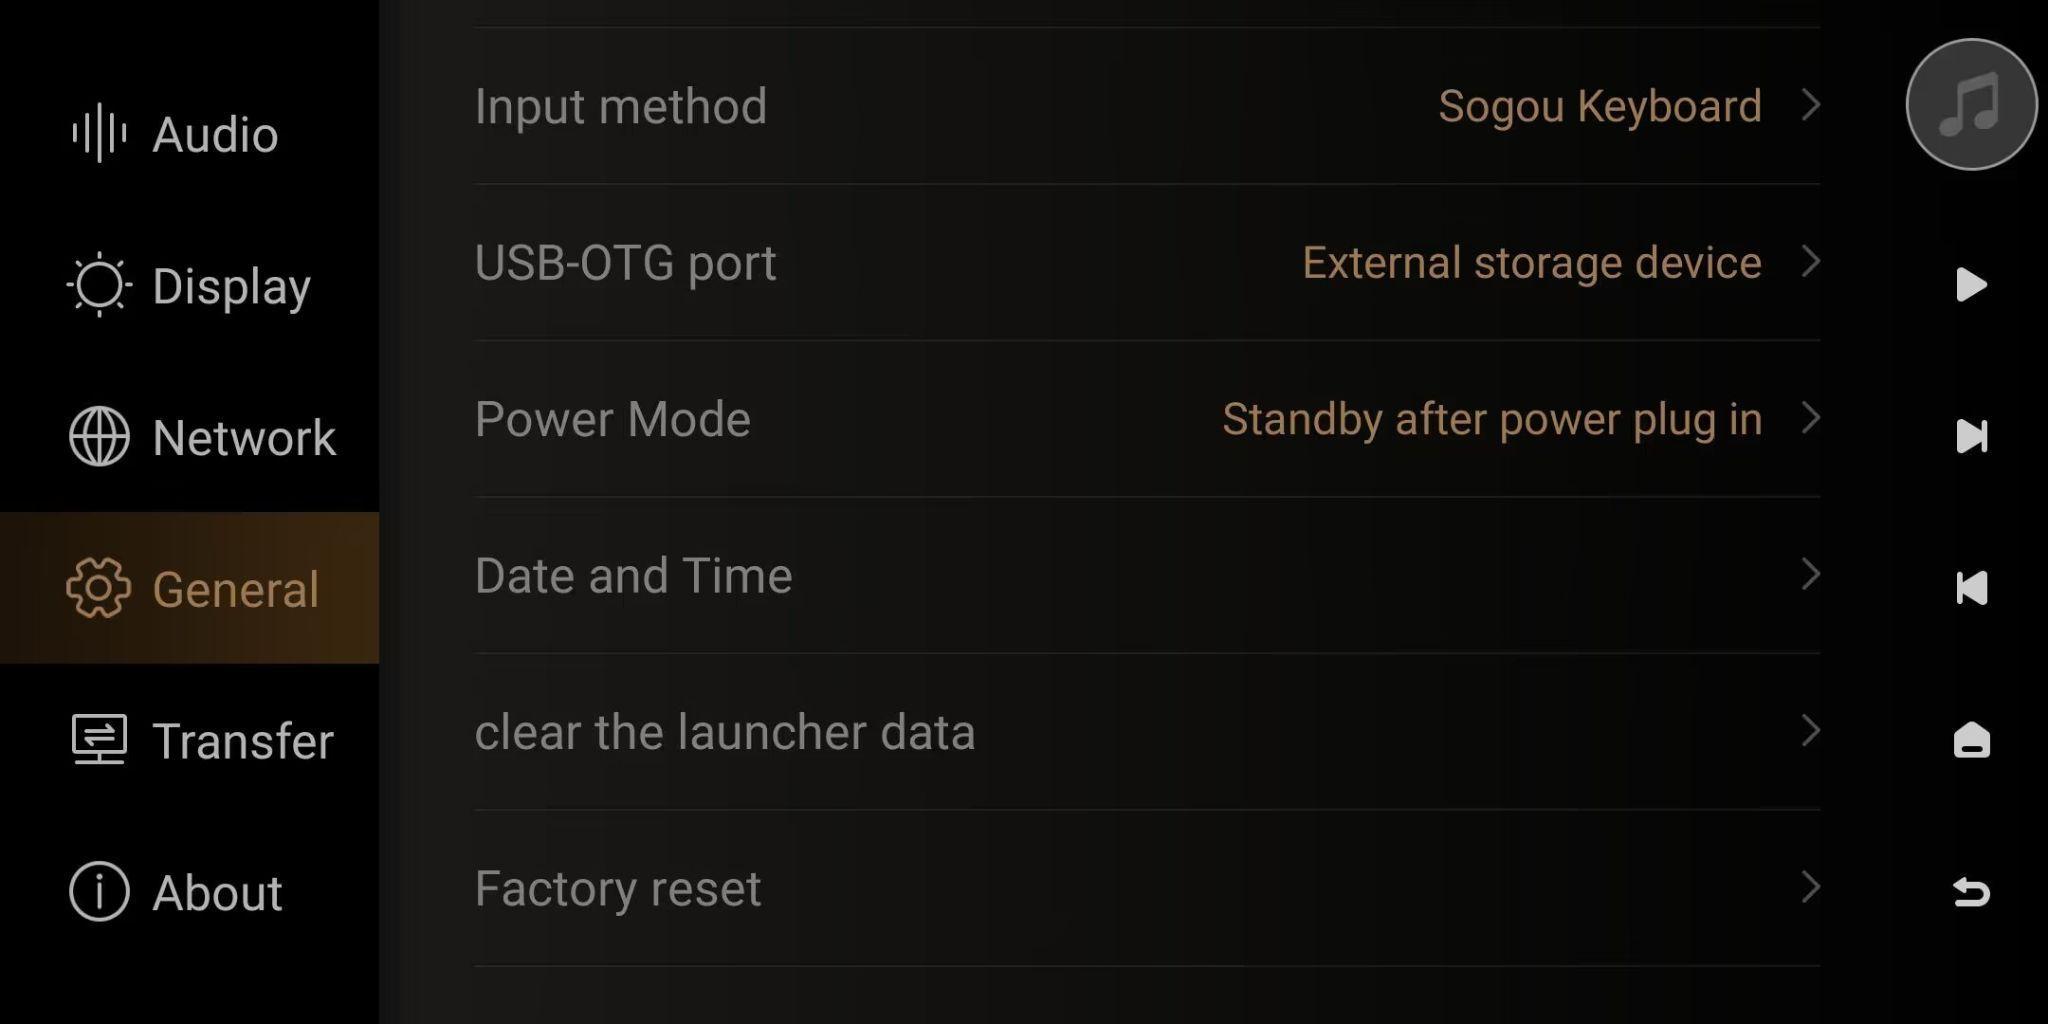
2. Input method
Switch between built-in and third-party input methods here.
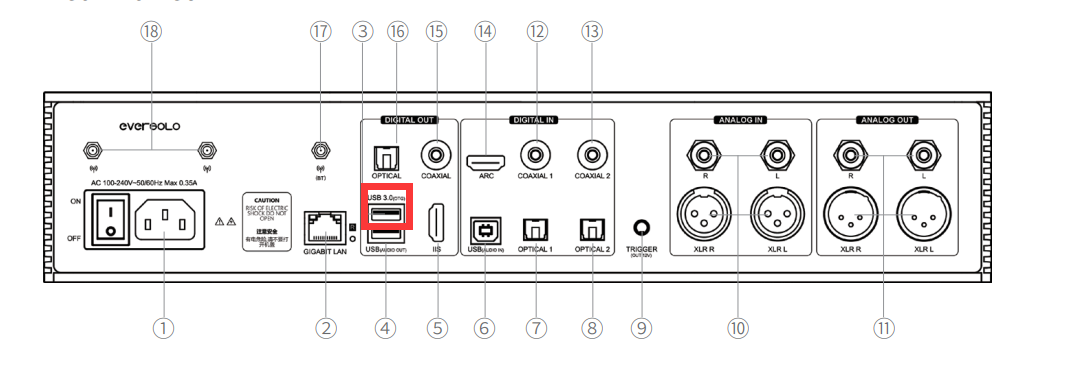
3. USB-OTG Port
PC File Transfer: Set the USB 3.0 OTG port to USB OTG mode, connect it to a PC using a USB data cable, then copy and manage files between the local computer and the DMP-A8.
Warm Reminder: USB-OTG mode is directly recognized by Windows systems, while Mac OS systems require the installation of OpenMTP software for recognition!
External Storage Configuration: Set the USB 3.0 OTG port to USB 3.0 mode, and connect external mobile storage devices such as USB flash drives and USB portable hard drives.
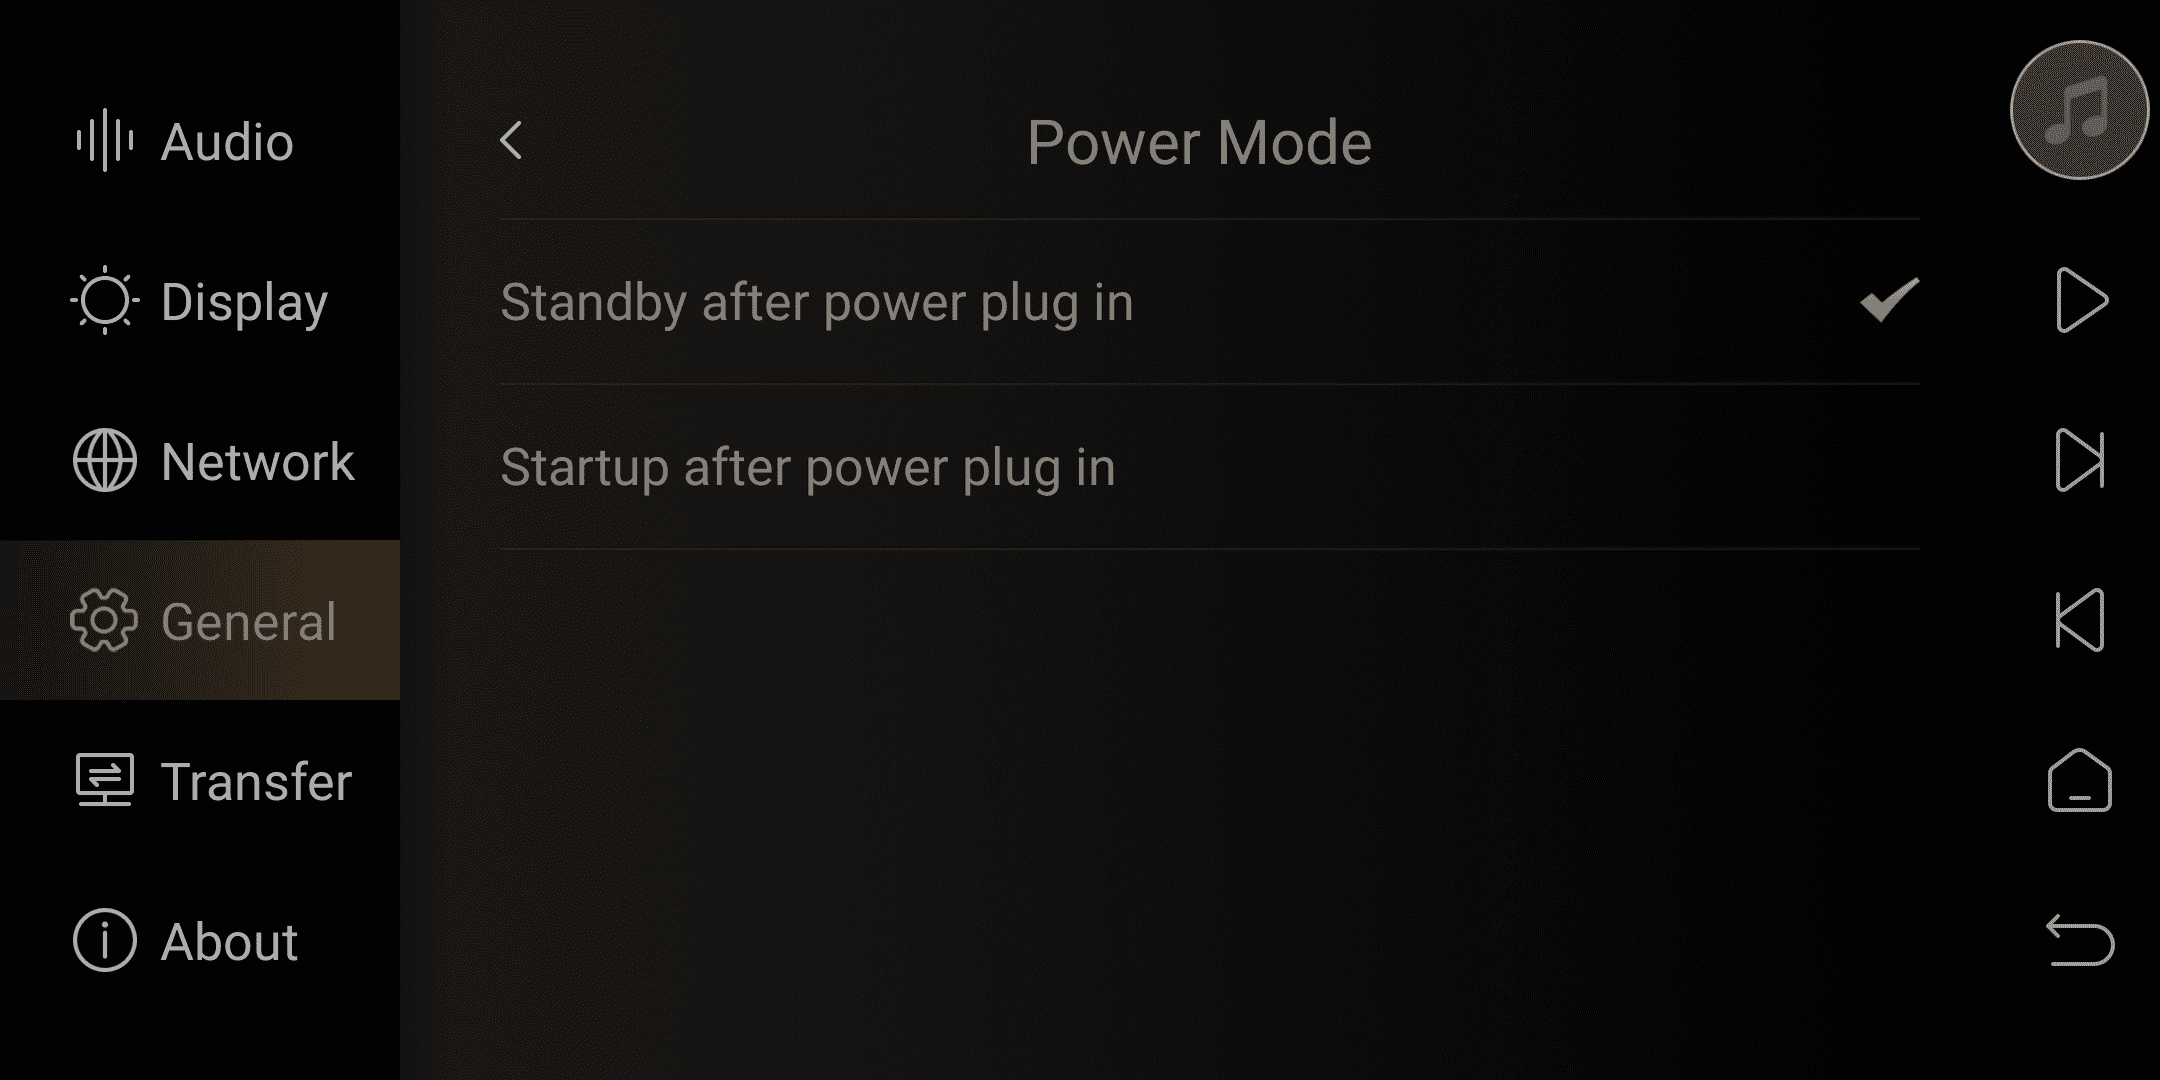
4. Power Mode
Standby after power plug in:After powering on, the device is in standby mode and needs to be turned on by pressing the knob button.
Startup after power plug in:After powering on, the device is turned on automatically.
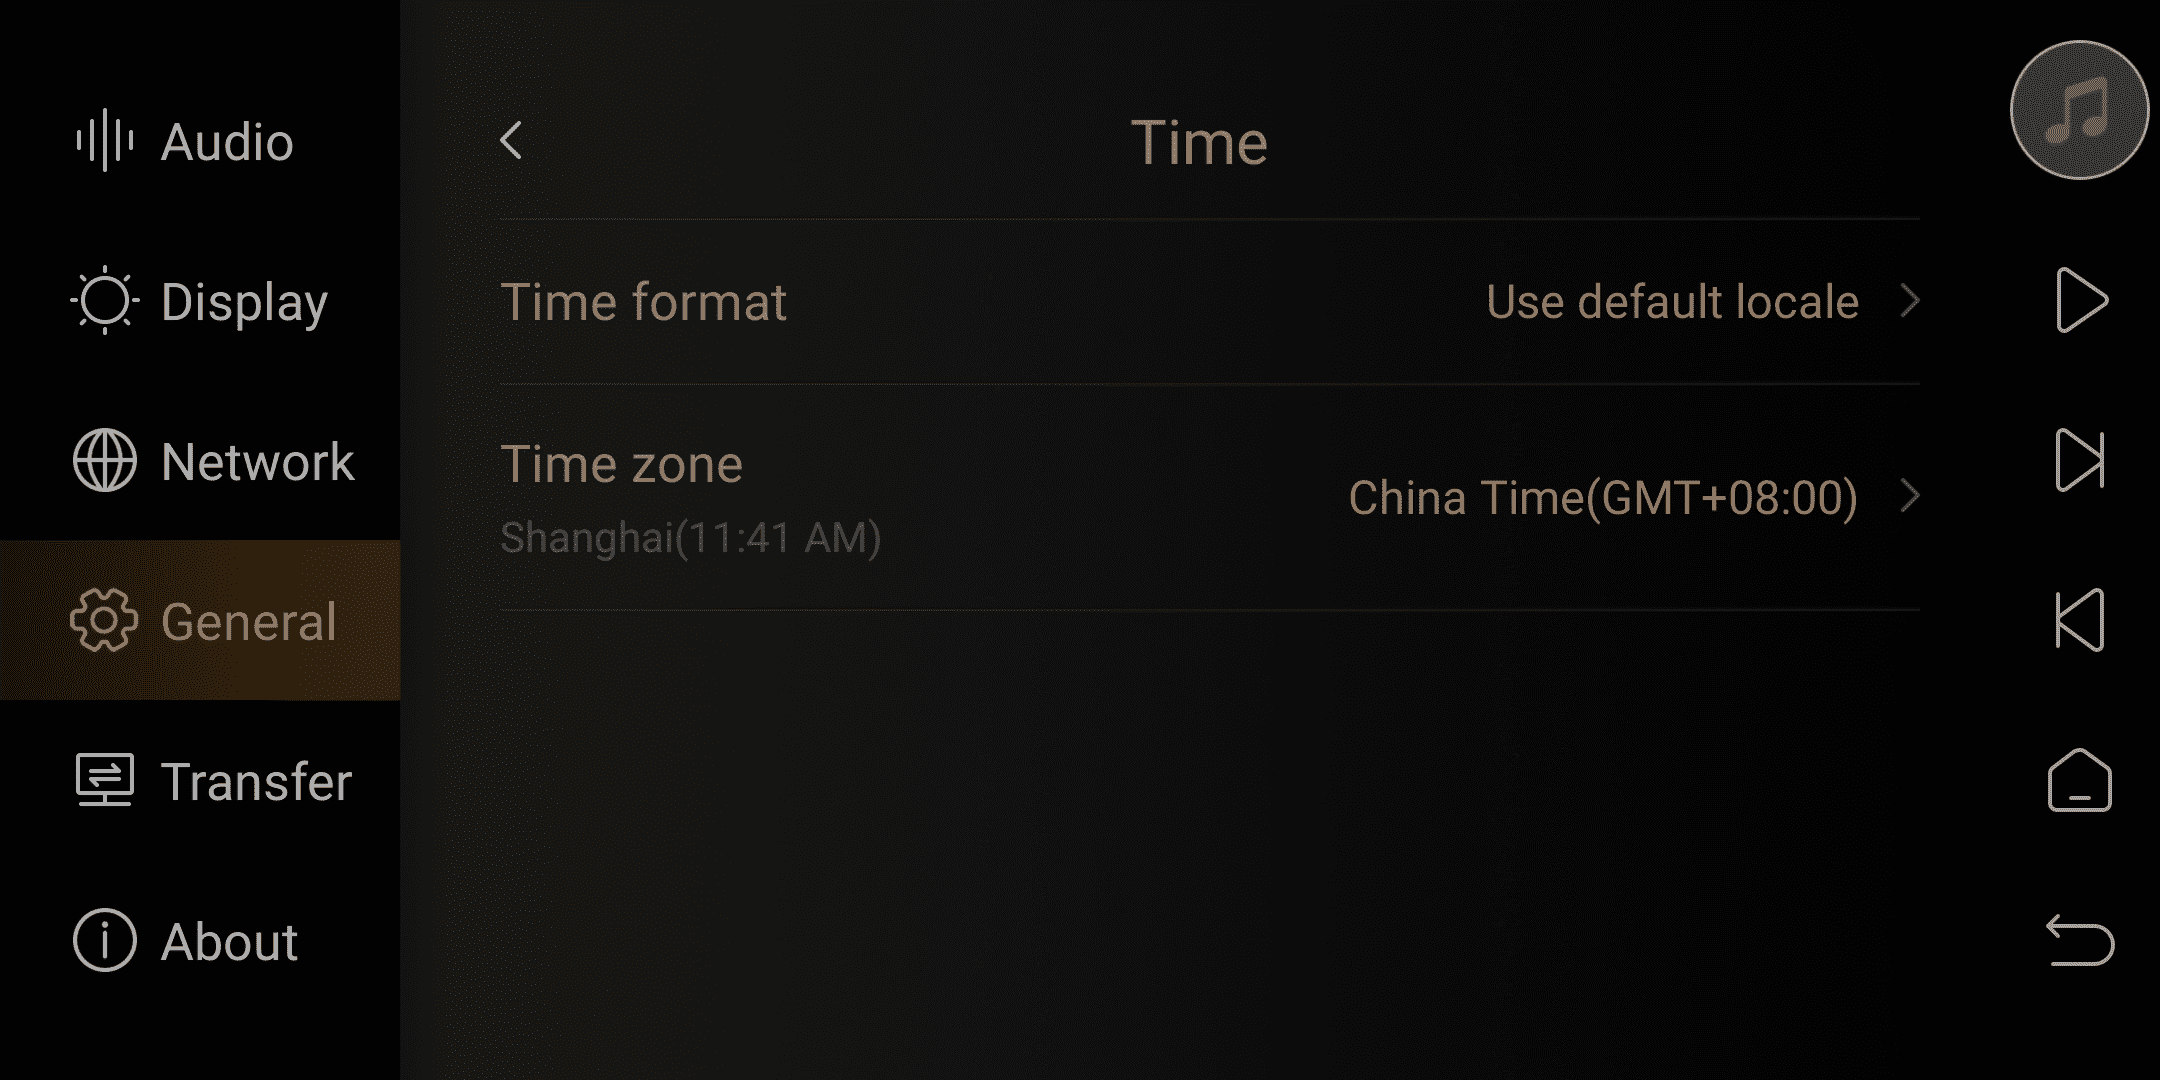
5. Time Setting
Time format:The device's time display is either 12-hour or 24-hour format.
Time zone:Time zone selections of different countries
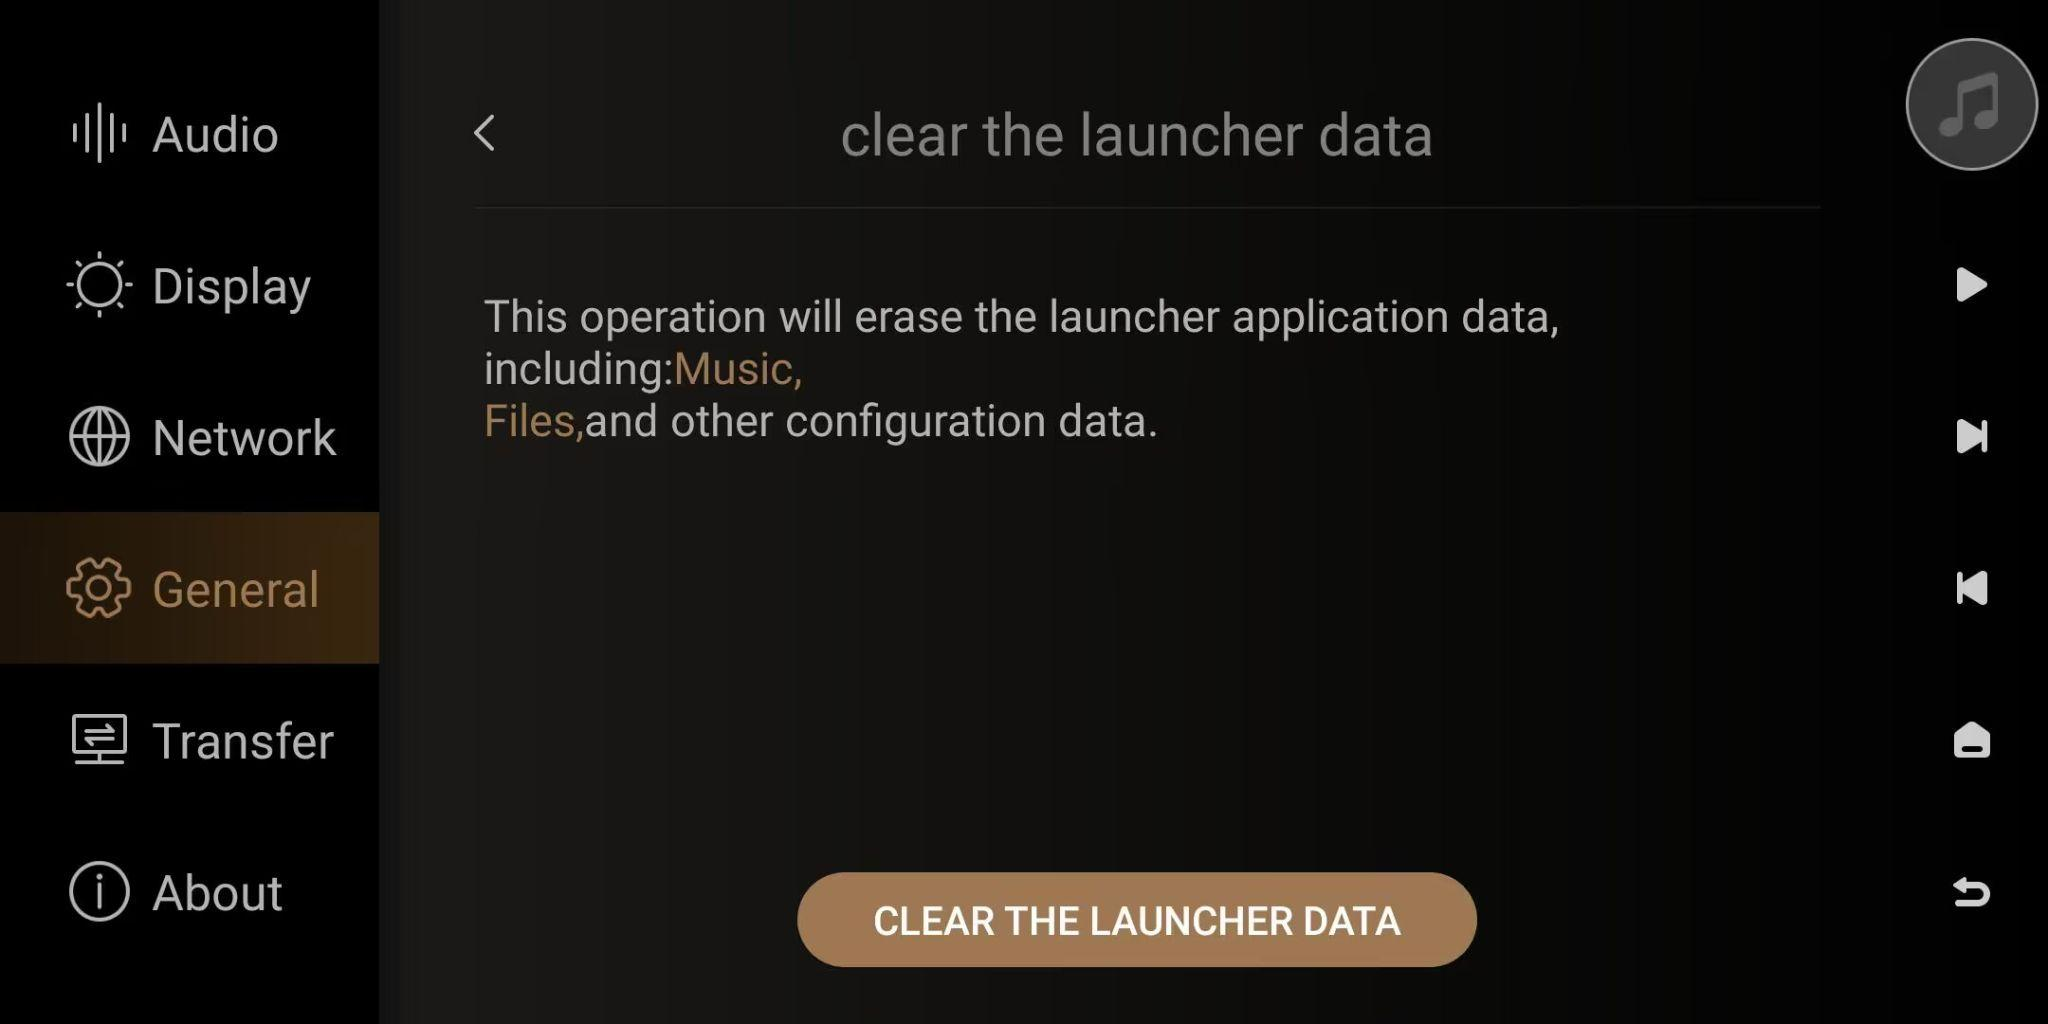
6. Clear the launcher Data (Requires firmware upgrade v1.2.80 or above)
This operation will erase all data on the home page application, including music library, file management, and other configuration data.
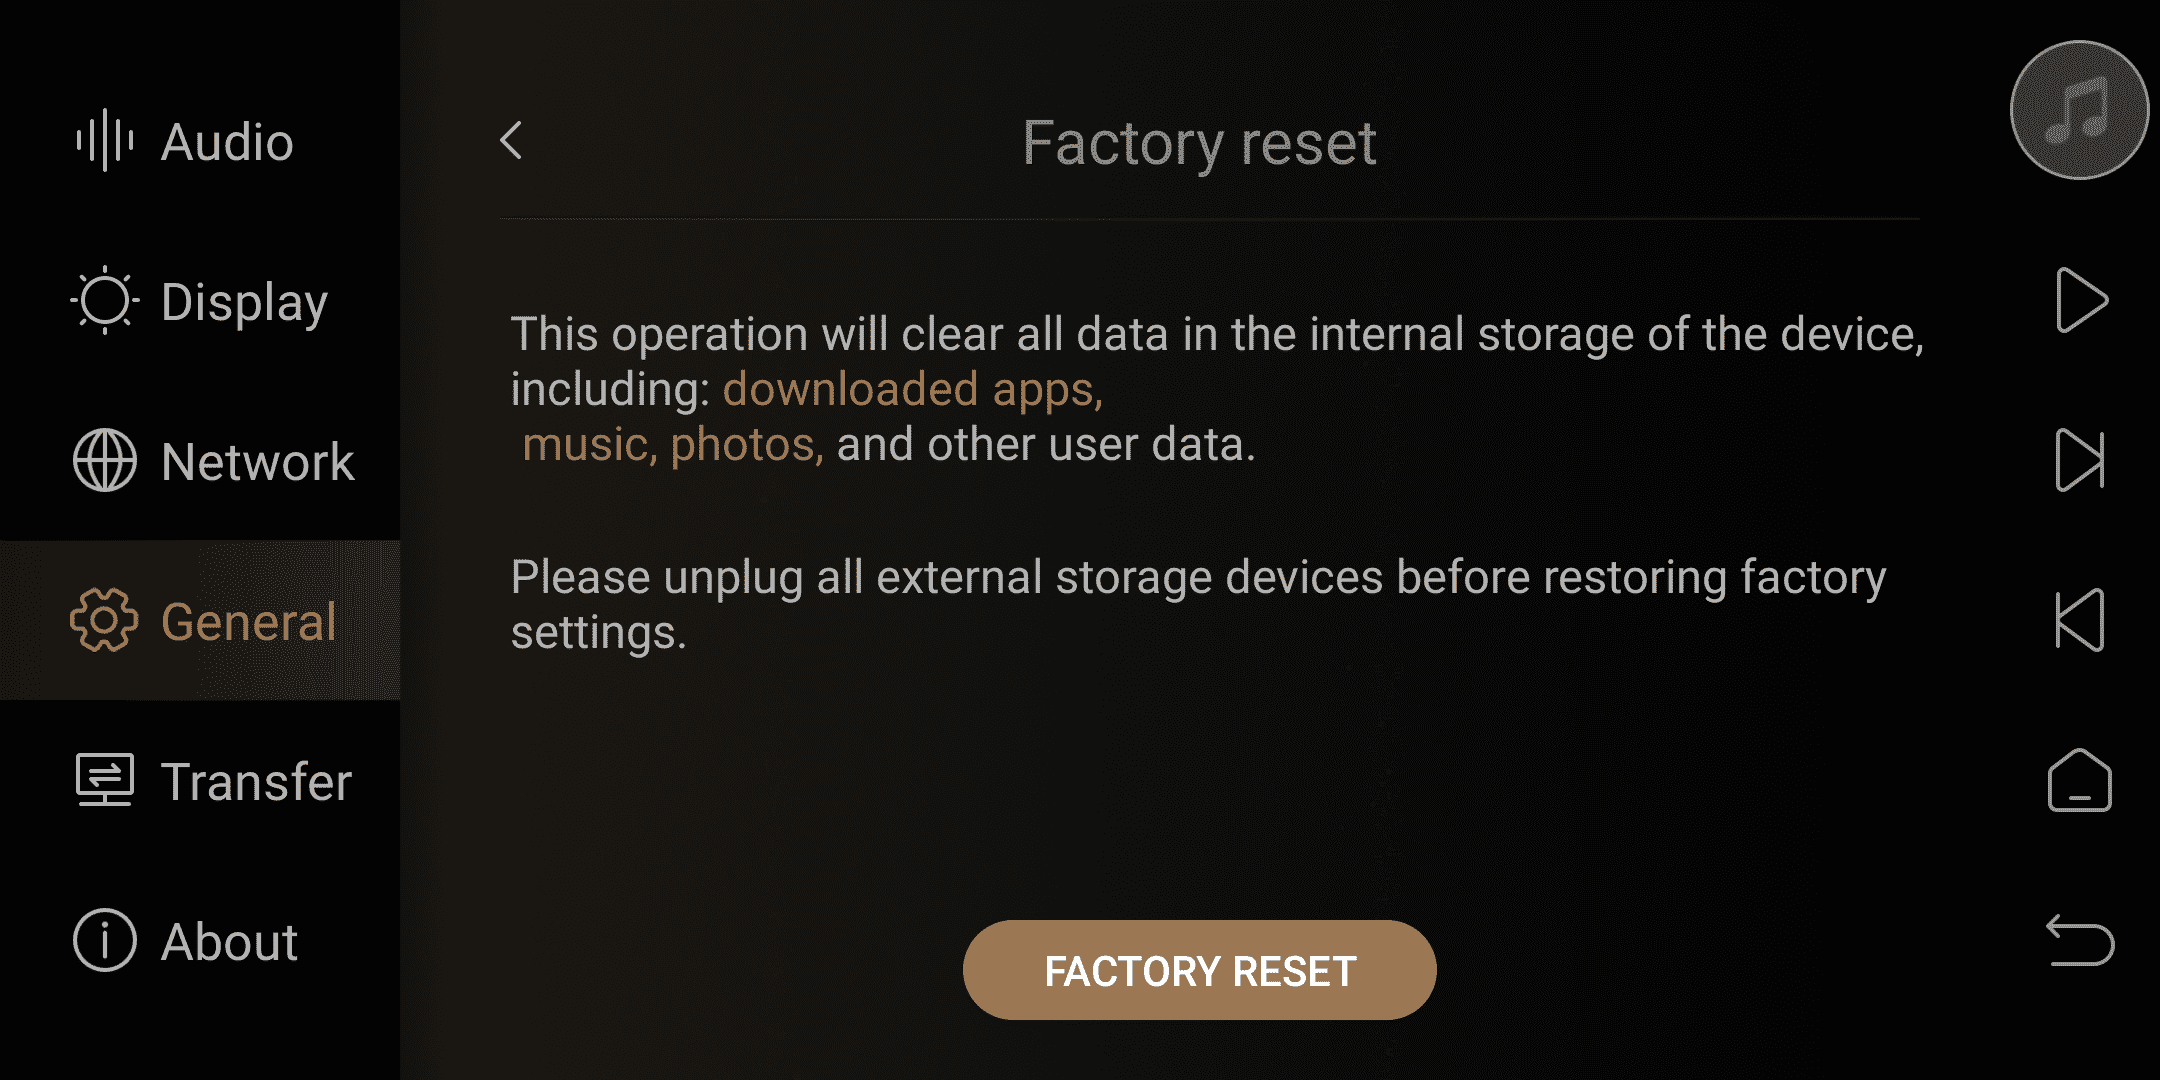
7. Factory Reset
Perform a local factory reset.
Friendly reminder:
Factory reset will not lower the software version.
Factory reset will erase all data in the system's built-in storage, including system apps and installed apps.
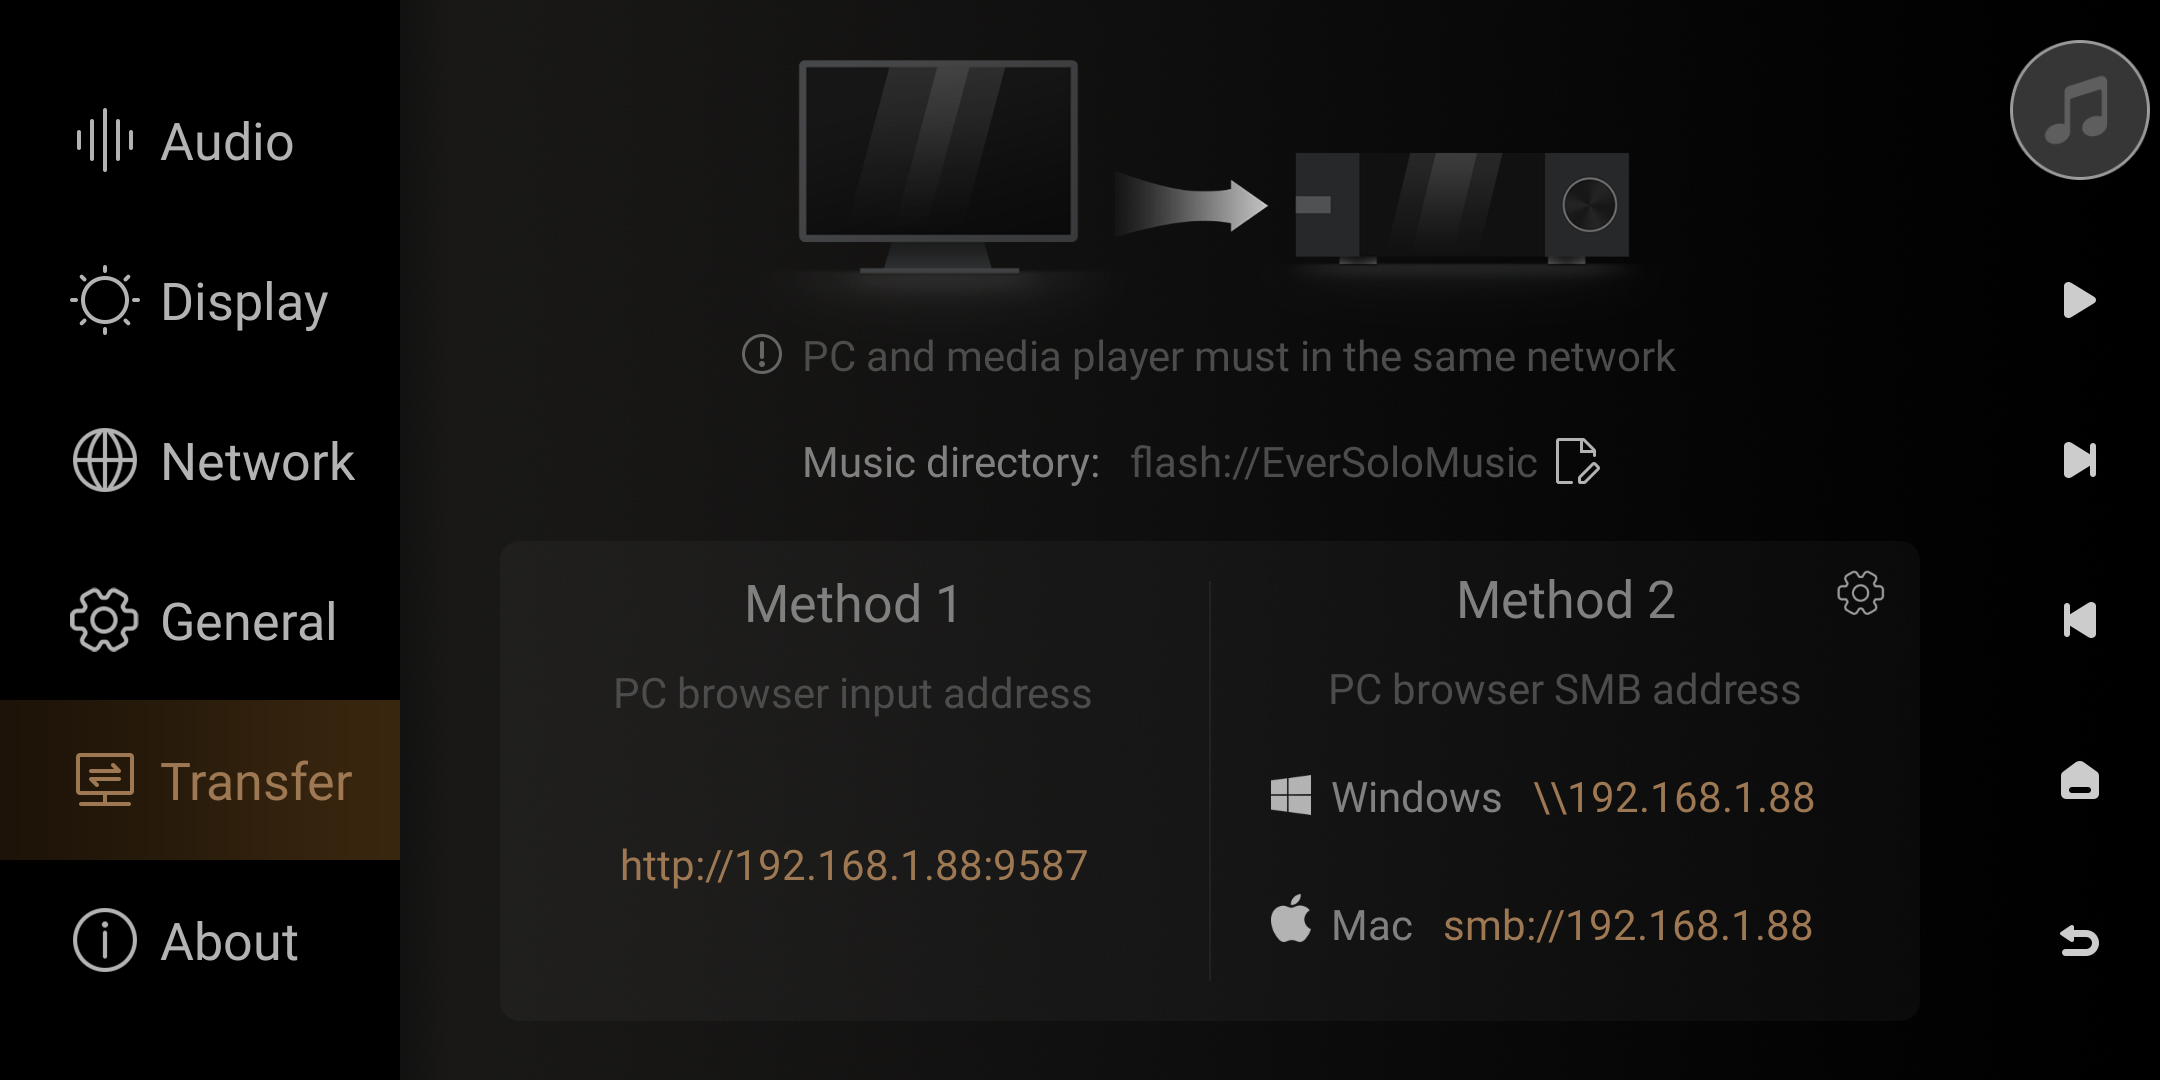
Song Transfer
Please make sure that the computer and the device are on the same local network. Go to the settings menu and select "Transfer" Follow the instructions in the menu to transfer songs from the computer to the device. You can set the directory for saving songs in the Music directory section.
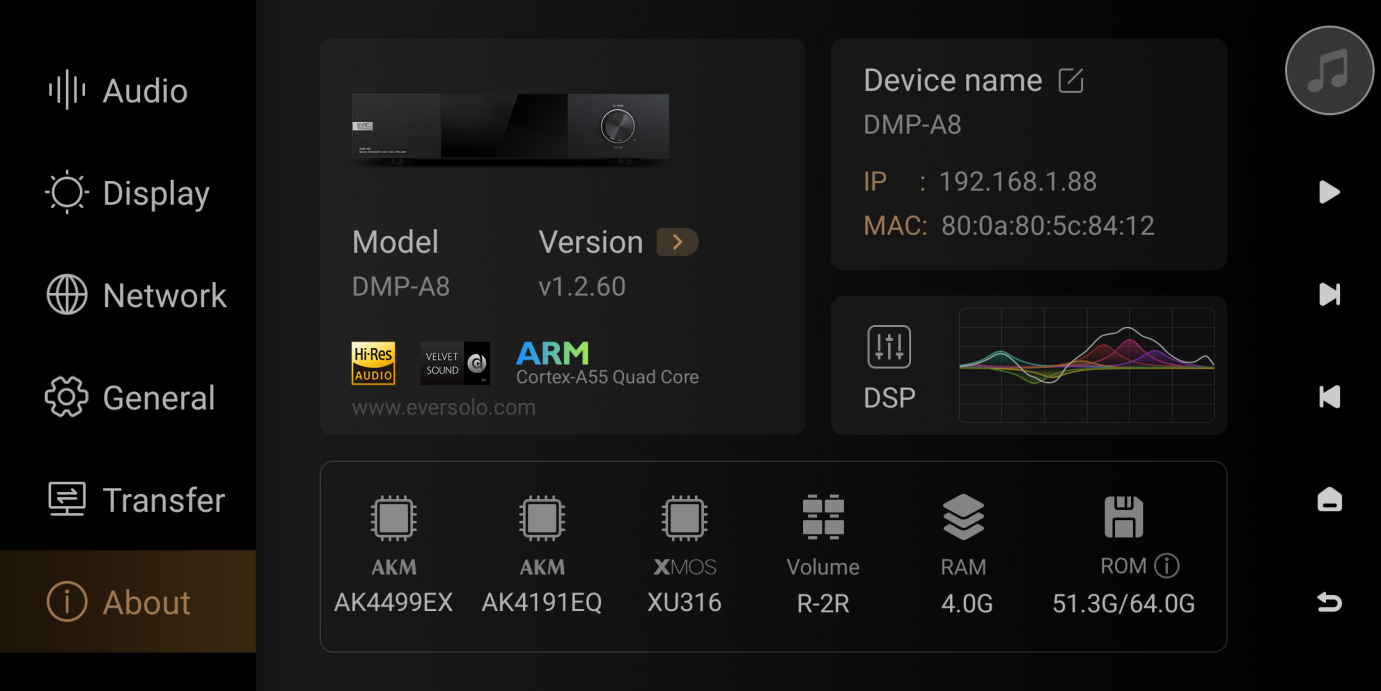
About
This option allows you to view the model, software version, hardware parameters, as well as the IP address and MAC serial code.
On this Page
-
II. Audio
- 1. XLR/RCA output
- 2. IIS output
- 3. SPDIF output (optical/coaxial)
- 4. USB DAC output
- Adjusting the brightness of the front touch screen on the DMP-A8.
- Knob brightness: Adjusts the brightness of the knob LED ring in the DMP-A8's powered-on state. When set to the lowest level, the knob LED will turn off completely.
- V. General


